#1

29th Dec 2015 at 3:23 AM
Last edited by justJones : 6th May 2018 at
11:17 PM.
Posts: 378
Thanks: 10827 in 44 Posts
24 Achievements
View My Journal
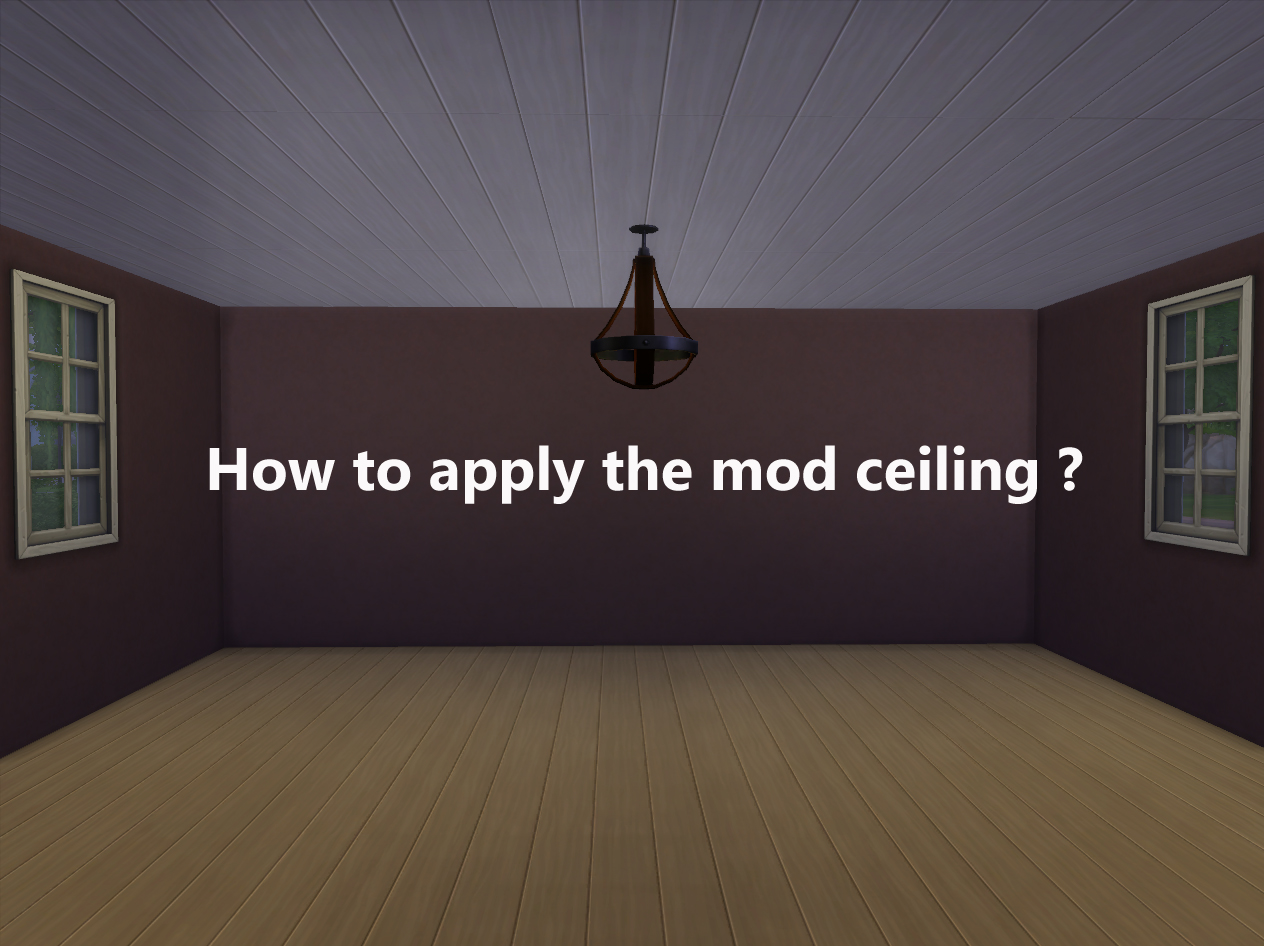
 How to apply the mod ceiling
Introduction:
This mini tutorial will show you how to use my "Movable Floor/Ceiling Patch" to build mod ceiling and how to use Sims 4 camera to see these ceilings.
 What you will need
Sims 4 (base game)
Movable Floor/Ceiling Patch by me
U]Steps[/U]
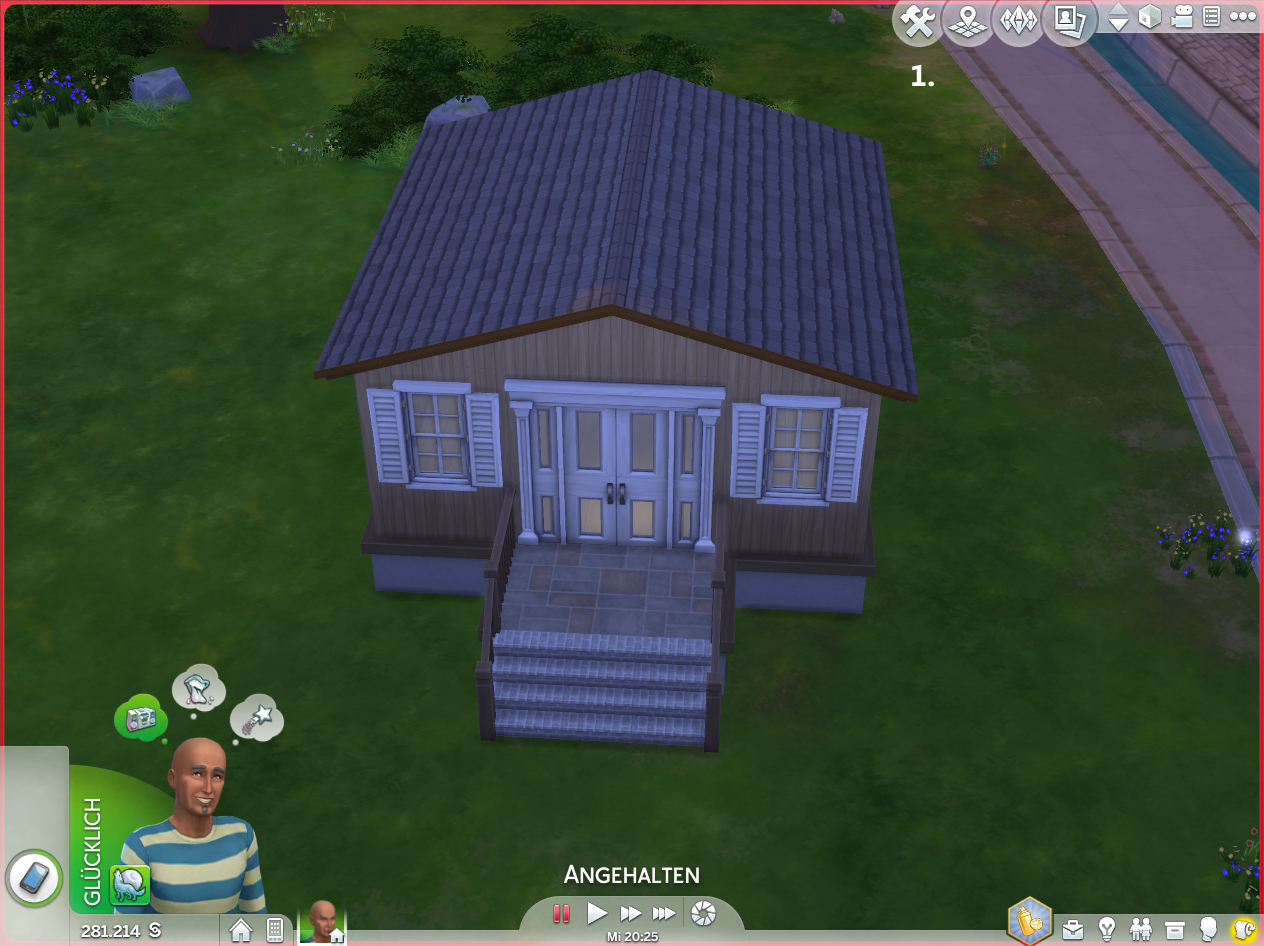
1. Build a house as usual. Let household move into this house . Then, switch to build mode again.
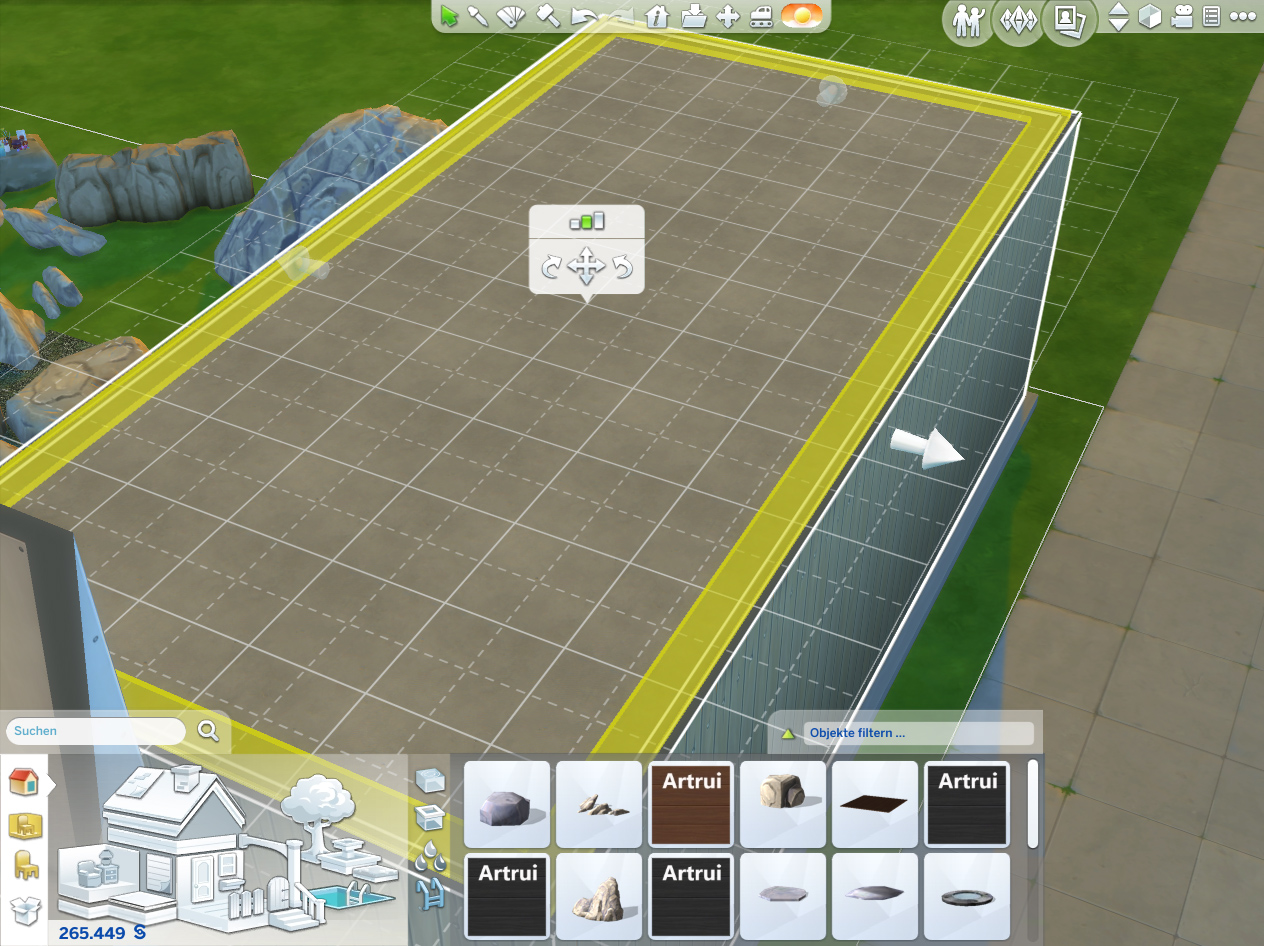
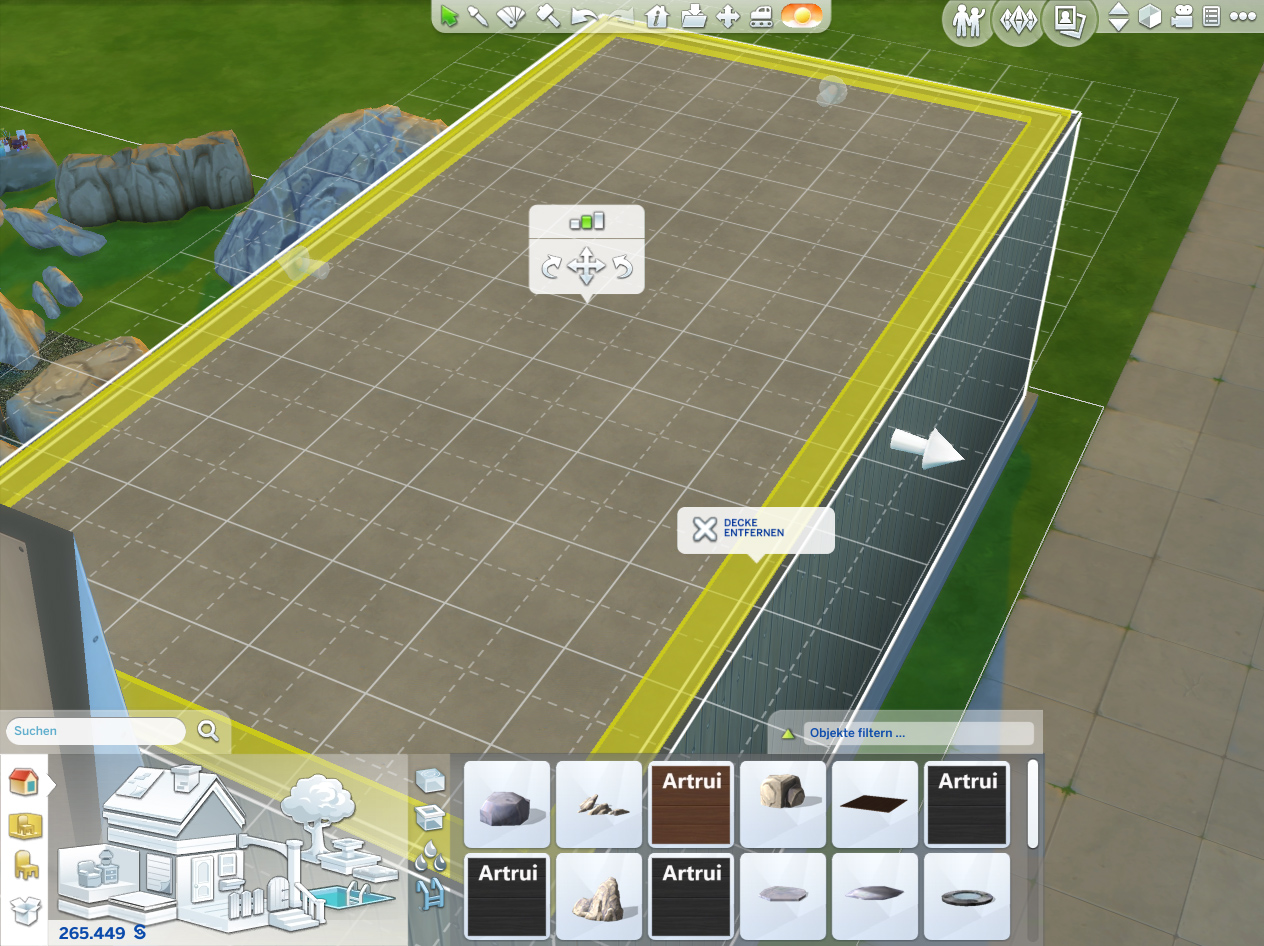
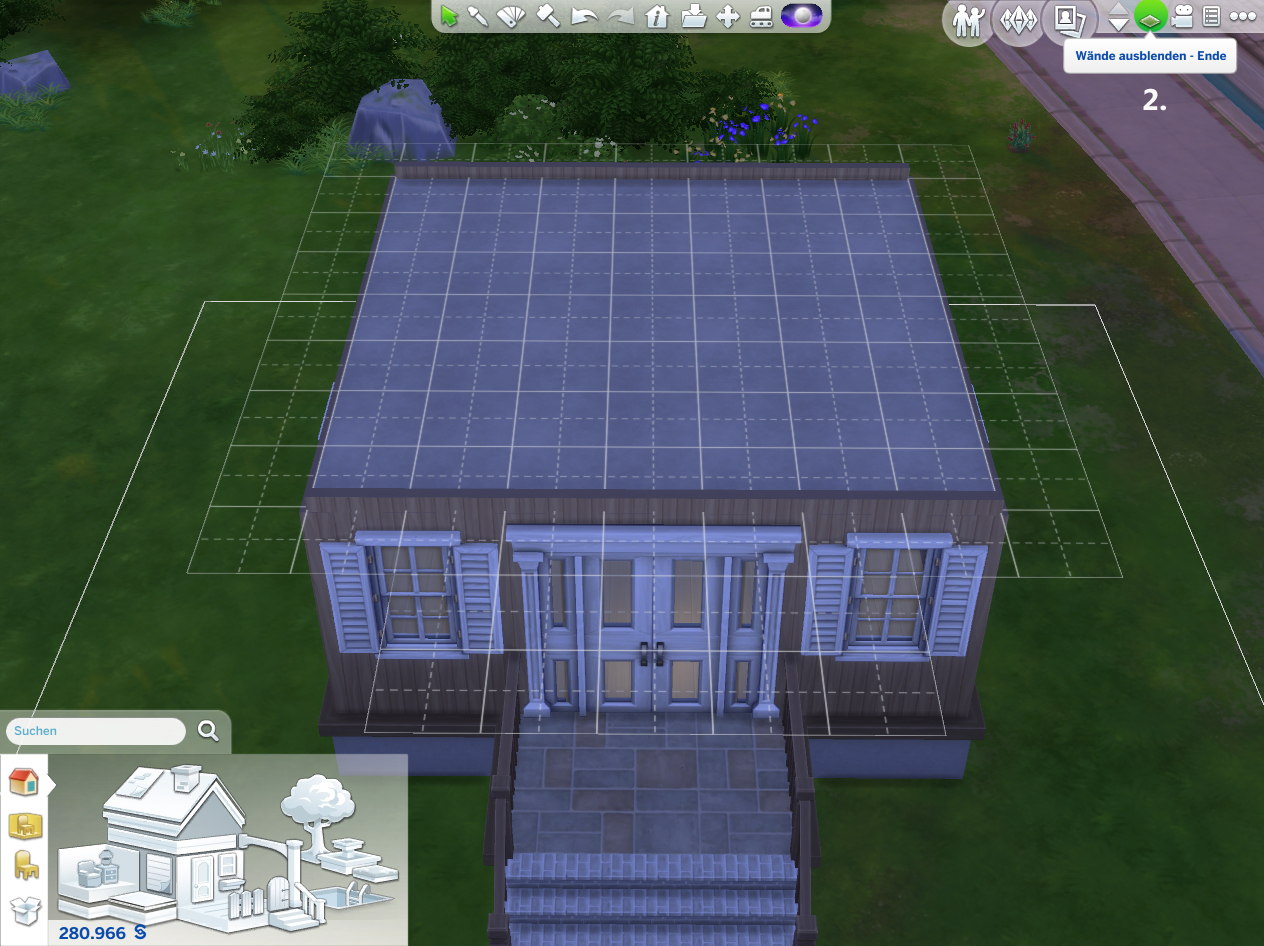
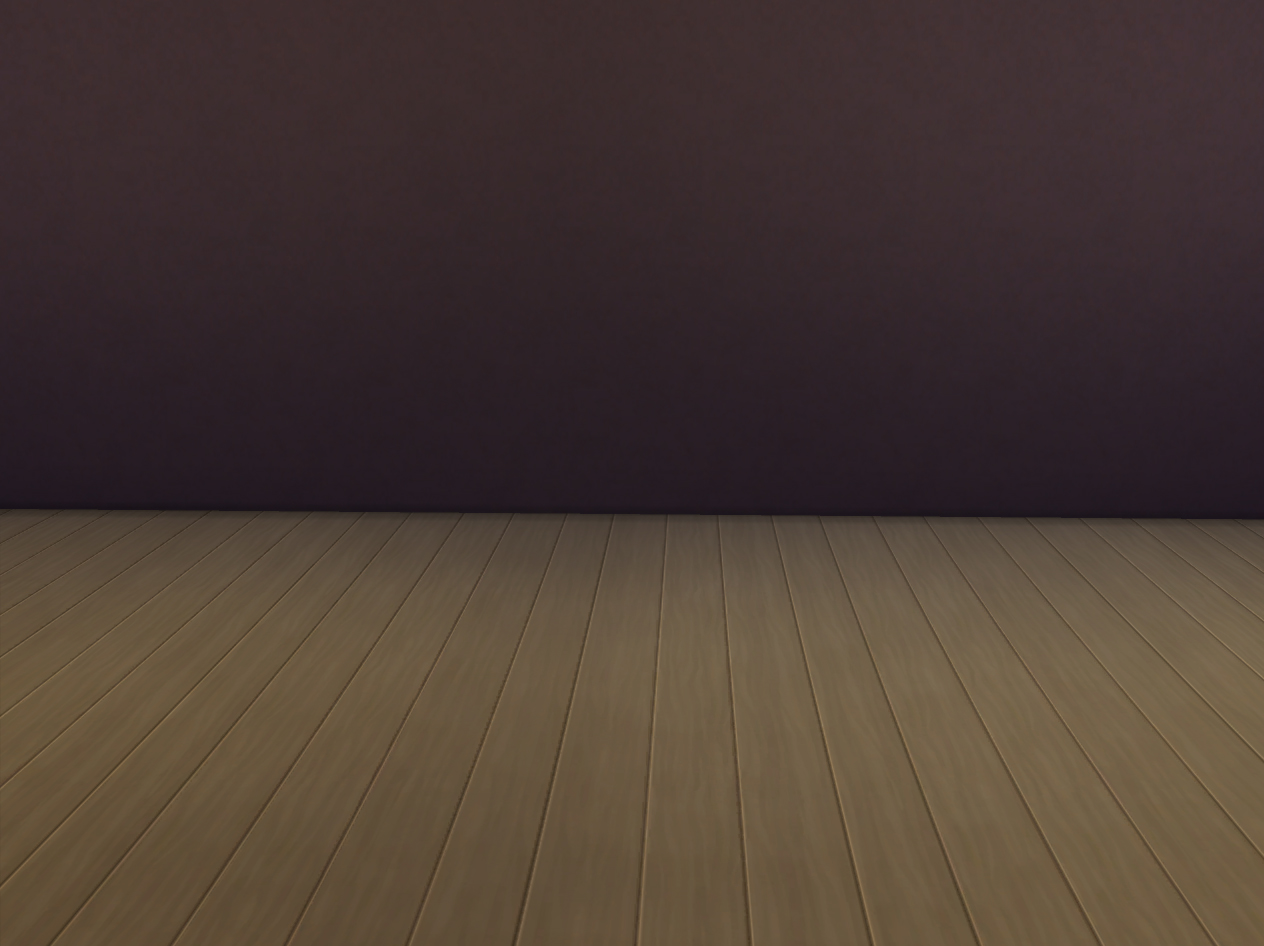
2. I plan to let the room on floor 1 has wood ceiling. Thus, the patches will be placed on the roof-floor. Let's enable floor 2 view with selection "hide walls" to see that floor.
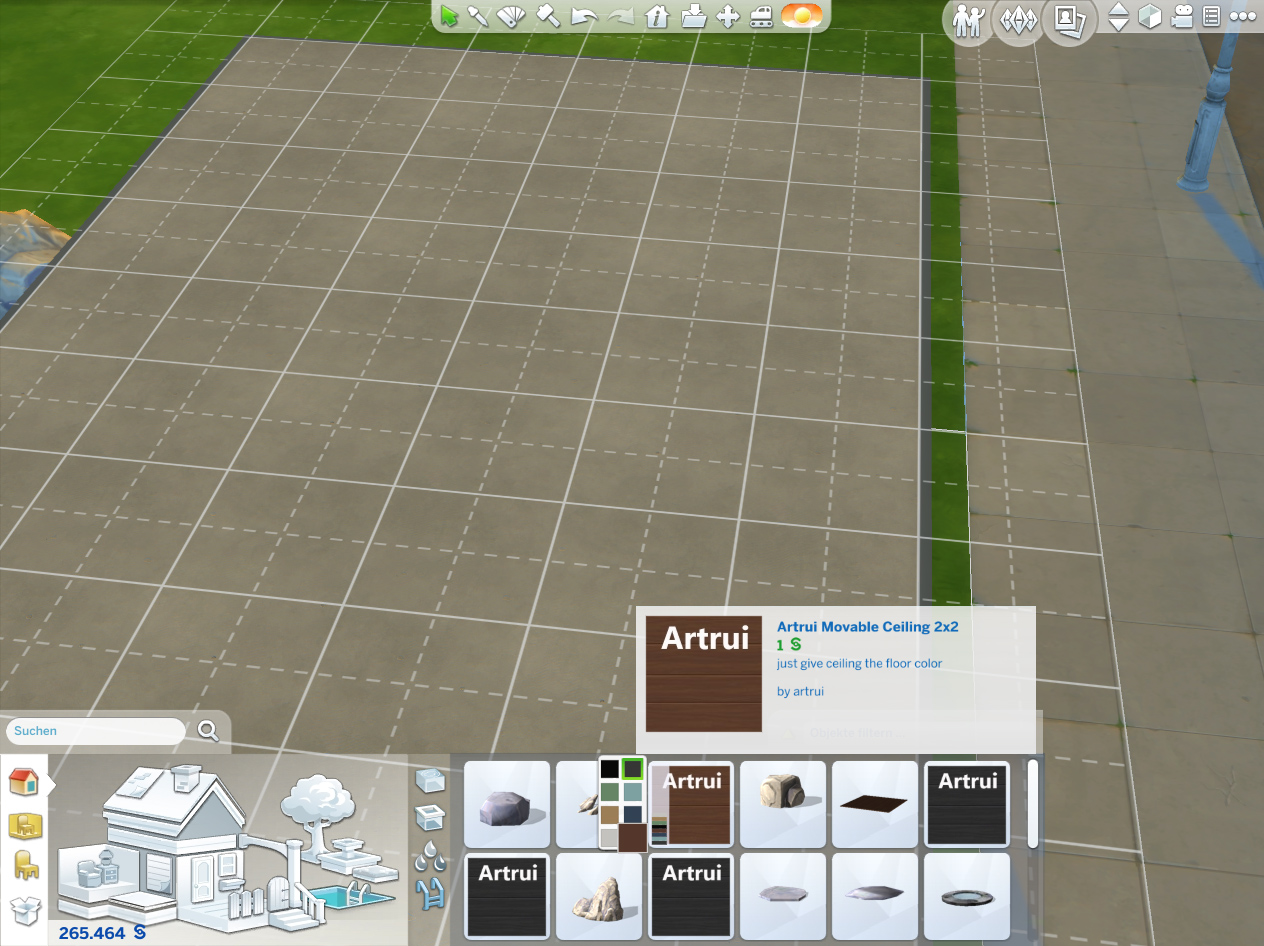
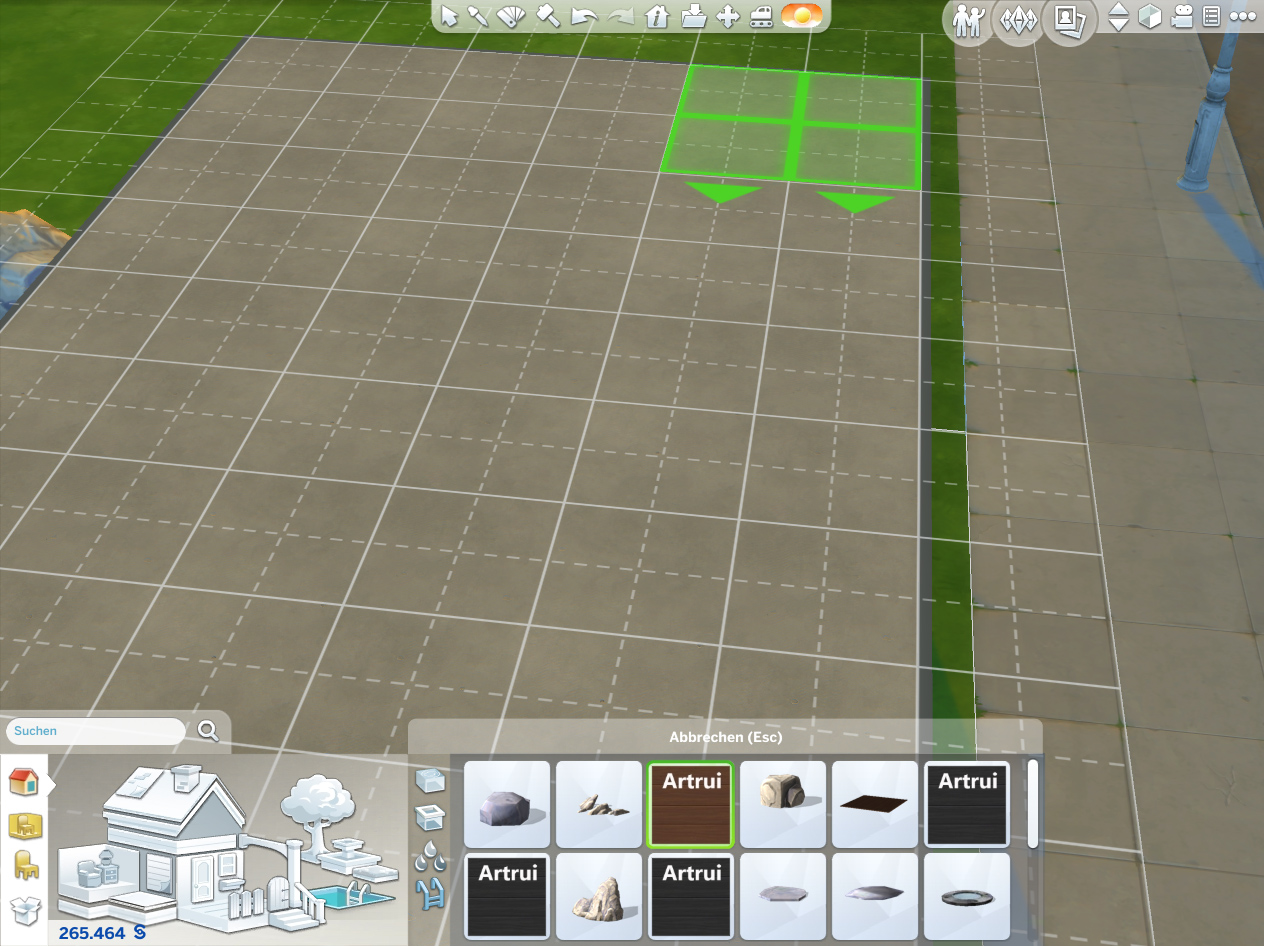
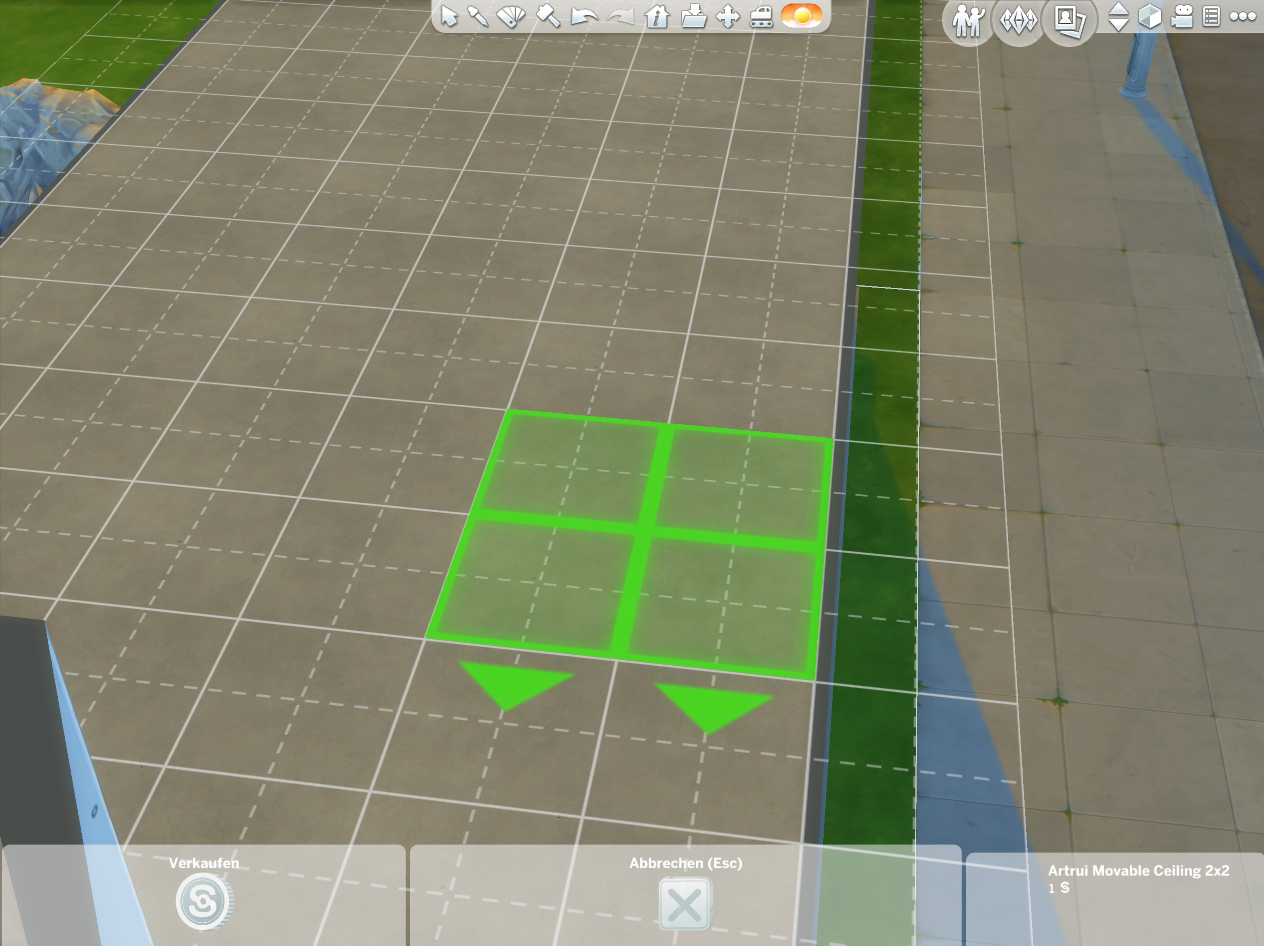
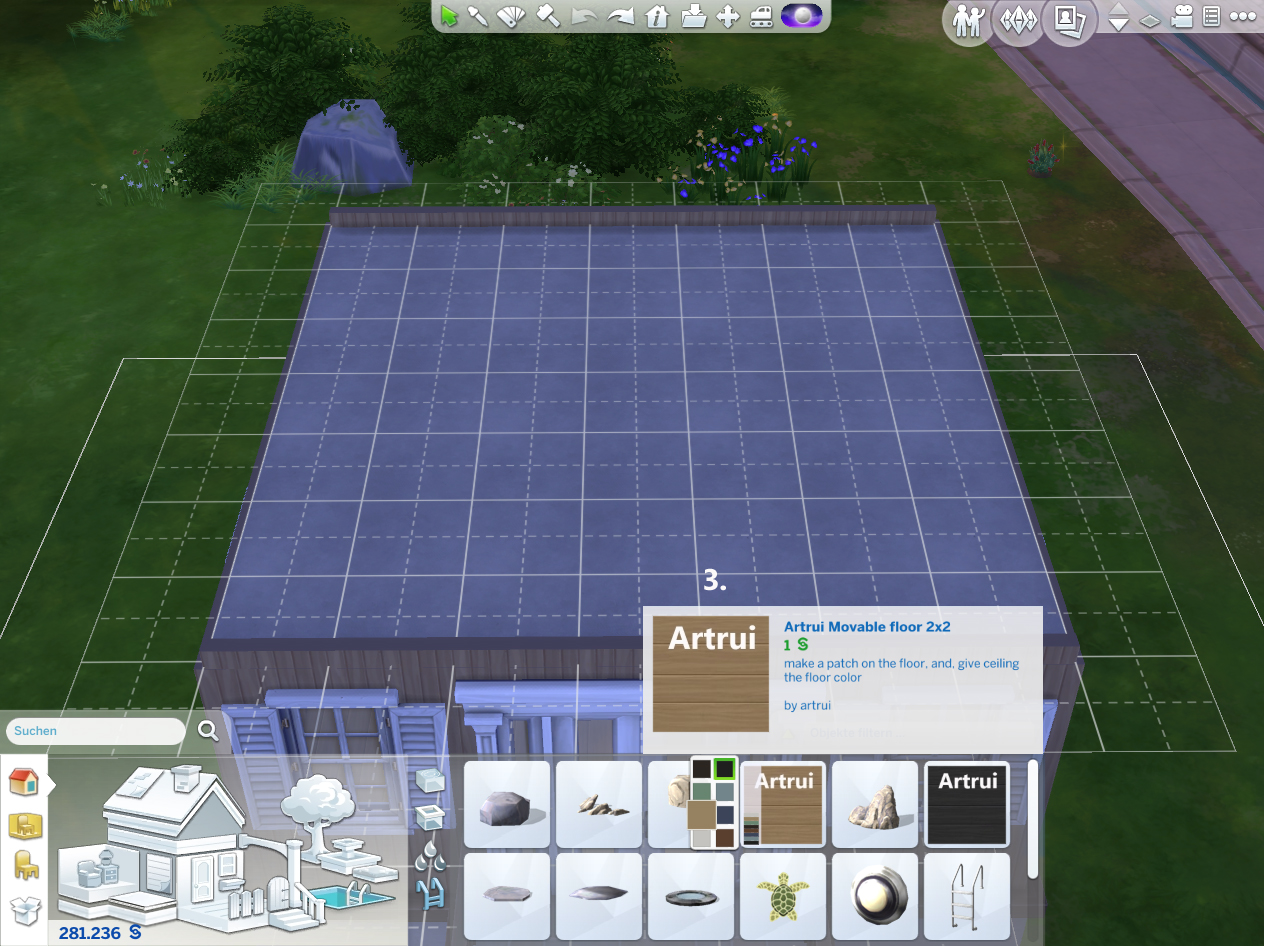
3. Find my "Movable Floor/Ceiling Patch" under Build mode/Pool/Pool accessories. Count the grids to plan, how you will cover that whole roof-floor with 2x2 and 1x1 patches.
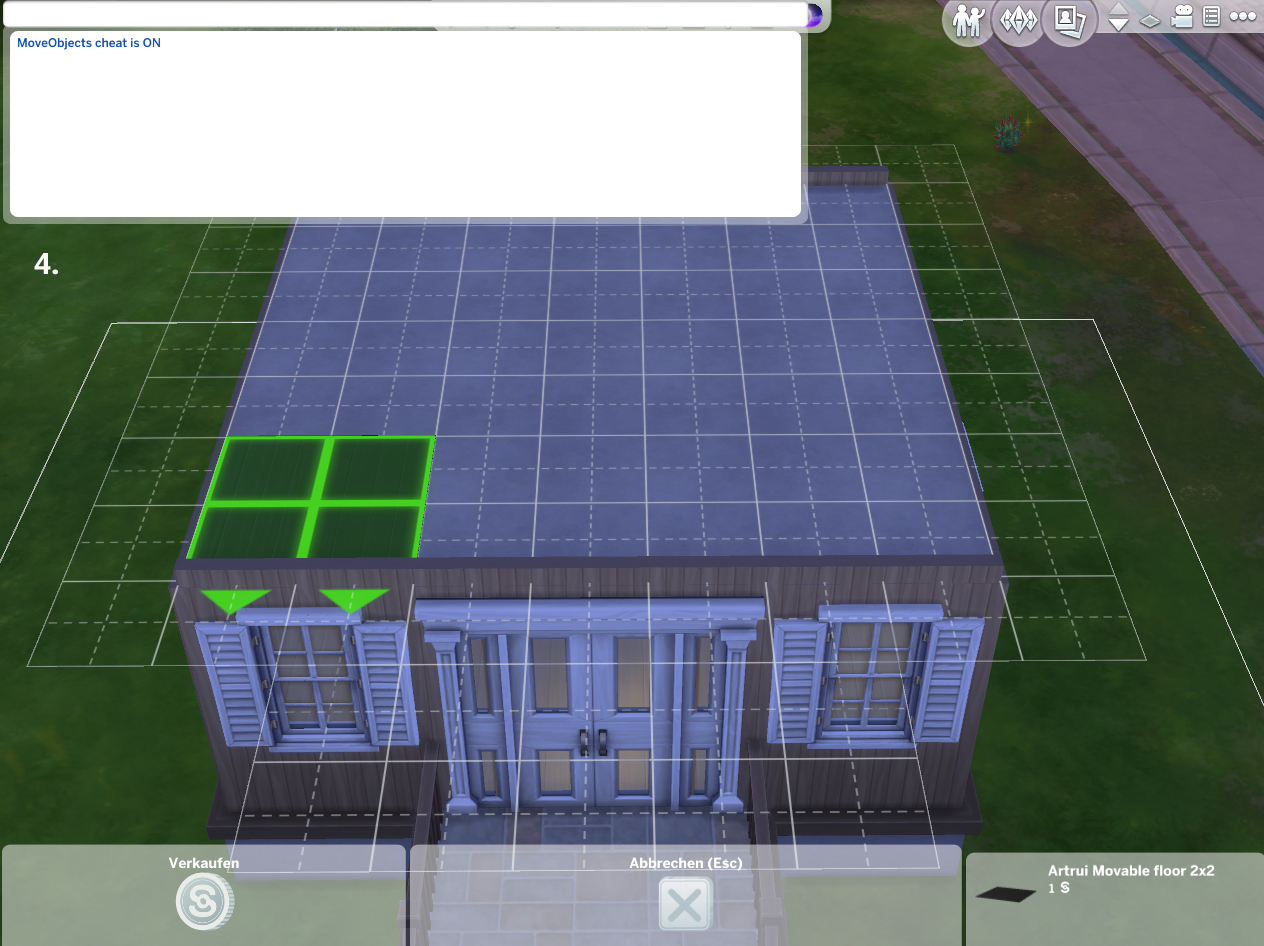
4. If it need be, enable MOO cheat: use hot key "CTRL+Shift+C" to open the cheat box. Tap
bb.moveobjects and hit enter. (In this example, without MOO cheat, the patch can not be placed on the edge of the roof-floor.)
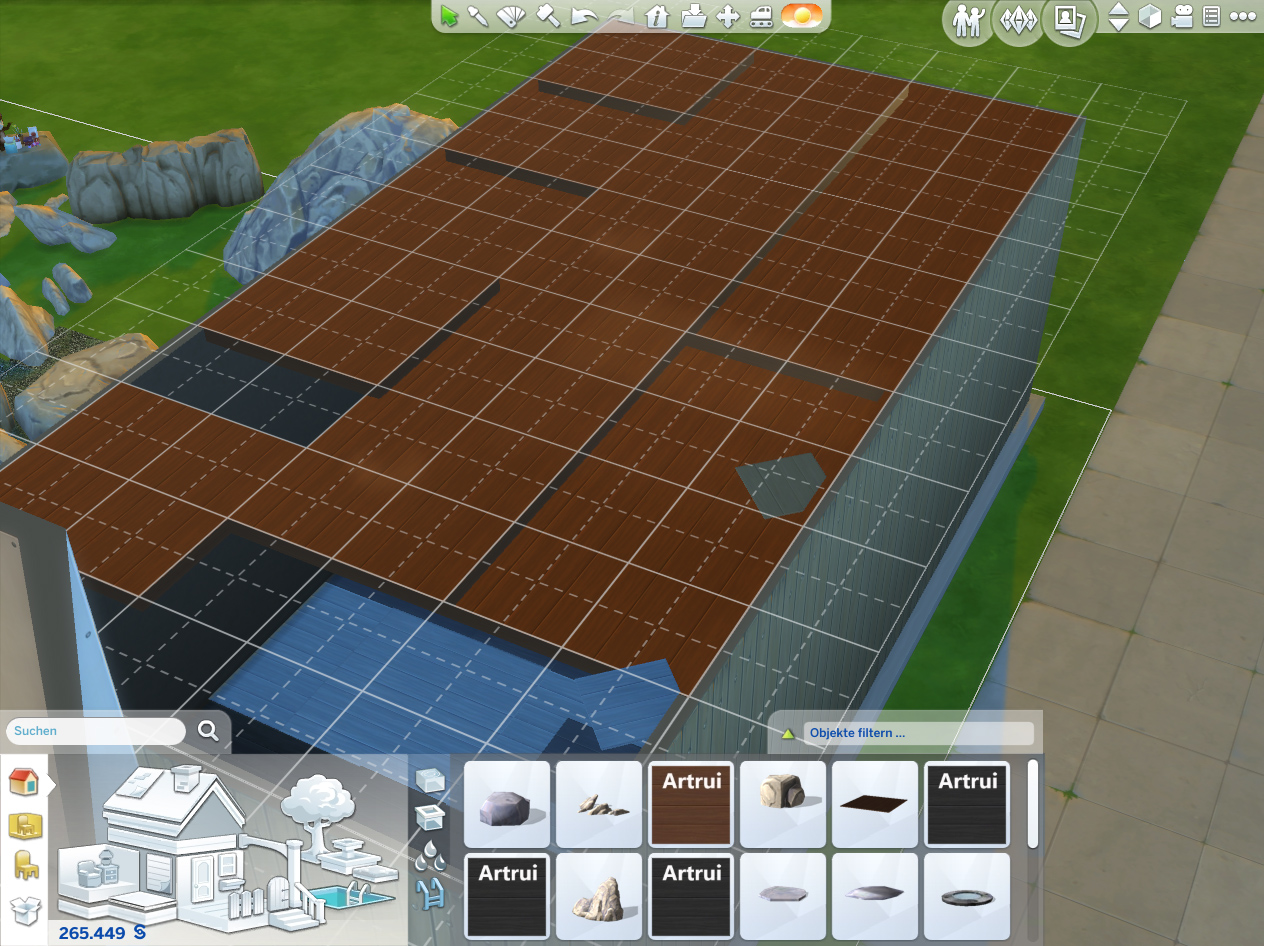
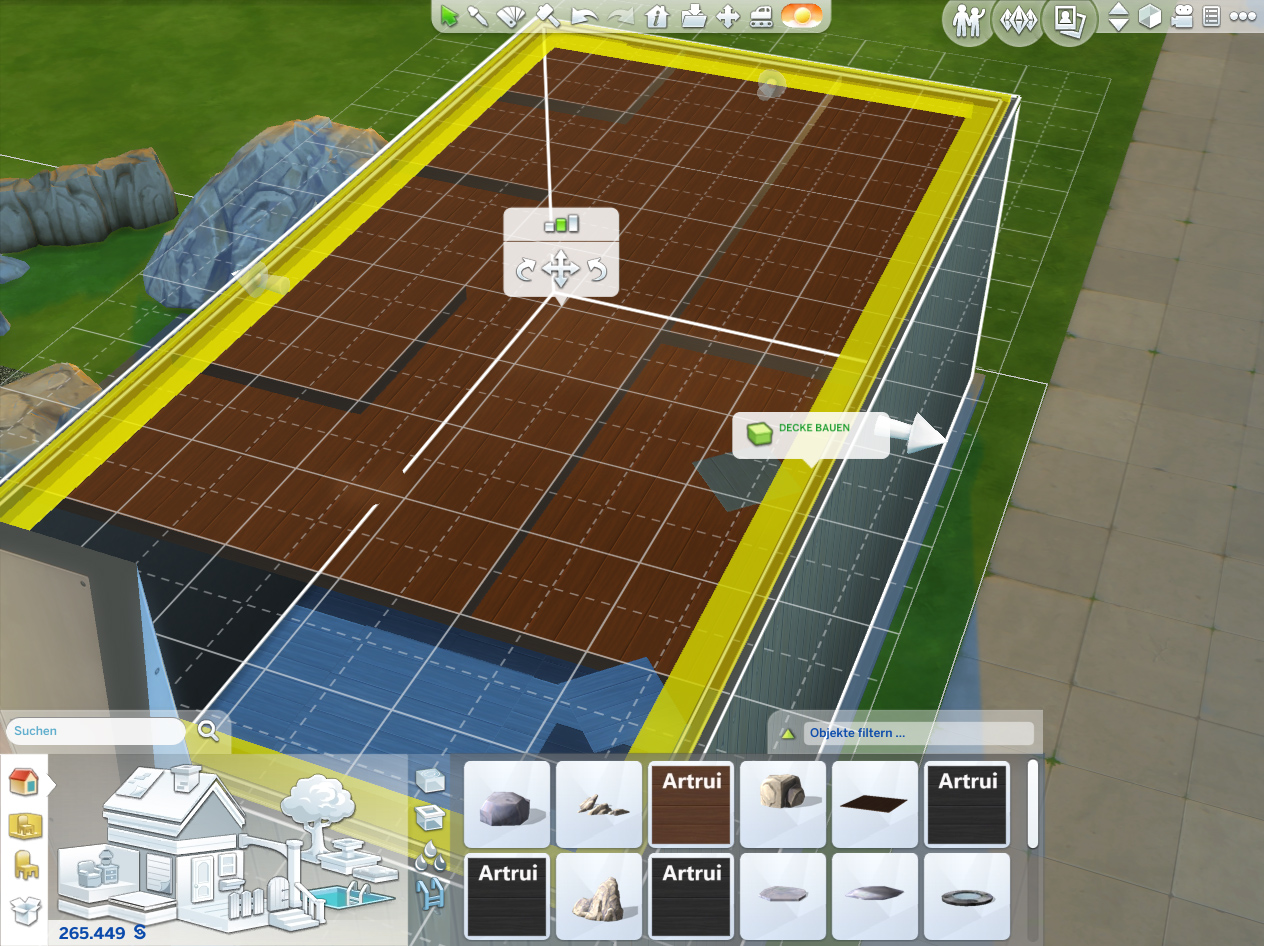
5. Place the patches from behind to front, from right to left and put all of them in the same direktion.
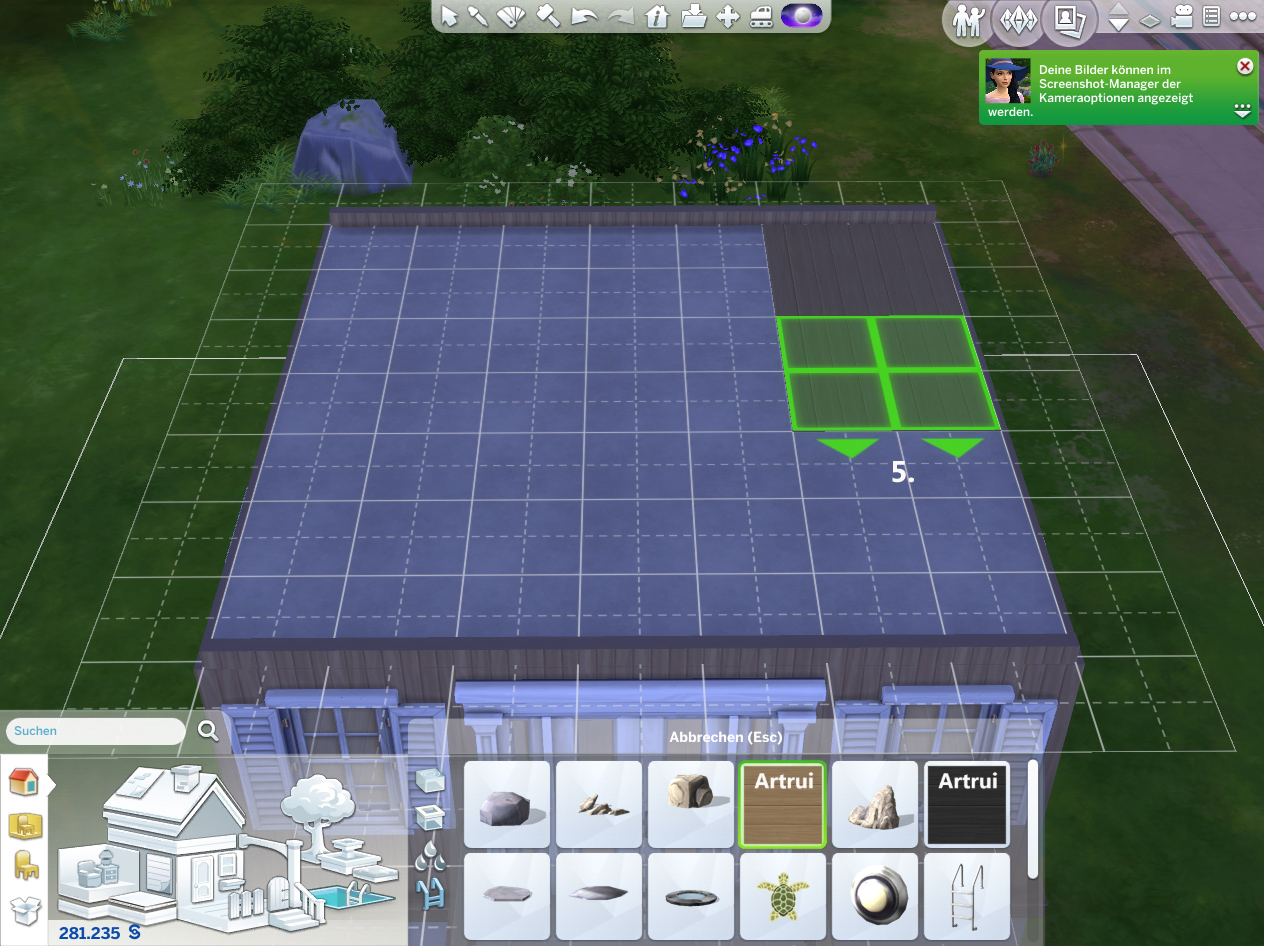
6. In this place order, their light effect (both the floor part and the ceiling part) looked unit.
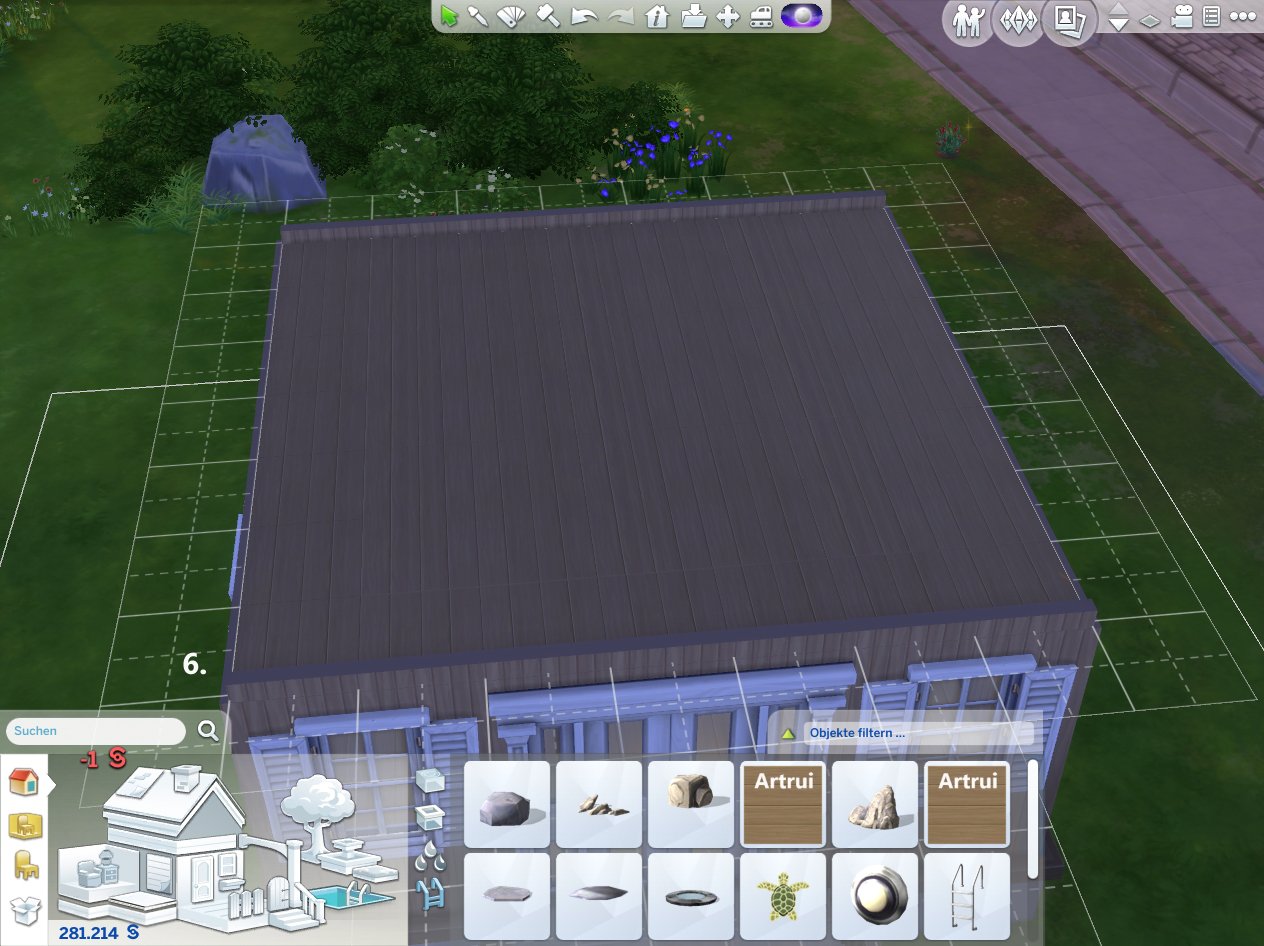
7. Optional: Place some lights on those patches to let that ceiling part looks a bit brighter.
8. be sure that your camera option is set as default.

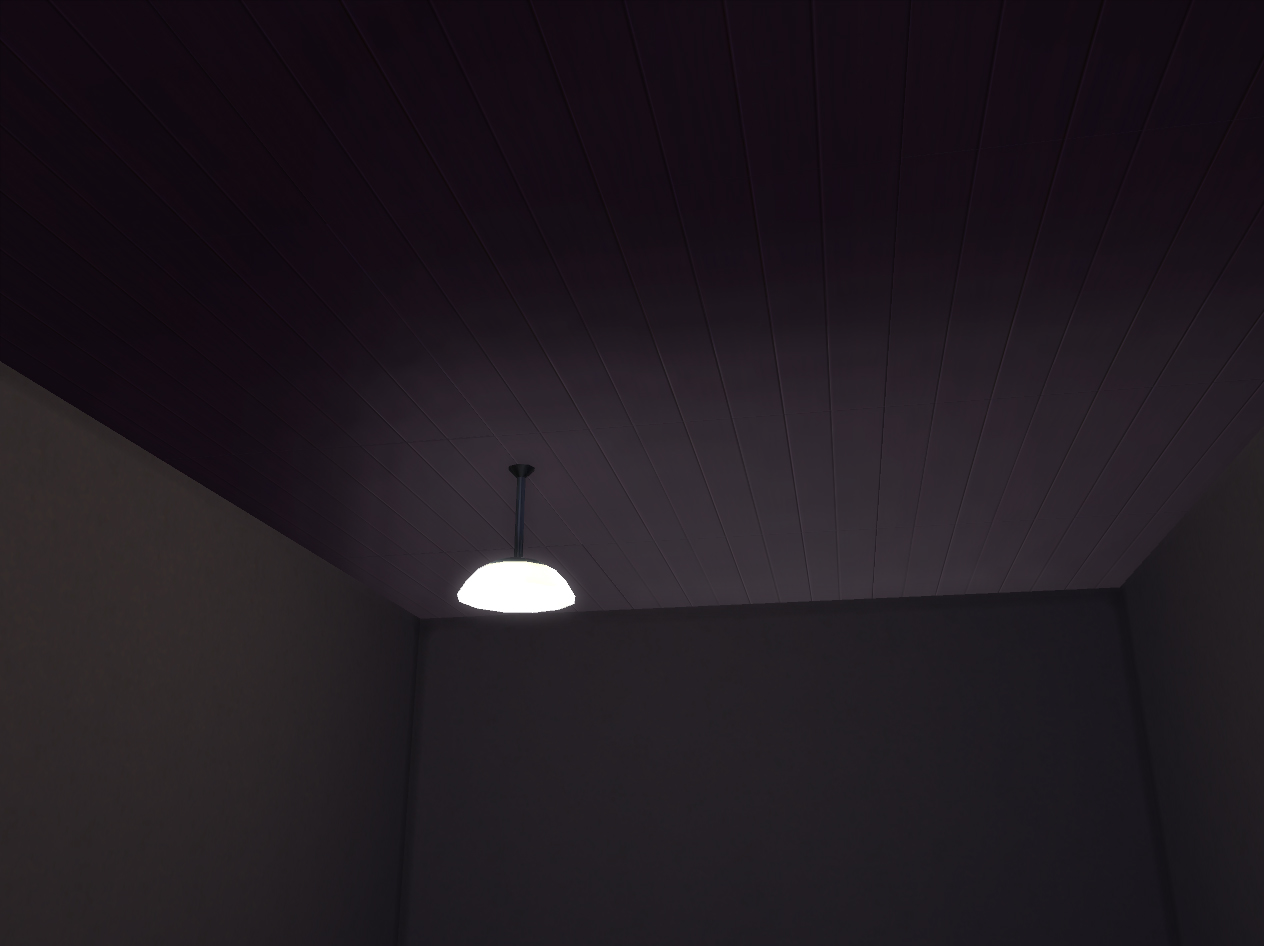
9. Now, switch to life mode. Move camera into the room on floor 1.

10. Hit "tab" key to use the cameraman mode.
11. Turn the camera upwoards by moving mouse. Use arrow-keys to adjust the camera position. So that your camera is in the floor 1 room and you can see the sky above.
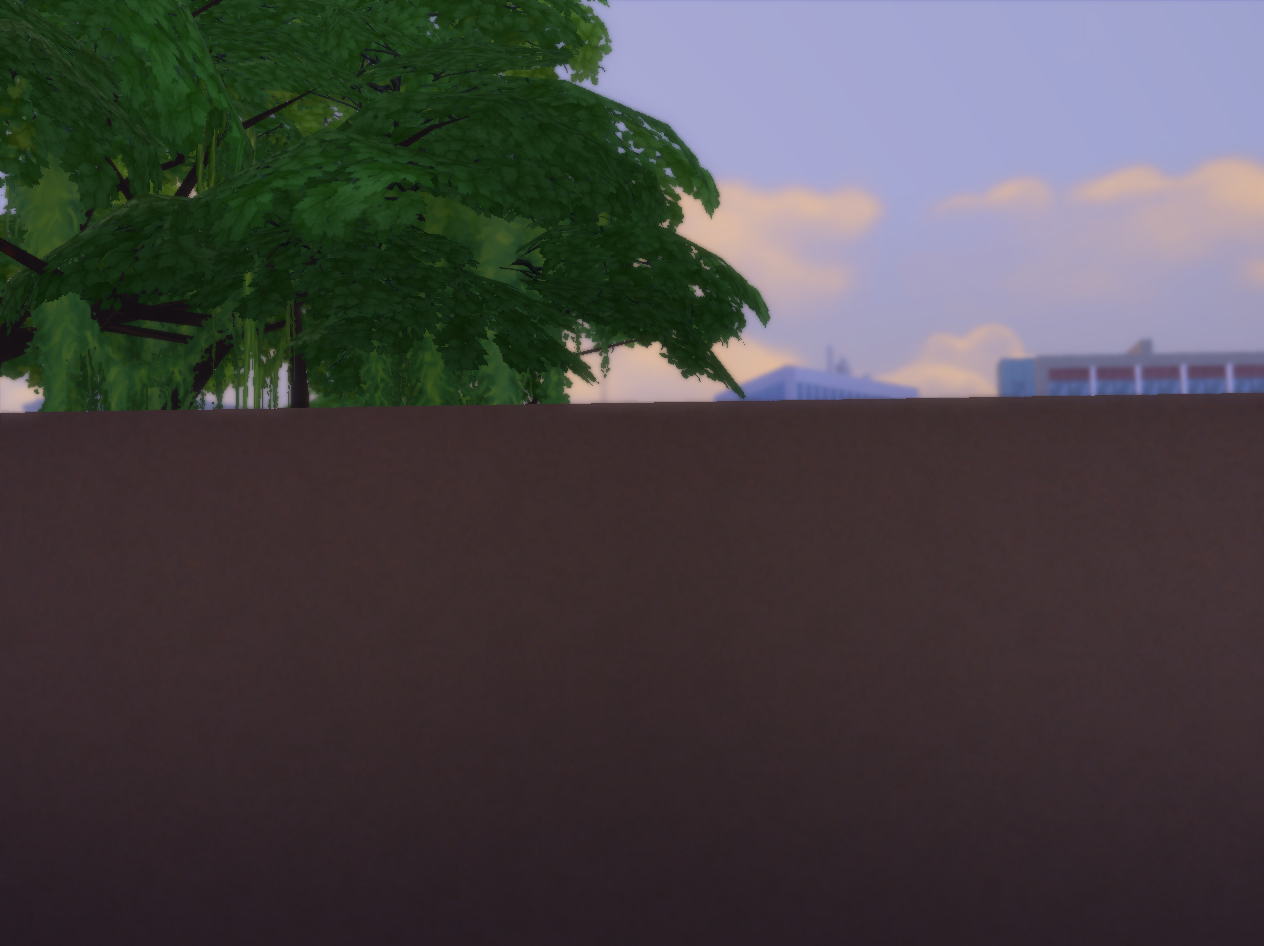
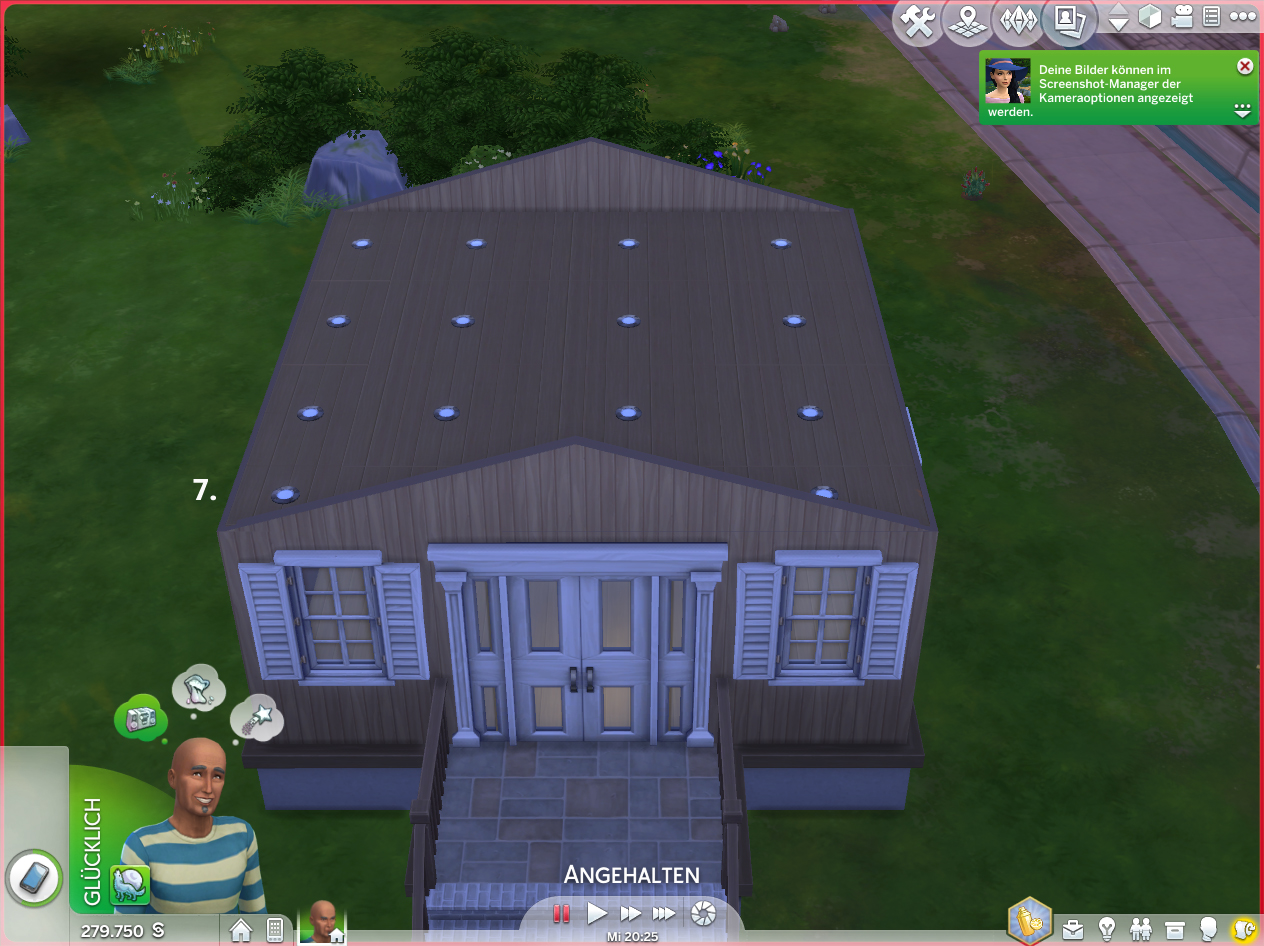
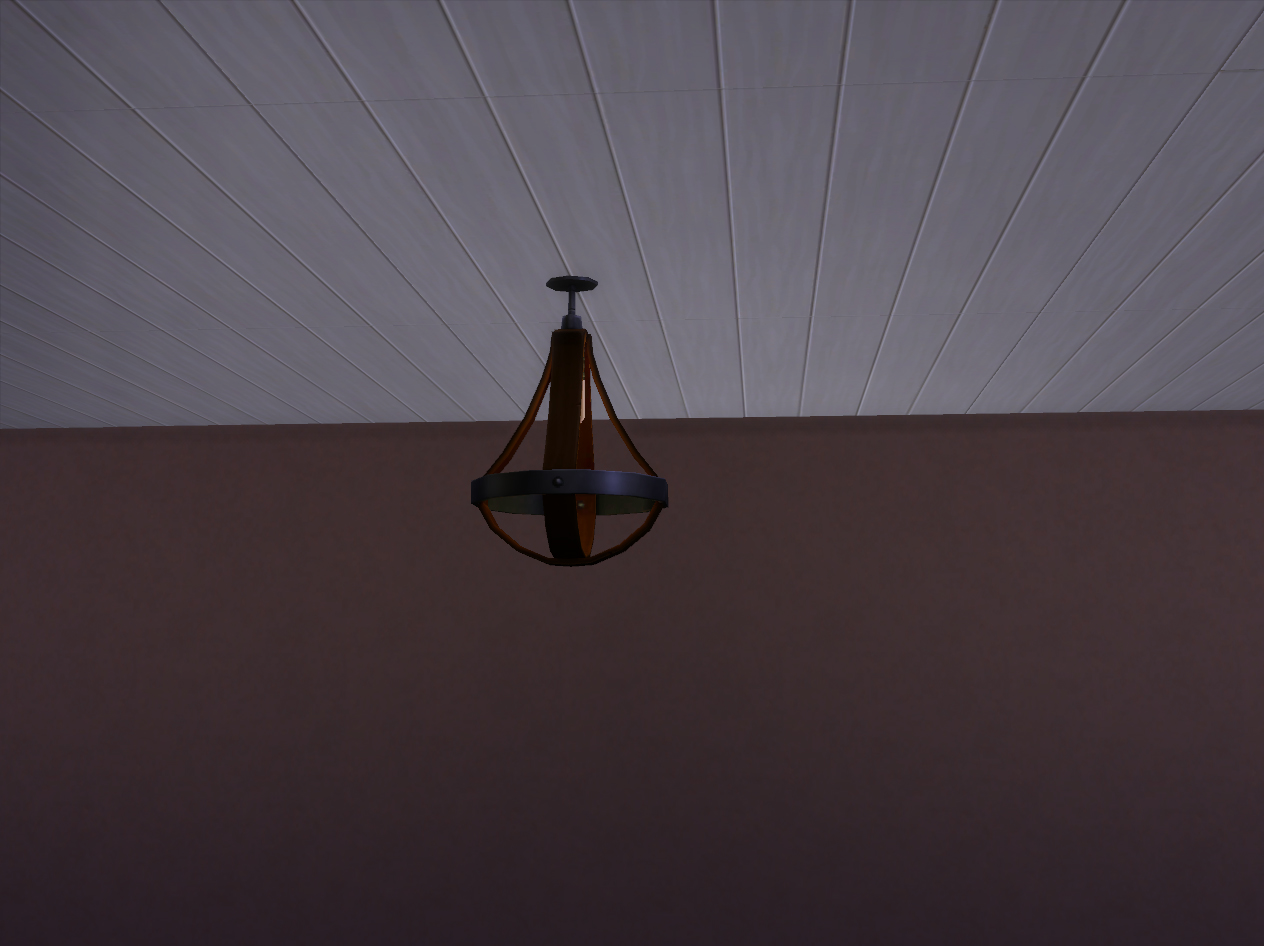
12. 1xtime hit "page up" key to let the next floor visible. Now, you can see both the ceiling light and wood ceiling.
This tutorial is made because of a request from FashionSims3.
I'm searching for every new idea to deal with the Sims! To me this game's just like a tool. One can change and create everything he/she wants!
 Sign in to Mod The Sims