After fiddling about with the 'constrainFloorElevation' I managed to create my Victorian Cottage known as
Moonlight Bungalow, I was very pleased with the outcome and then 'TudorMan23' wanted to know how I did the roof, so now I'm going to tell you all as best I can. Beware, there'll be a lot of pictures in the following stages and the skills I will try and demonstrate should be entirely transferable, even to the Sims 2. There's no need to try and recreate the house I am using for a demonstration as I will be uploading it when it's finished.
Stage 1.
You need to plan the layout and size of the building if it doesn't already exist. You also need to think about where the fireplaces are going to go, whether the chimneys will start inside the house, or whether they will be outside.
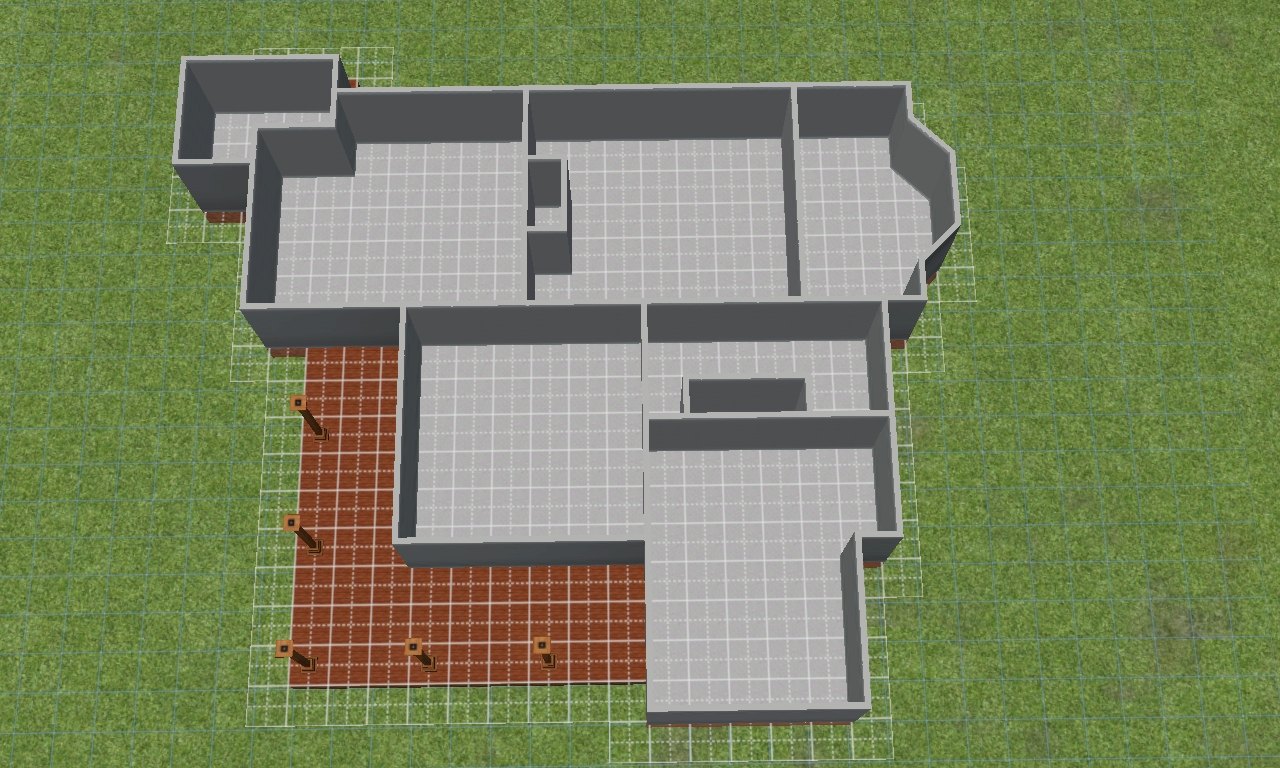
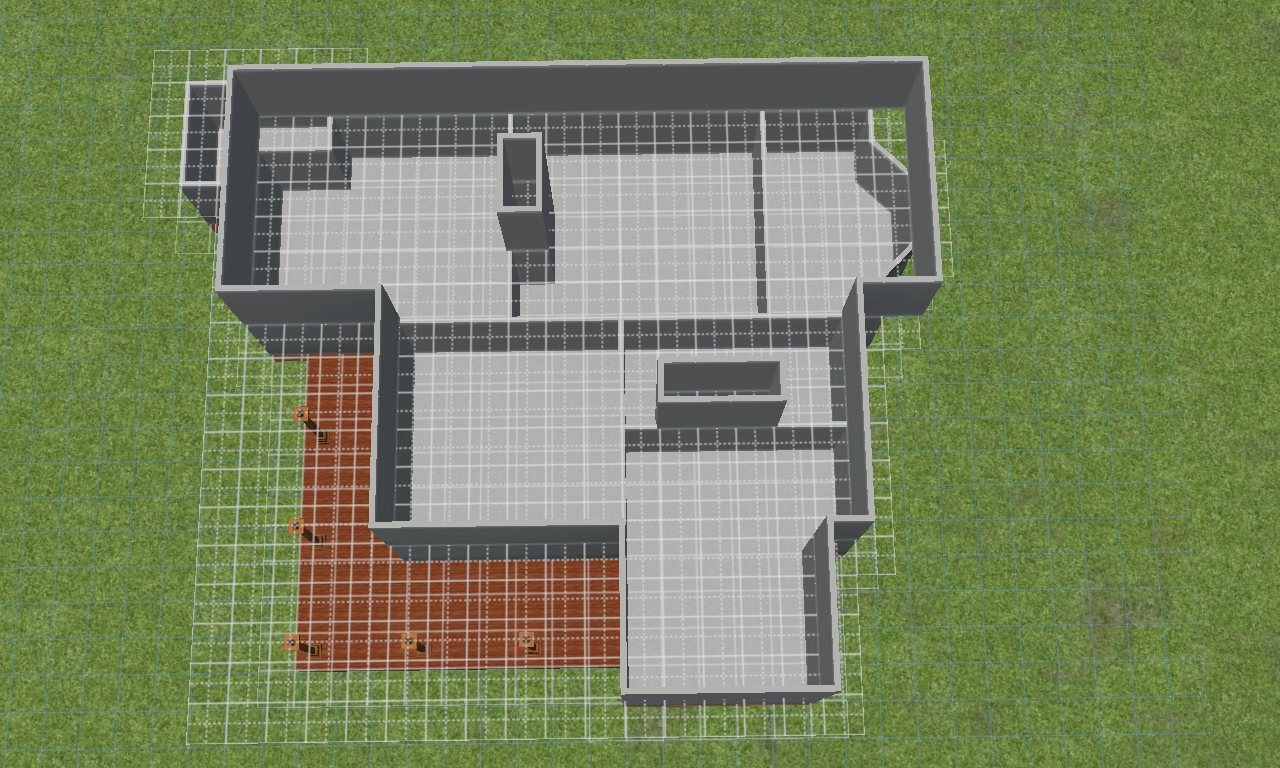
You need to bear in mind that what you have downstairs will be bigger than upstairs as the upstairs will lose a tile's width all the way around, except for dormers and gable ends, where the upstairs walls will connect with the external walls.
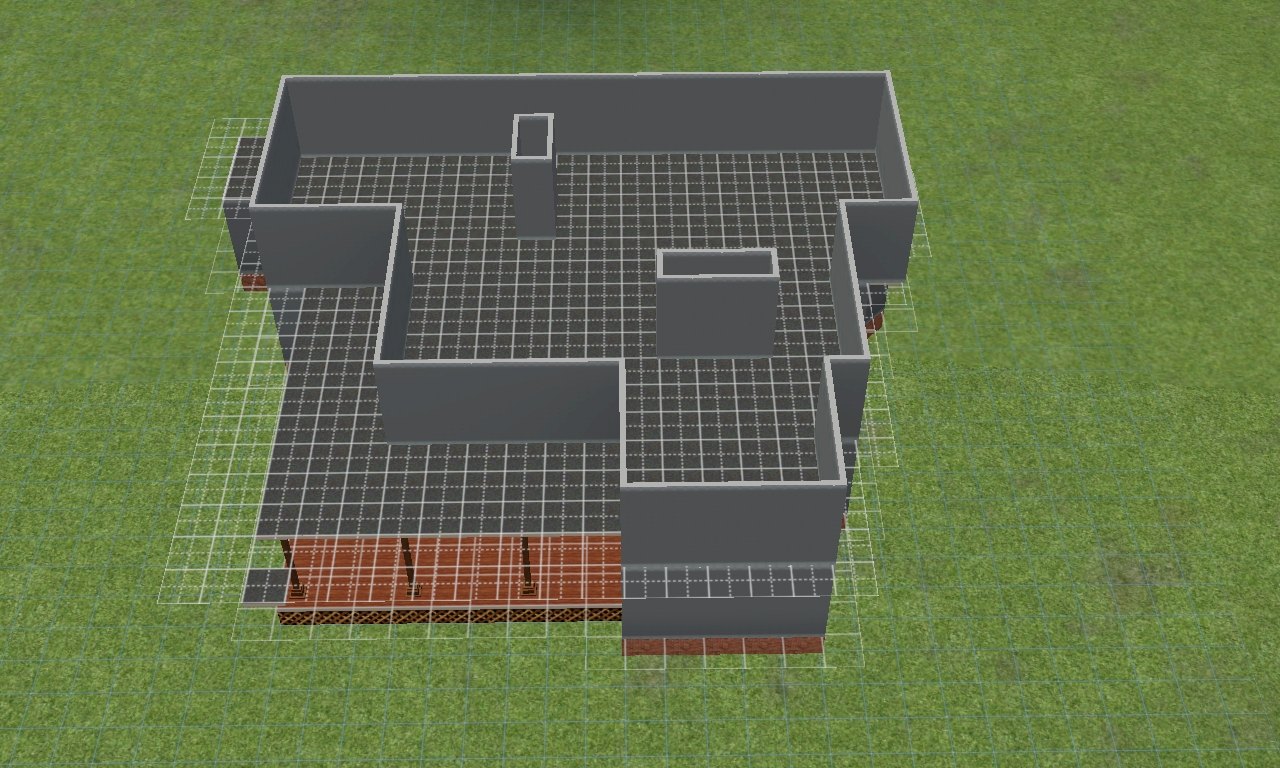
Once you've laid out all the external walls/basic shape of the house (excluding the roof) I suggest giving the inside a floor upstairs and also on the verandas and overhangs if you have any, this will make things easier in the future. Then place the interior walls upstairs bearing in mind that there should be a tile's width betweem them and the external upstairs walls, apart from where there are gable, the interior walls need to link up to the exterior walls at the gables like so:

Then cover the upper floor with floor tiles, a tiles width of overhang can be helpful, but it's not necesary. Then open the cheat box with 'ctrl' & 'C' and then type in 'constrainFloorElevation false'. This will allow you to change the height of the walls. Now use staircases to start lowering the highest floor created, like so:
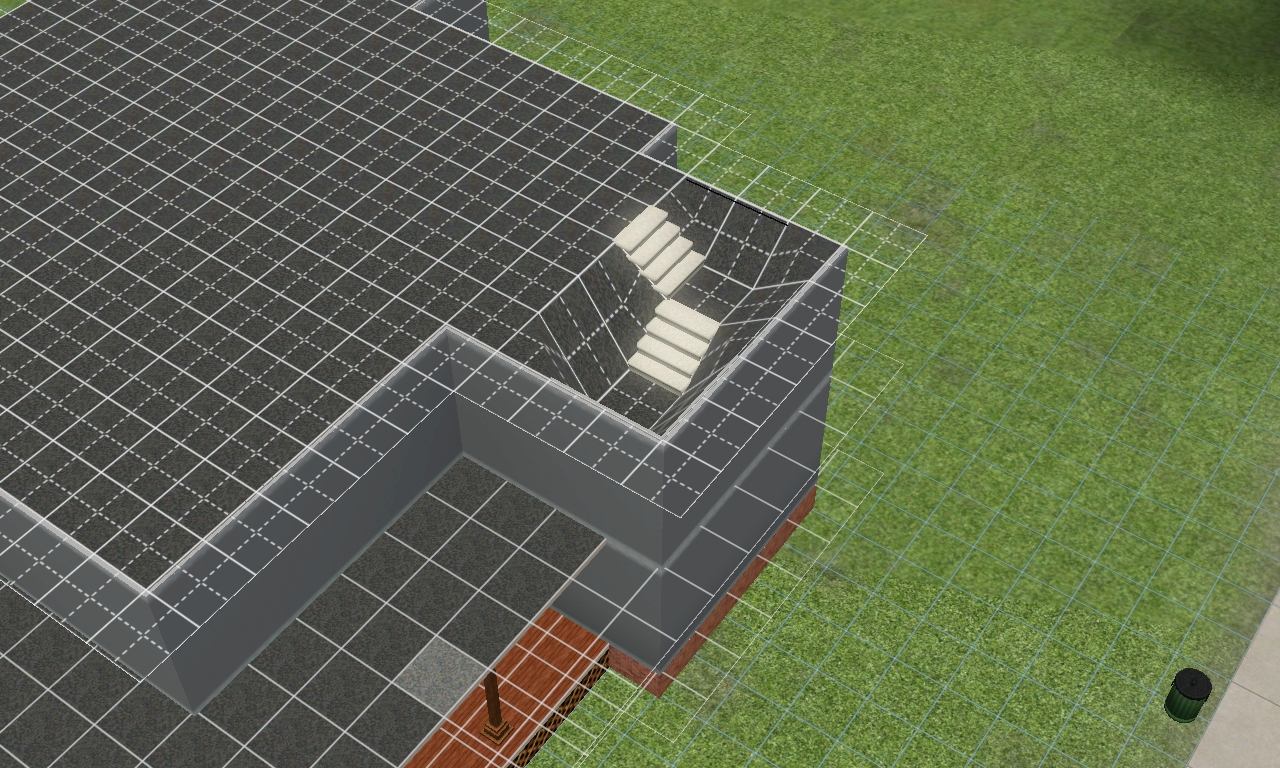
For this particular tutorial I'm going to lower the height of the attic/upstairs with 2 staircases. Once the second staircases have reached the levels shown, delete both of them and go to the 'Terrain Tools' and get the 'Level Terrain' tool, then click and drag from the level the second staircase created and drag to cover all of the highest level, this make take a coulpe of drags, it the tool starts playing up simply click on a different tool and then click back onto the 'level terrain' tool and continue leveling the floor to the height which the second staircase created, this should flatten it out like so:

You can always lower it again with another staircase to a level like so:
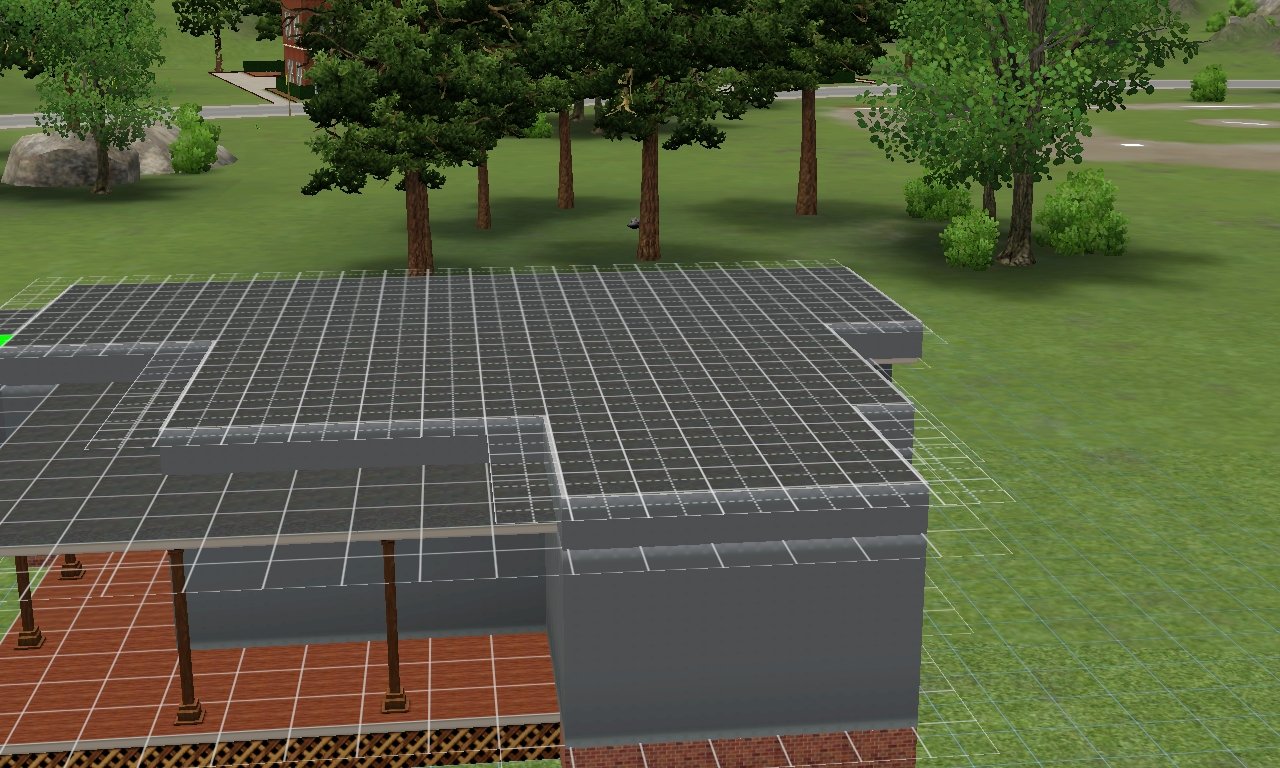
Altought I'm not going to do it with this tutorial.
That's all for stage 1!