 Your Wish is Granted - A SHORT CHAIN FENCE!

Screenshot-33.jpg - width=1547 height=865

Screenshot-34.jpg - width=1766 height=911

Screenshot-35.jpg - width=1478 height=972

Screenshot-36.jpg - width=1728 height=972
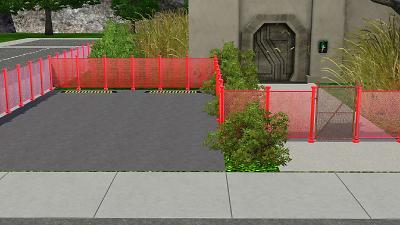
Sure there are gabrillions of awesome perfect custom fences, but nothing that matched the Epiphany Fence.
During my travels on the intarwebs, I discovered that, by golly, I'm not the only one searching for said fence match!
So while I was sitting here farting around with TSRW and MS3D, making expensive things cheaper, and leveling off the speakers on that stereo, I thought, why the heck not give it a shot!
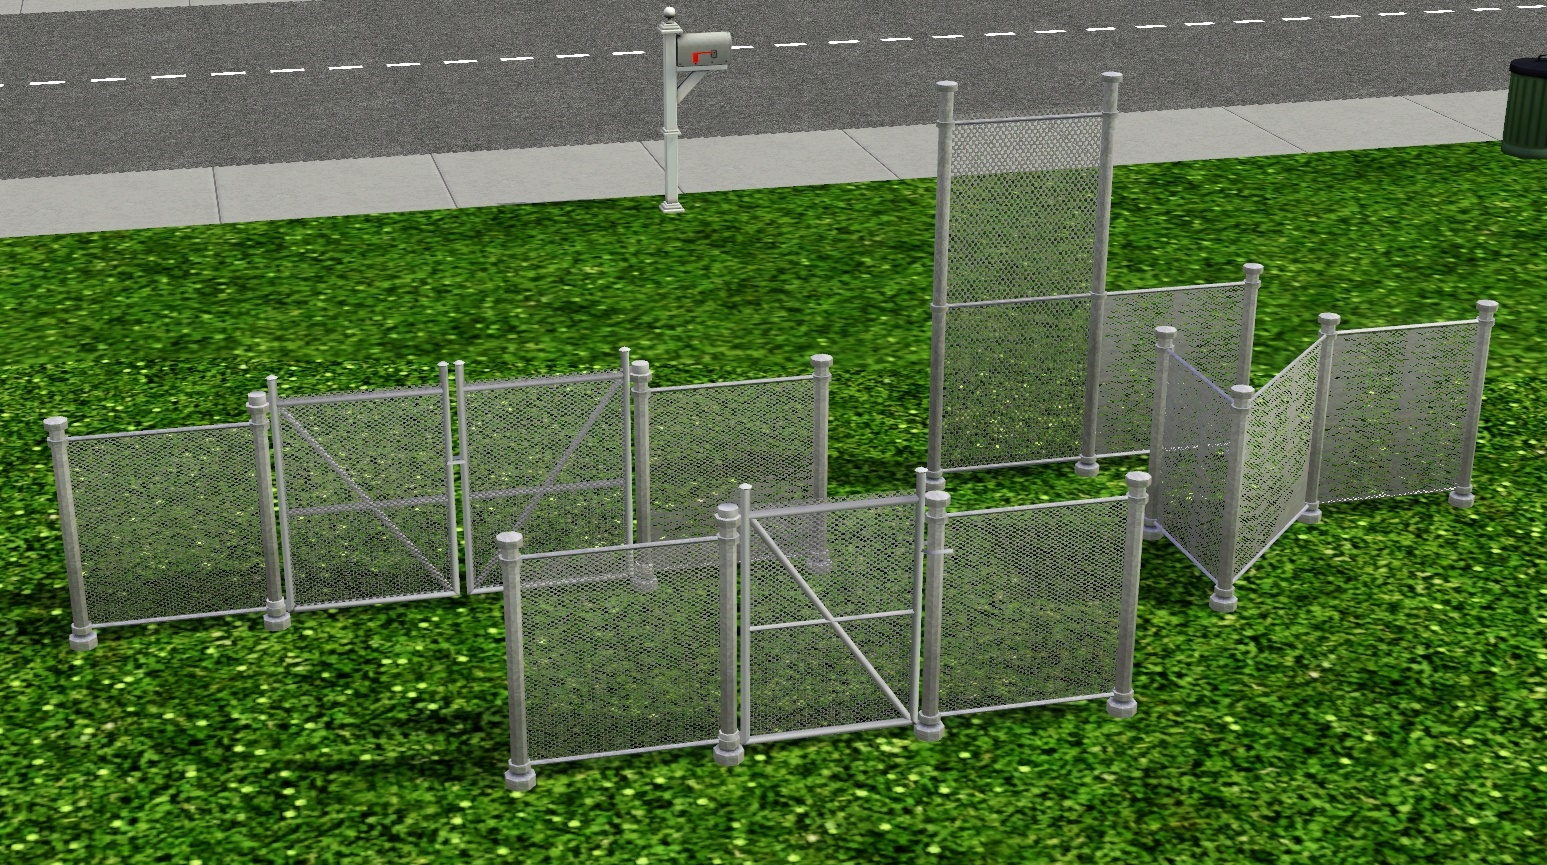
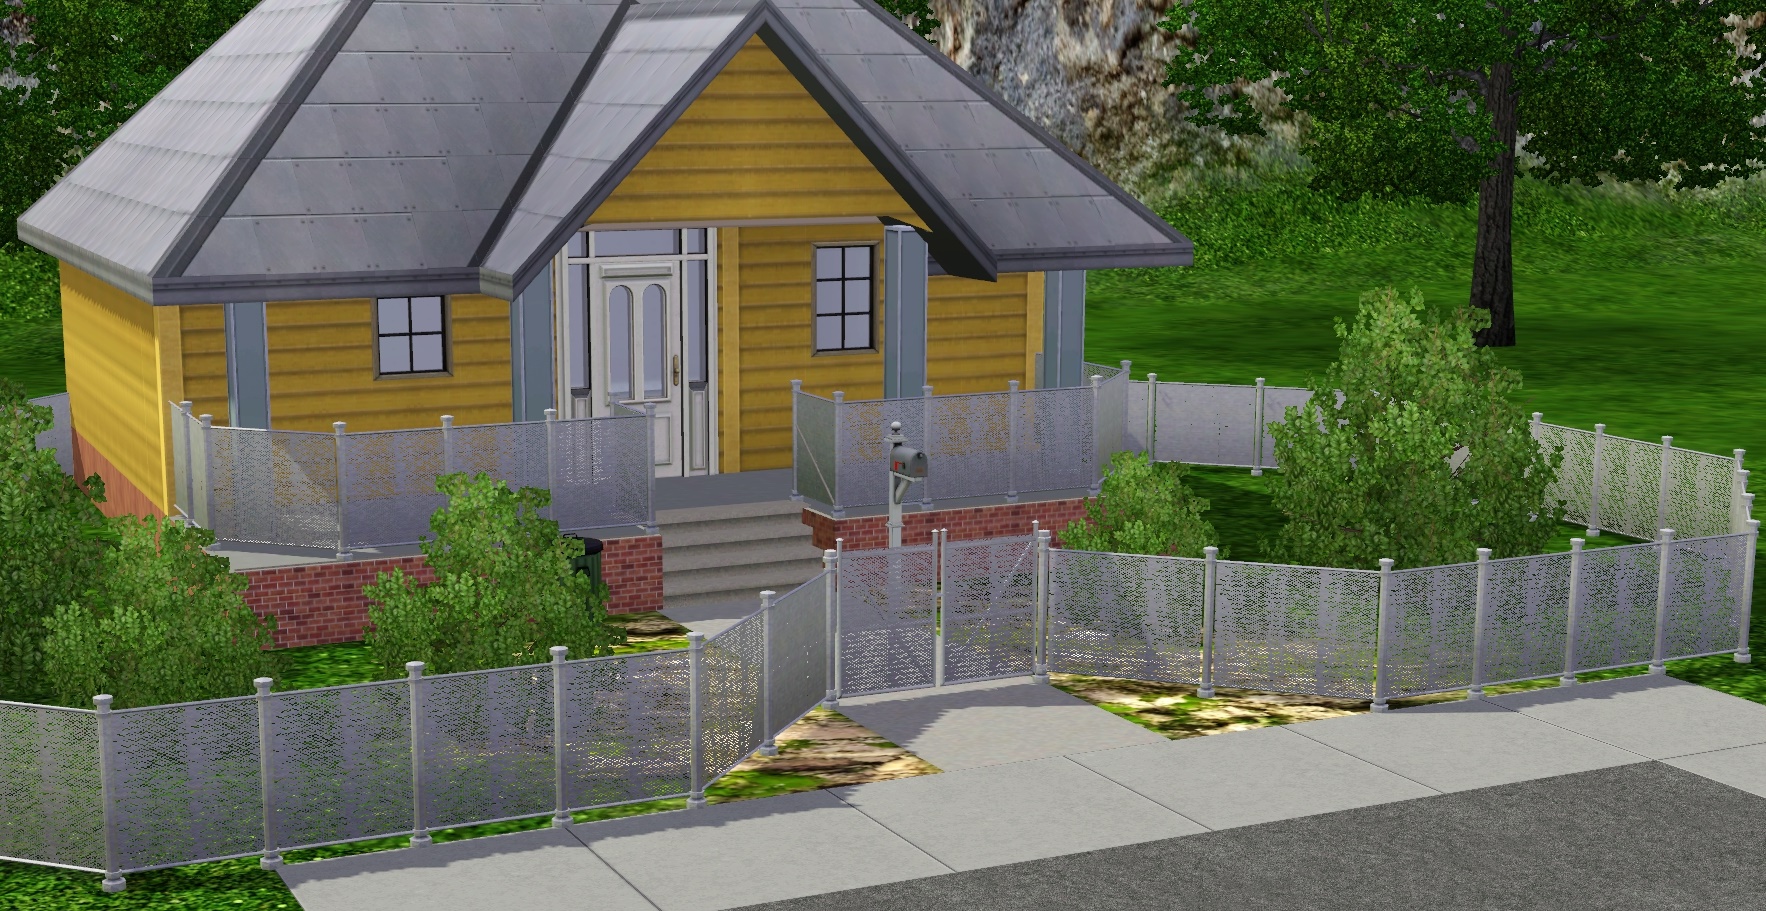
It's not the first edit I have ever made, but it's certainly the one I am most proud of, so I figured I'd share it with y'all good folks here on MTS. There is only ONE channel, just like the original base game fence, and the same recolor is included. While I was at it, I also made the single tile and double tile matching fence gates.
I give you......... The Shorter Epiphany Fence.
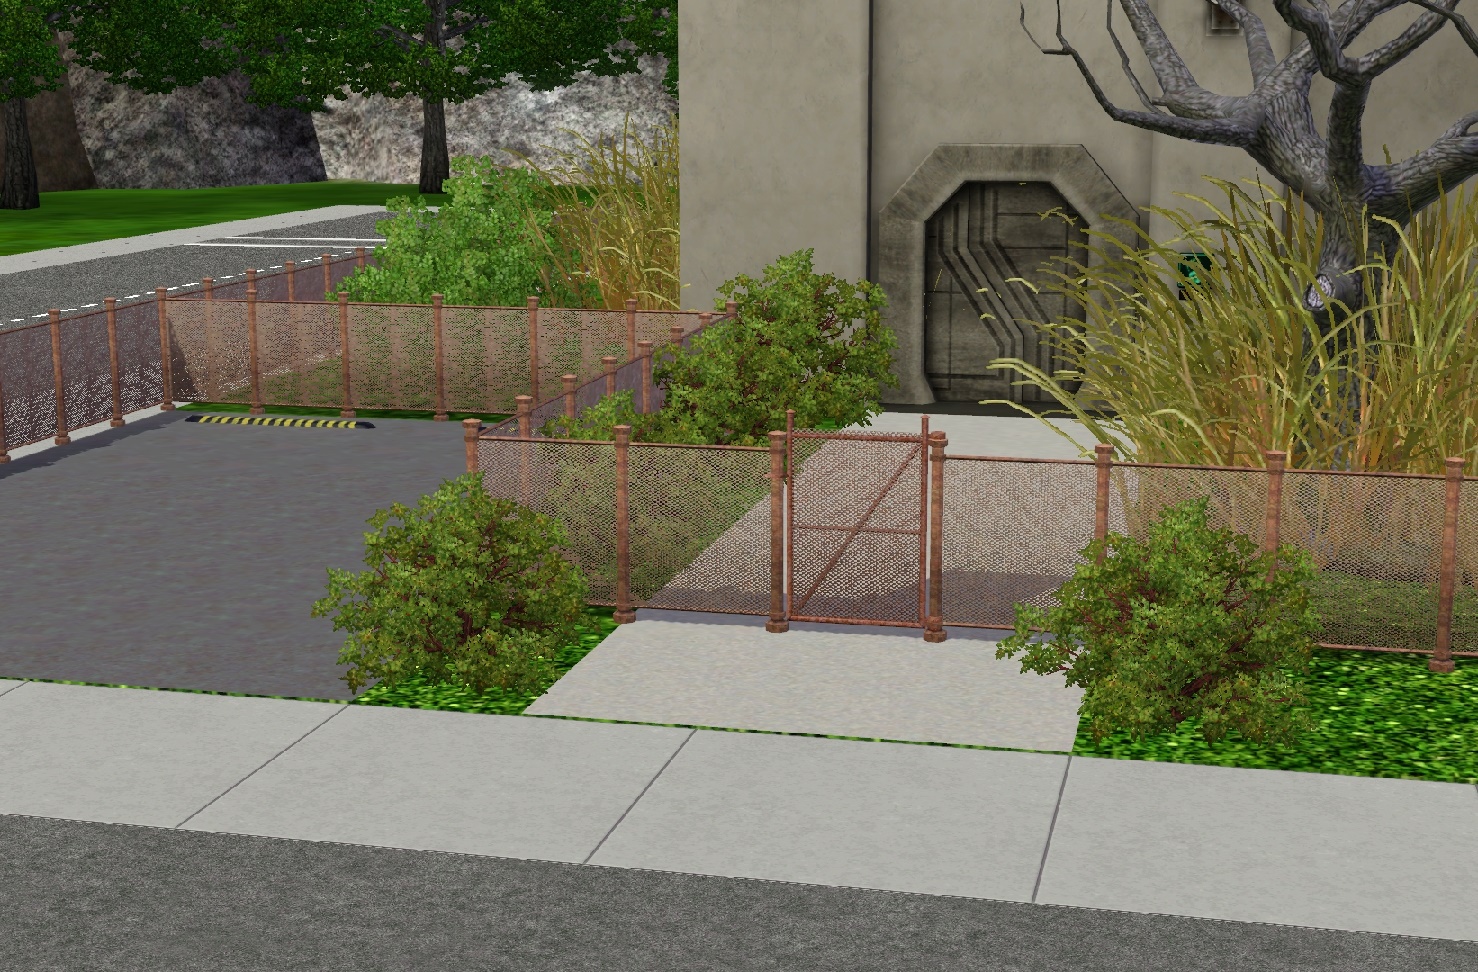
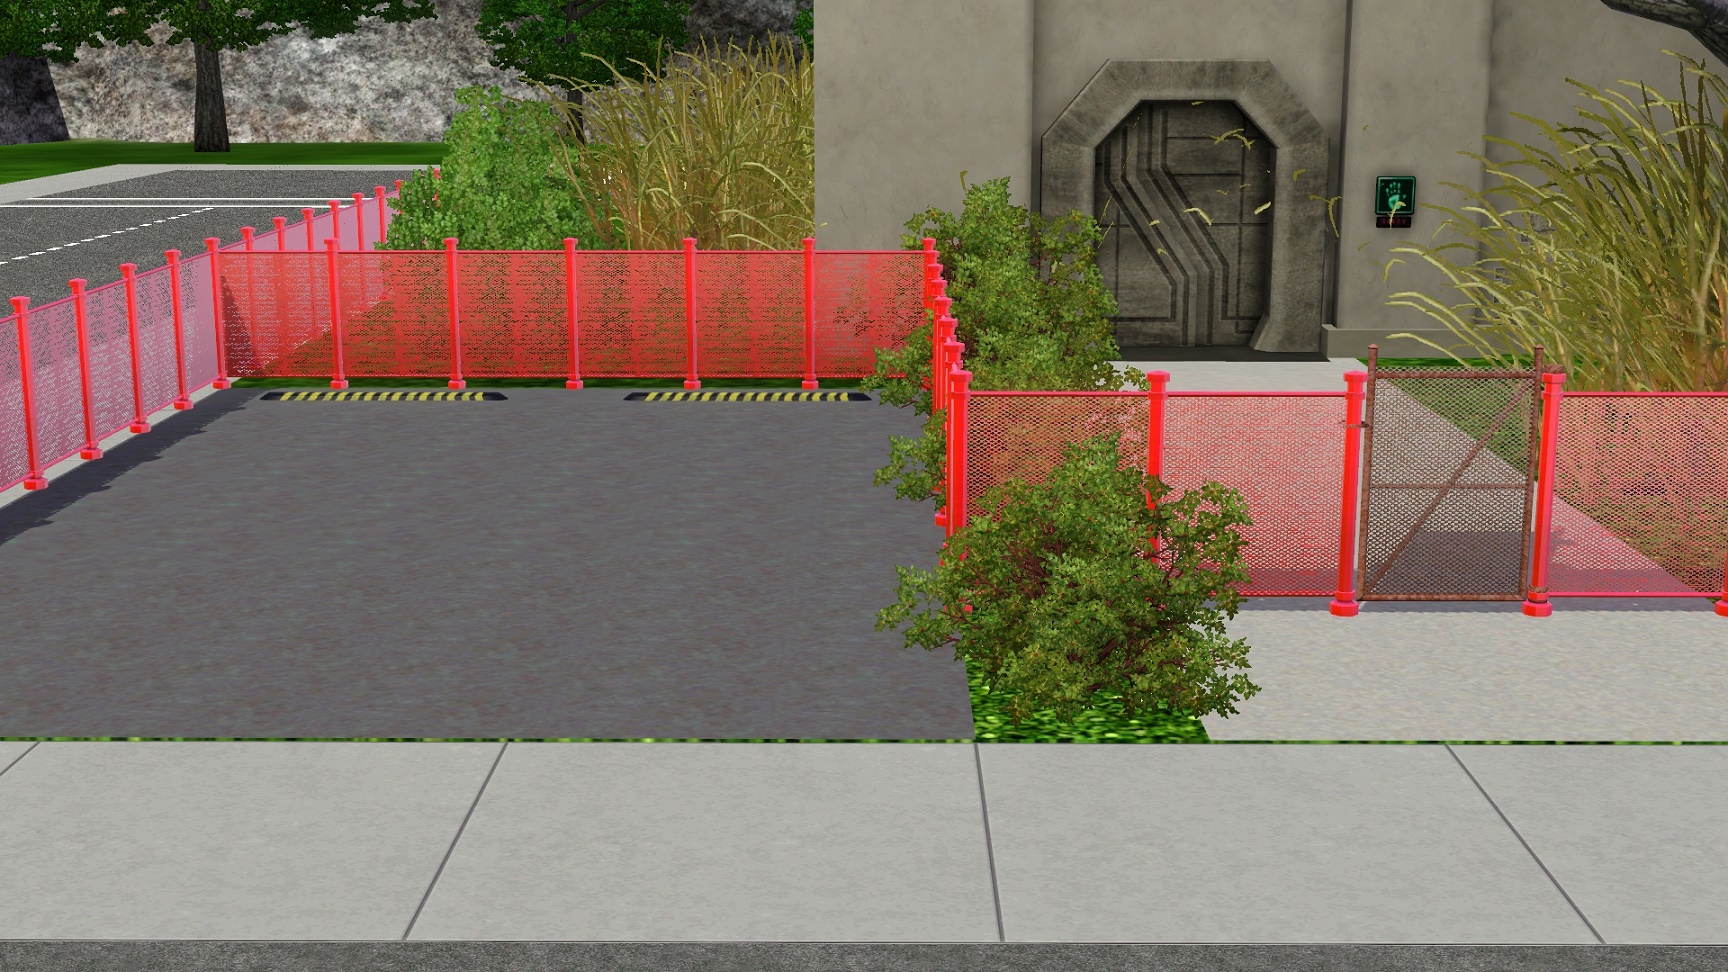
KNOWN ISSUE:
When it snows, the snow gathers along the top of the tall fence, I guess because I used the tall fence as base. I don't know how to fix this yet, if I figure it out, I will update, but for now, it's not a big deal.
Fence price in-game: 1
Gates are also each 1
Polygon Counts:
The polys are no different from the original fence.
Base Fence & post
Vertices 663
Polygons 222
Diagonal reference
Vertices 143
Polygons 48
Single Gate
Vertices 280
Polygons 200
Double Gate
Vertices 564
Polygons 396
Additional Credits:
TSRW S3PE Milkshape 3D
Everyone here who has contributed to the tutorials, and those of you who've asked questions that I also needed answers to, and also those who've answered. Y'all are awesome!
This is a new mesh, and means that it's a brand new self contained object that usually does not require a specific Pack (although this is possible depending on the type). It may have Recolours hosted on MTS - check below for more information.
|
SimRivers Shorter EpiphanyFencing.rar
Download
Uploaded: 29th Mar 2015, 69.2 KB.
15,819 downloads.
|
||||||||
| For a detailed look at individual files, see the Information tab. | ||||||||
Install Instructions
1. Click the file listed on the Files tab to download the file to your computer.
2. Extract the zip, rar, or 7z file. Now you will have either a .package or a .sims3pack file.
For Package files:
1. Cut and paste the file into your Documents\Electronic Arts\The Sims 3\Mods\Packages folder. If you do not already have this folder, you should read the full guide to Package files first: Sims 3:Installing Package Fileswiki, so you can make sure your game is fully patched and you have the correct Resource.cfg file.
2. Run the game, and find your content where the creator said it would be (build mode, buy mode, Create-a-Sim, etc.).
For Sims3Pack files:
1. Cut and paste it into your Documents\Electronic Arts\The Sims 3\Downloads folder. If you do not have this folder yet, it is recommended that you open the game and then close it again so that this folder will be automatically created. Then you can place the .sims3pack into your Downloads folder.
2. Load the game's Launcher, and click on the Downloads tab. Find the item in the list and tick the box beside it. Then press the Install button below the list.
3. Wait for the installer to load, and it will install the content to the game. You will get a message letting you know when it's done.
4. Run the game, and find your content where the creator said it would be (build mode, buy mode, Create-a-Sim, etc.).
Extracting from RAR, ZIP, or 7z: You will need a special program for this. For Windows, we recommend 7-Zip and for Mac OSX, we recommend Keka. Both are free and safe to use.
Need more help?
If you need more info, see:
- For package files: Sims 3:Installing Package Fileswiki
- For Sims3pack files: Game Help:Installing TS3 Packswiki
Loading comments, please wait...
Uploaded: 29th Mar 2015 at 12:37 AM
Updated: 9th Apr 2015 at 8:38 PM - added issue
-
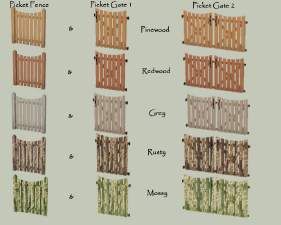
**Outdated**: 5 new Recolours of the Picket Fence (with matching Gates included in package)
by Yogi-Tea 18th Aug 2009 at 10:50pm
 19
30.8k
25
-
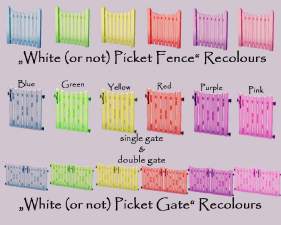
**Outdated**: 6 new bright Colours of the Picket Fence (with matching Gates included in package)
by Yogi-Tea 18th Aug 2009 at 10:49pm
 17
21.8k
20
-
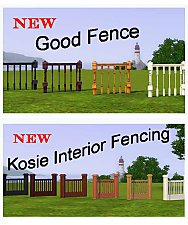
2 hidden fences for the fence category - "Good Fence" & "Kosie Interior Fencing"
by Yogi-Tea updated 25th Apr 2010 at 3:08pm
 29
51.9k
64
-
3 New Fences - Wrought Iron Fence - Updated 7th Mar, Now CASTable
by Flabaliki 16th Oct 2009 at 2:12am
 40
104k
226
-
by Flabaliki 11th Apr 2010 at 12:42am
 14
38.8k
78
-
Typical Swedish? Buildset for the swedish patriot.
by Lisen801 4th Jul 2010 at 6:26pm
 +1 packs
19 34.8k 26
 World Adventures
-
by Lisen801 updated 29th May 2012 at 11:17am
 123
193.8k
354
-
Cast Iron Stair and matching Fence
by Lisen801 updated 27th May 2012 at 10:24am
 +1 packs
53 86.1k 201
 World Adventures
-
by Hekate999 5th Jan 2011 at 11:57am
 115
227.4k
505
-
!ZOMG! 8 Multicolored Eye Default Replacements
by SimRivers 26th Sep 2011 at 8:55pm
8 Realistic eyes to replace your current defaults. more...
-
New floors and Wall edits that match K & B SP (not req)
by SimRivers 24th Aug 2008 at 12:41pm
*******UPDATE******* apparently when I searched for if someone did these already, I missed them, but SRIKANDI already has more...
 13
29.8k
37
-
The "Man on the Moon" is in your Sims' eyes
by SimRivers 3rd Jul 2008 at 8:31am
***********PLEASE upload the correct dark brown file!!*********** :alarm: CORRECTION!- The original dark brown was the wrong file, apparently more...
-
Cream Soda Loft with Garage (a starter home)
by SimRivers 16th May 2012 at 4:05pm
Cute spacious loft, 1bath. more...
 11
31k
44
-
Oodles of Random Recolors Pt.3
by SimRivers 16th Sep 2008 at 5:33pm
Independent Expressions Inc. Easel in 4 new wood colors. That is all. Thanks & Enjoy! more...
 14
35.6k
67
-
Oodles of Random Recolors Pt.2
by SimRivers 16th Sep 2008 at 5:32pm
Here are some really basic wood recolors for the base game kitchen table or dining table set (hence why I more...
 16
21.6k
45
-
Oodles of Random Recolors Pt.1
by SimRivers 16th Sep 2008 at 5:31pm
Here are some seasons recolors of the bedroom objects and the door. more...
 +1 packs
7 20.5k 52
 Seasons
-
Oodles of Random Recolors Pt.4
by SimRivers 16th Sep 2008 at 9:37pm
Here are 2 normal recolors of the Moneywell Computer from base game. more...
 5
14.1k
26
-
"Ledomus" Starter home Plan #2, NO CC
by SimRivers 17th May 2012 at 4:57pm
1BR, 1BA BASE GAME NO CC more...
 5
35.2k
80

 Sign in to Mod The Sims
 Your Wish is Granted - A SHORT CHAIN FENCE!










.jpg)
