Tutorial: How to Add Multiple Inhabited Downtown Subhoods to a Neighborhood [OLD Version]
![Exclamation](//static.modthesims2.com/images/smilies/icon_exclaim.gif)
This is a
very old tutorial and contains some outdated information. If you want to add multiple inhabited downtown subhoods (or vacation subhoods of the same type) to your neighborhood, then read the newer and simplified version
here!
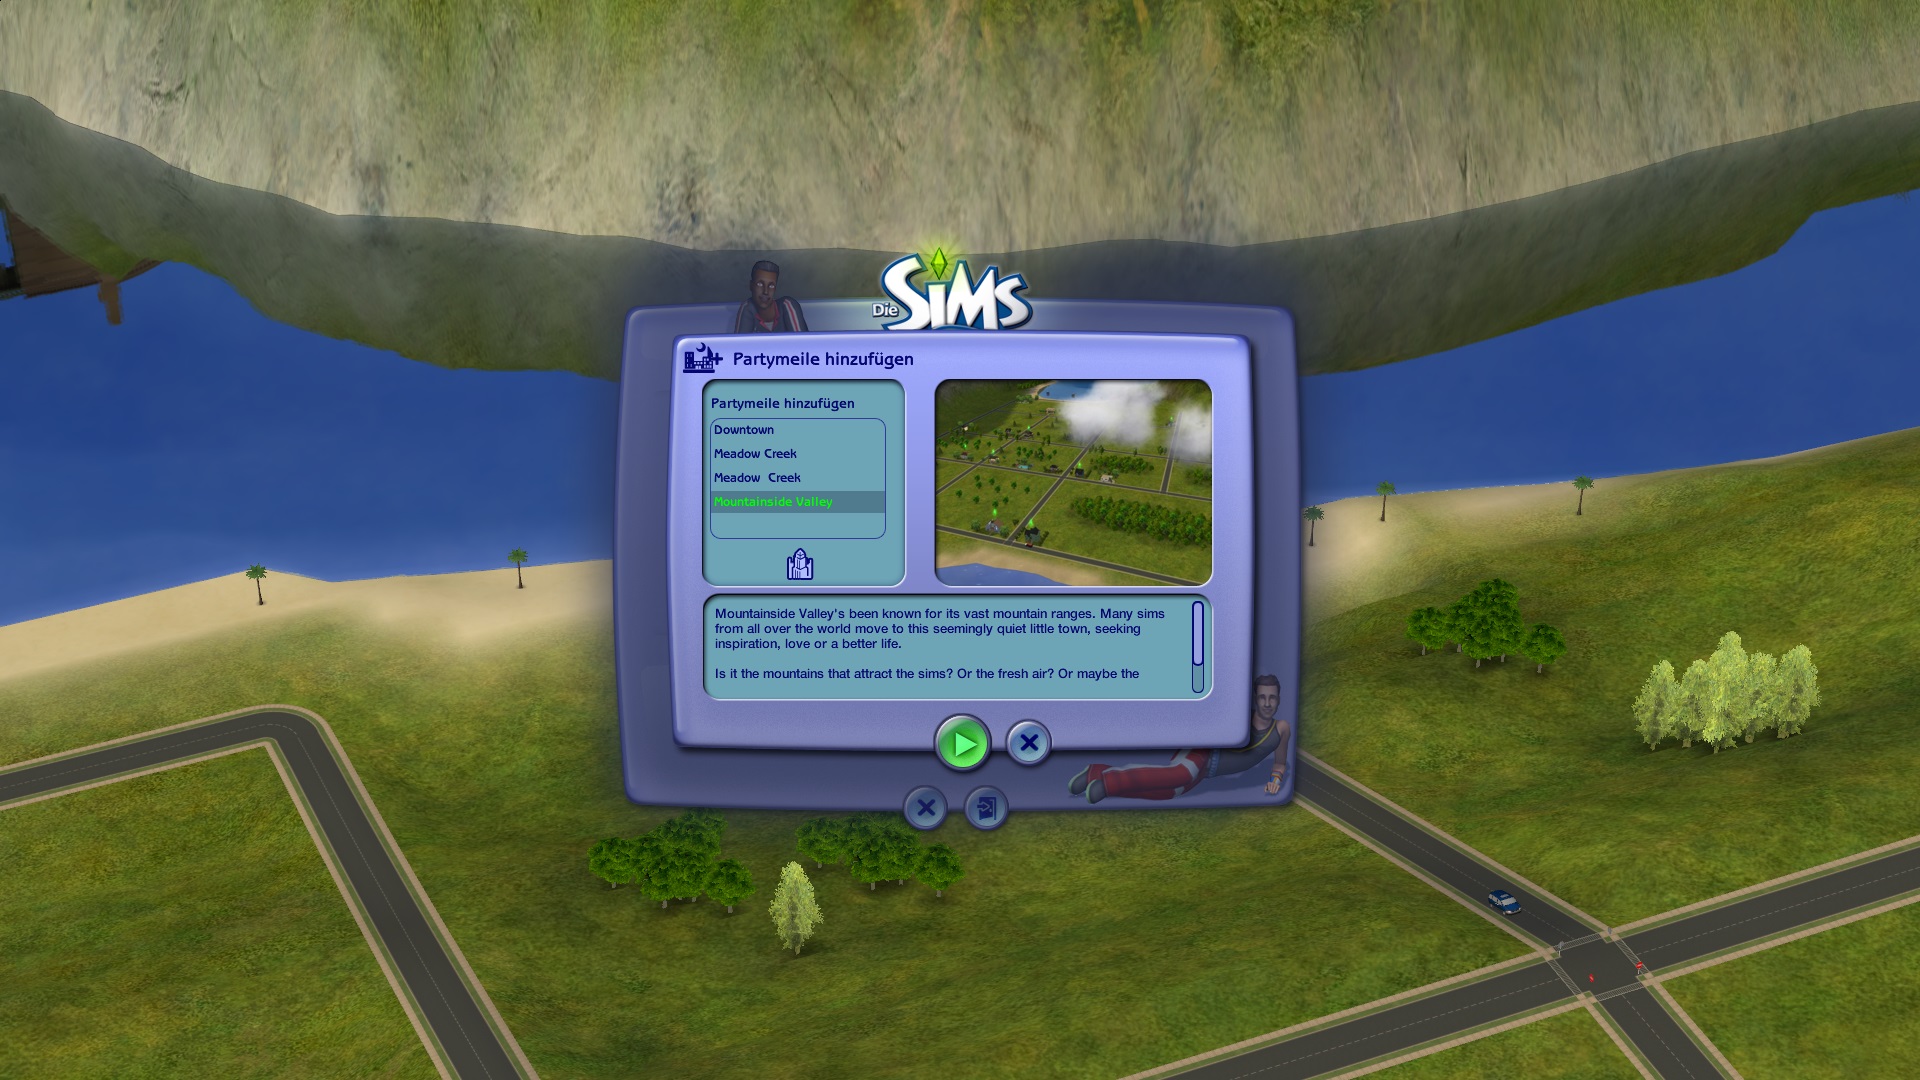
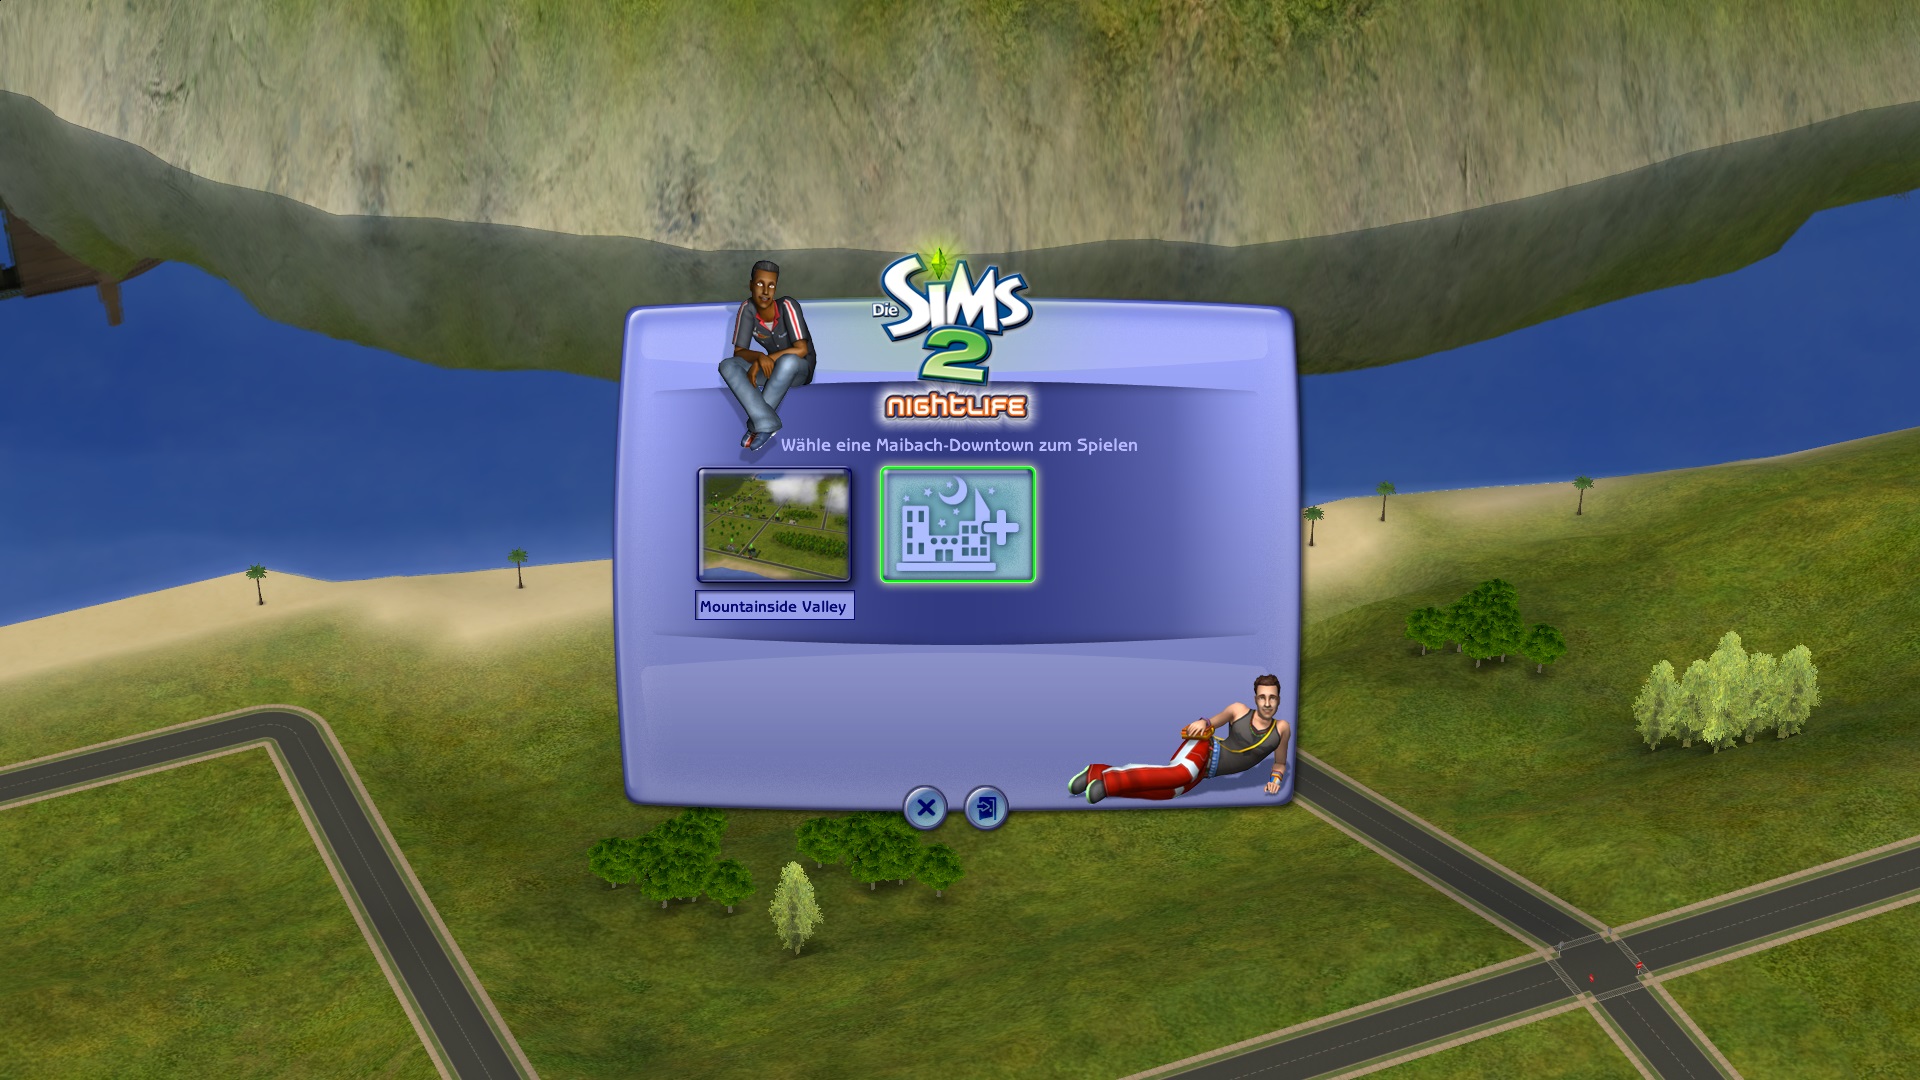
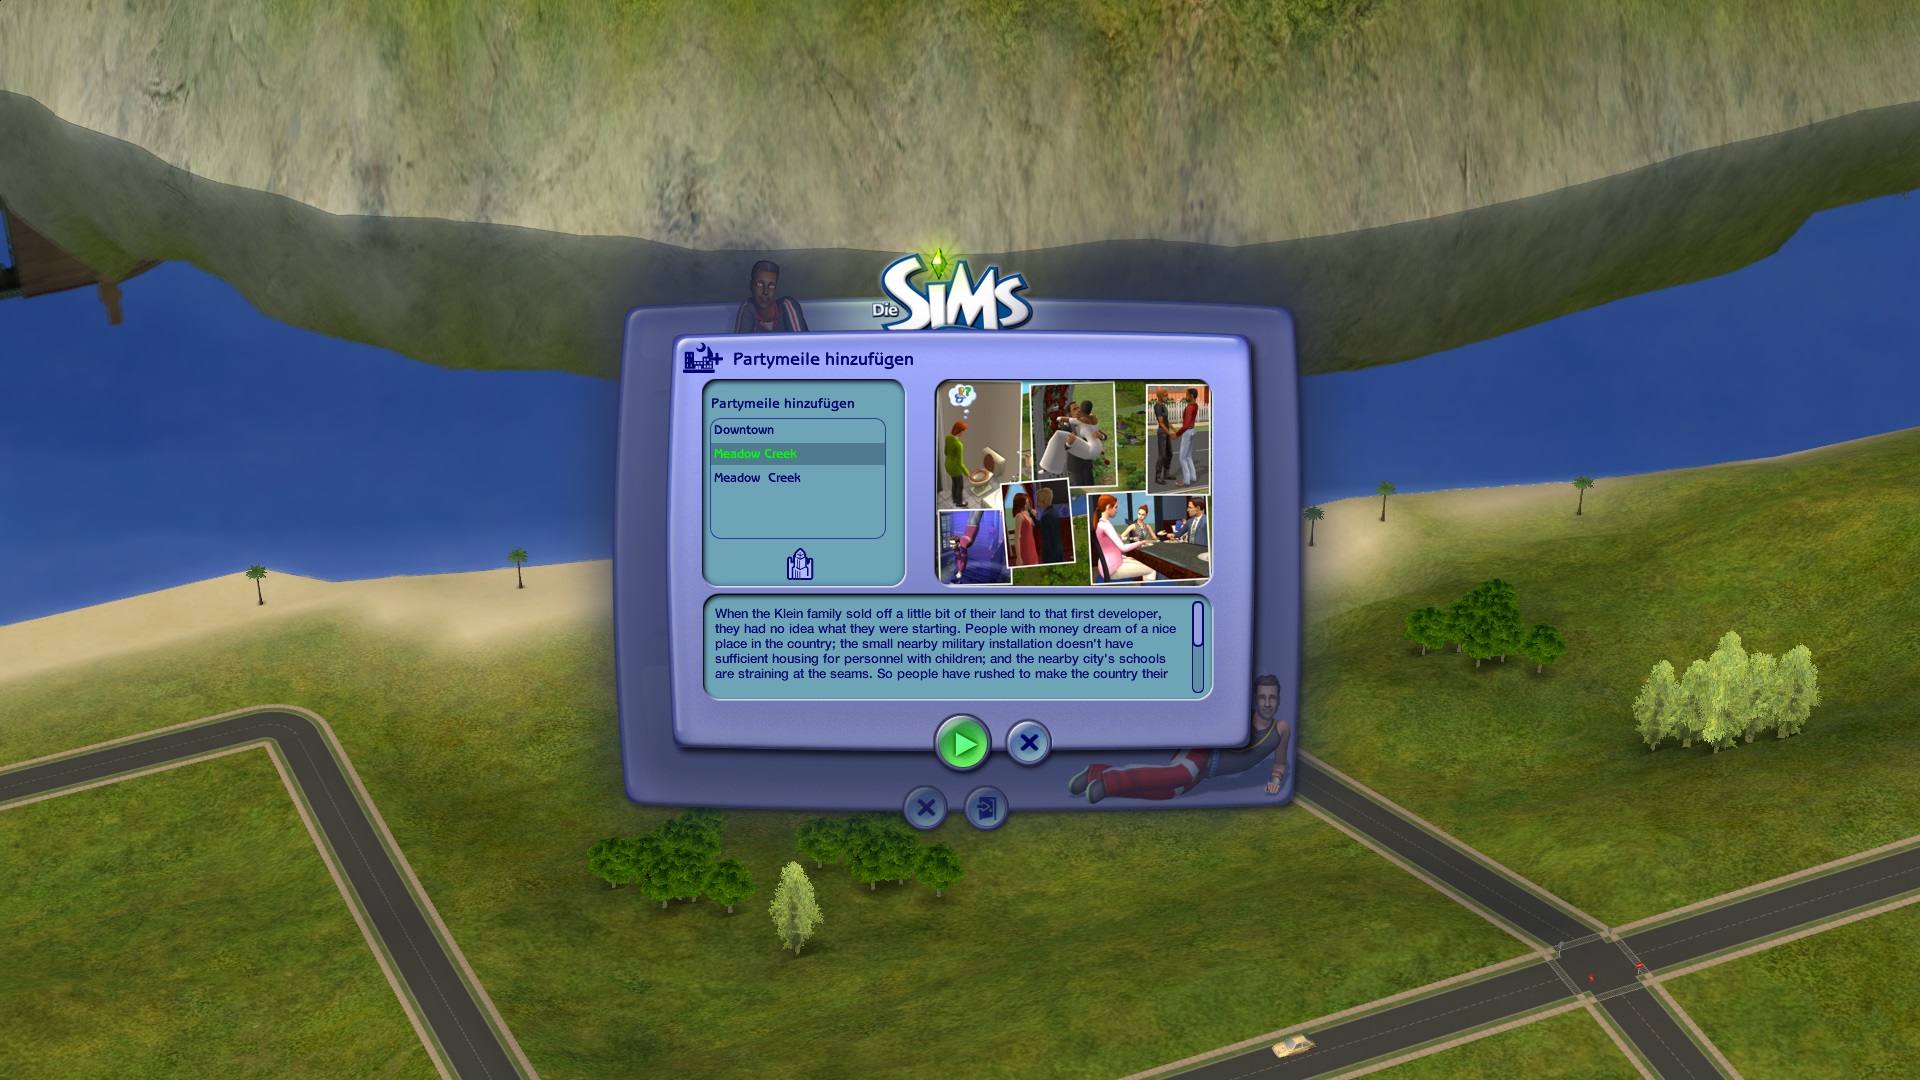
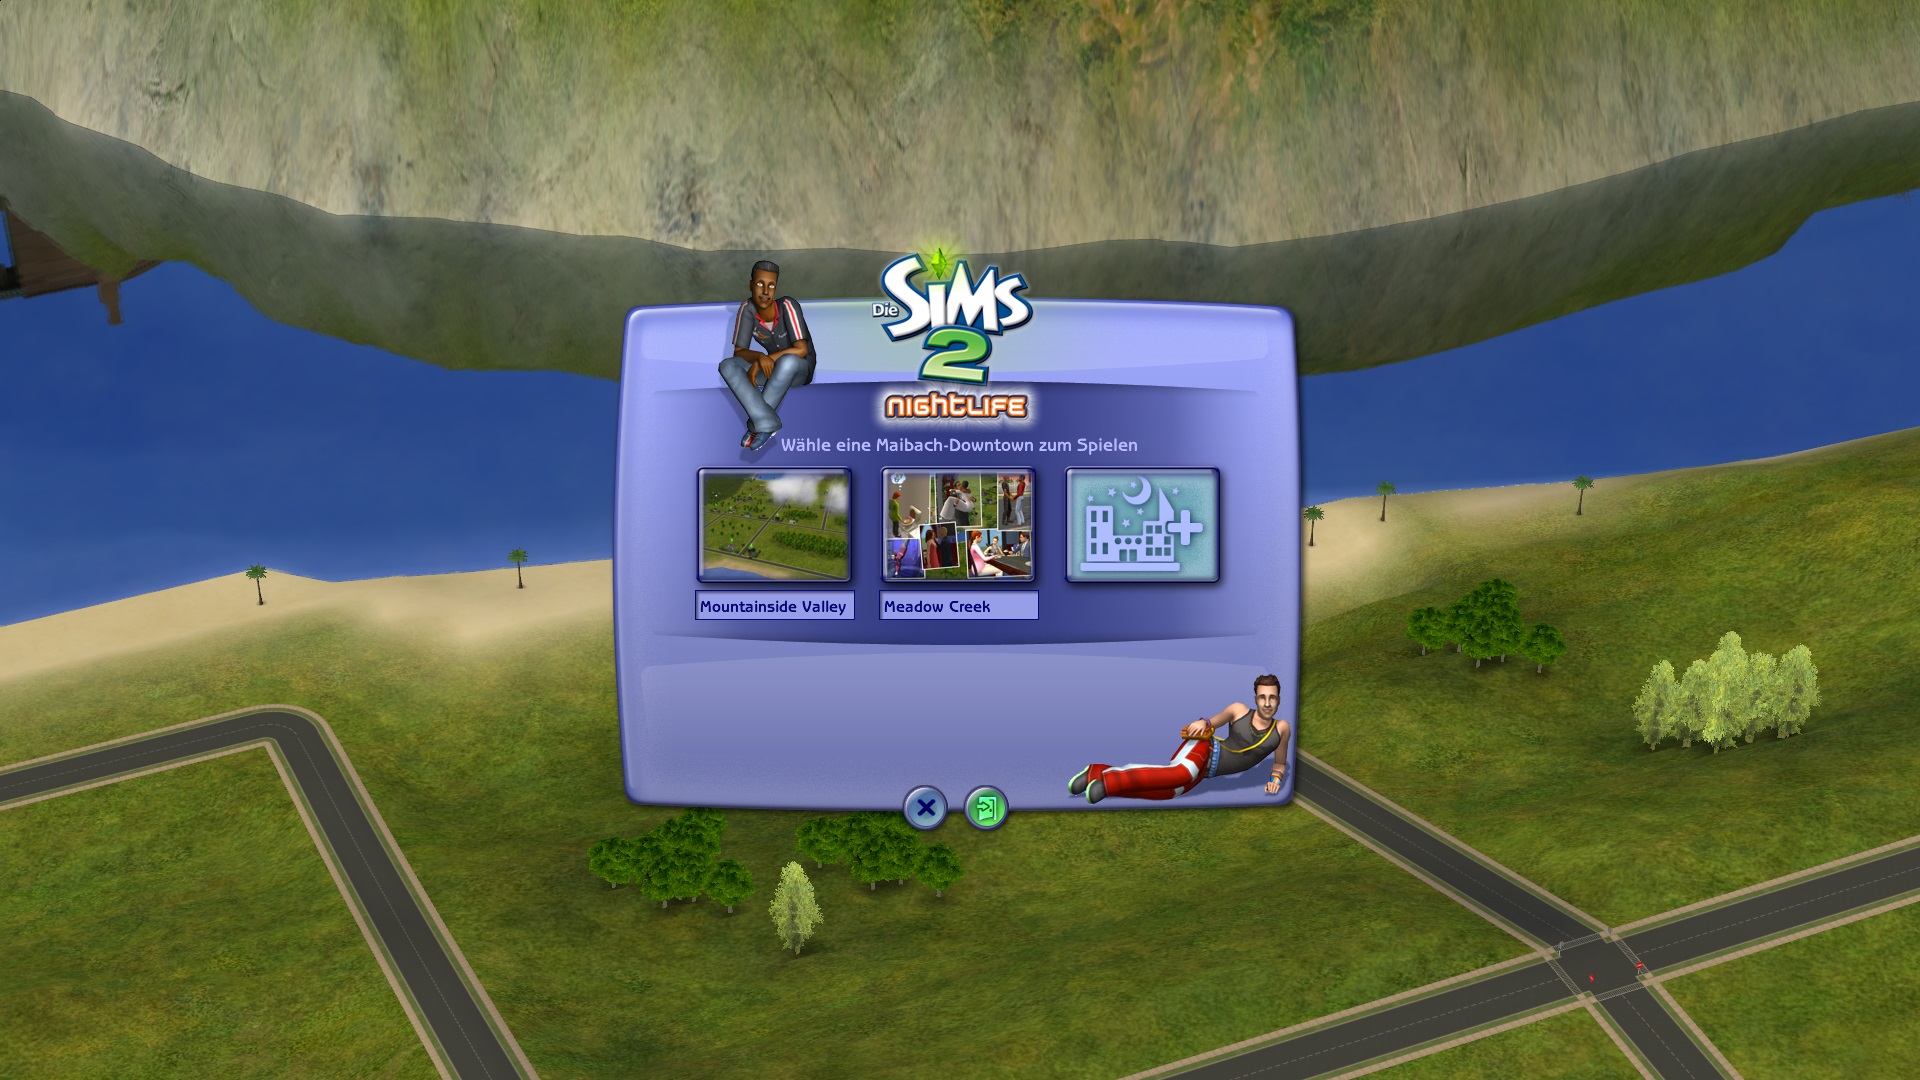
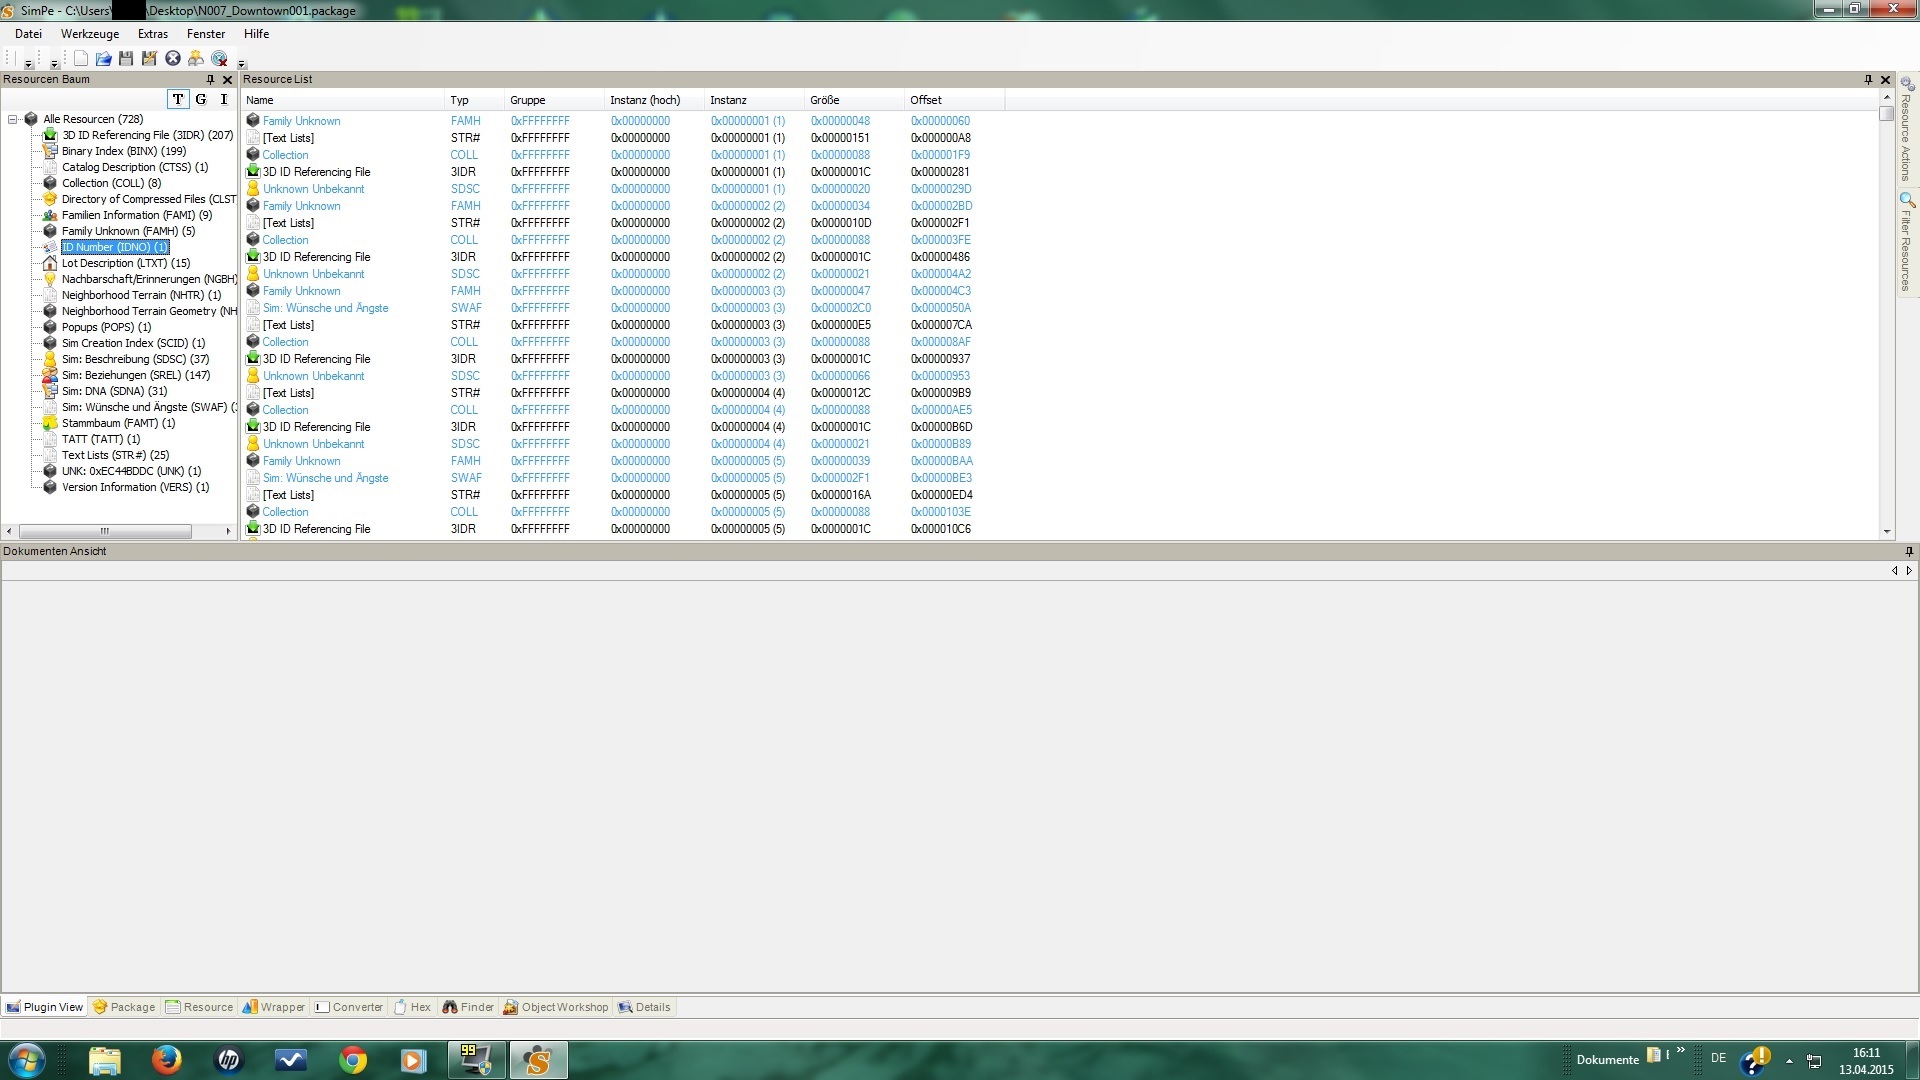
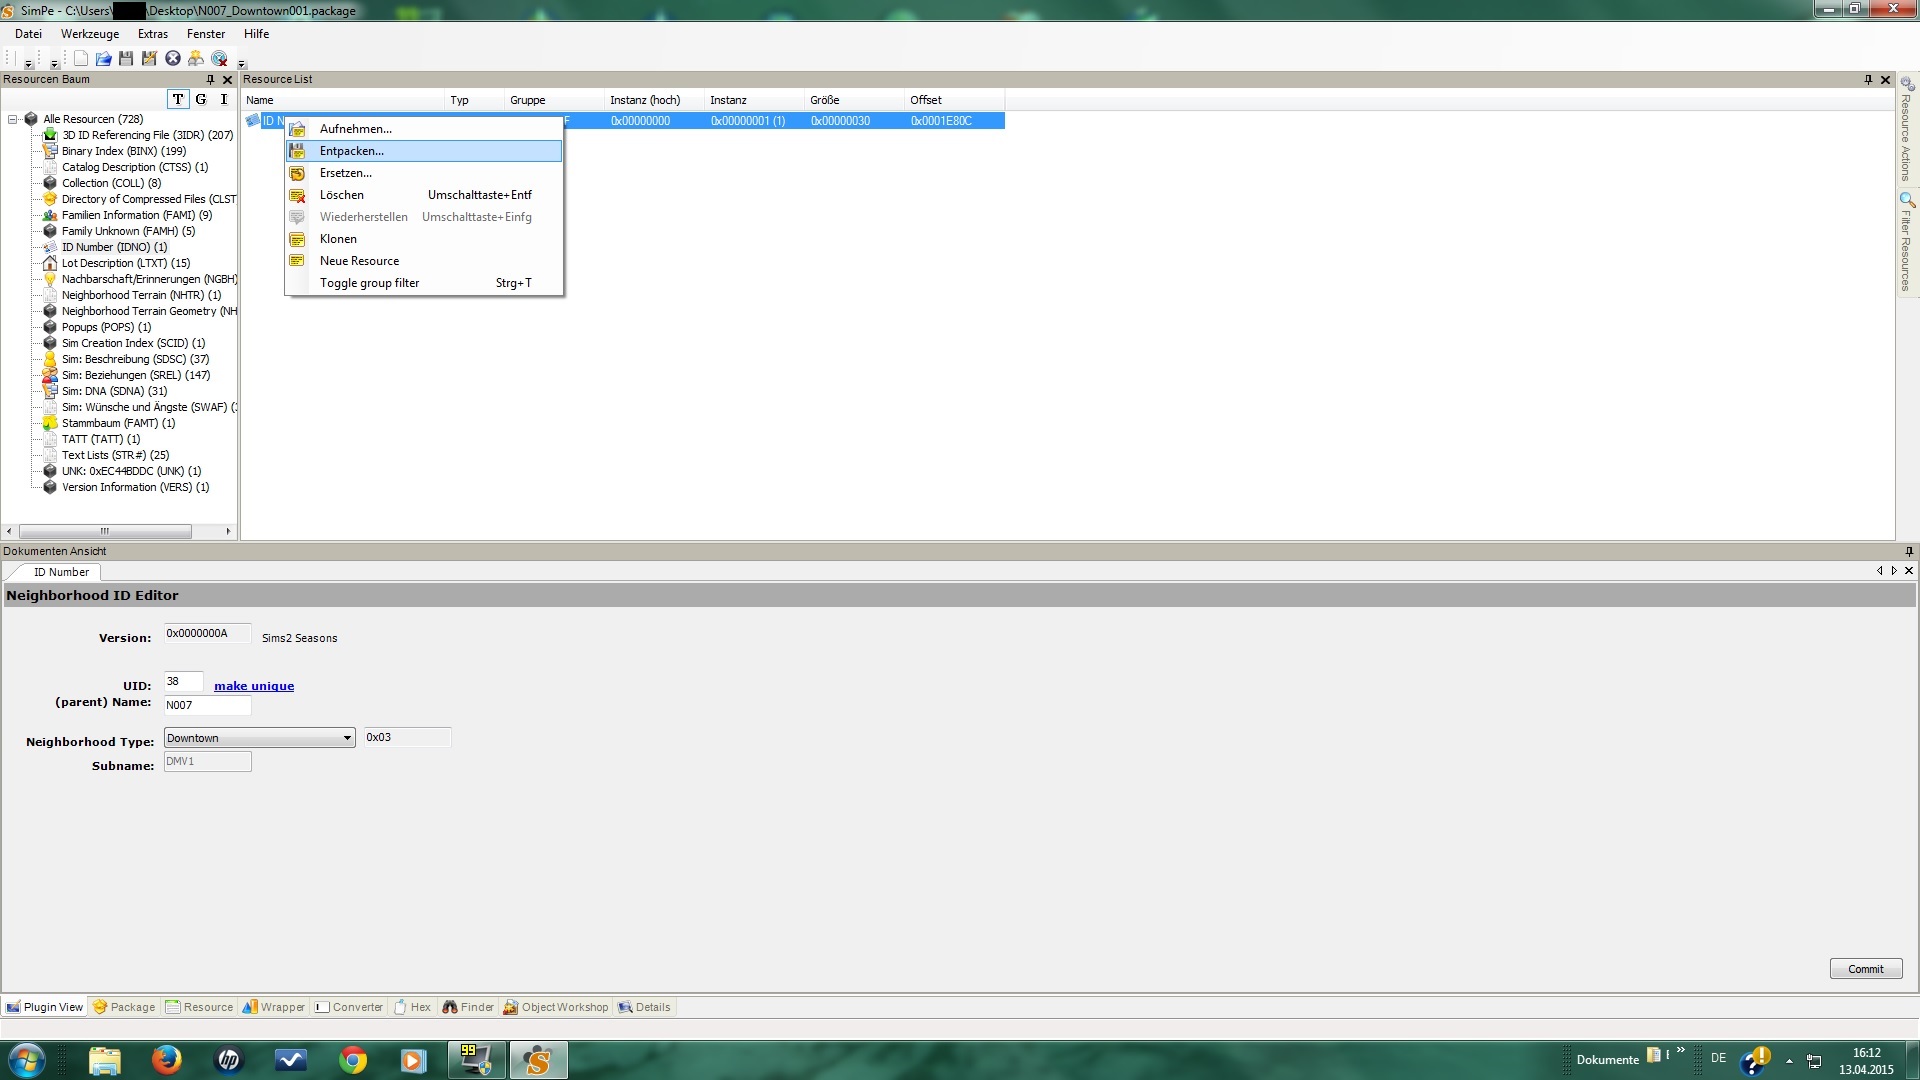
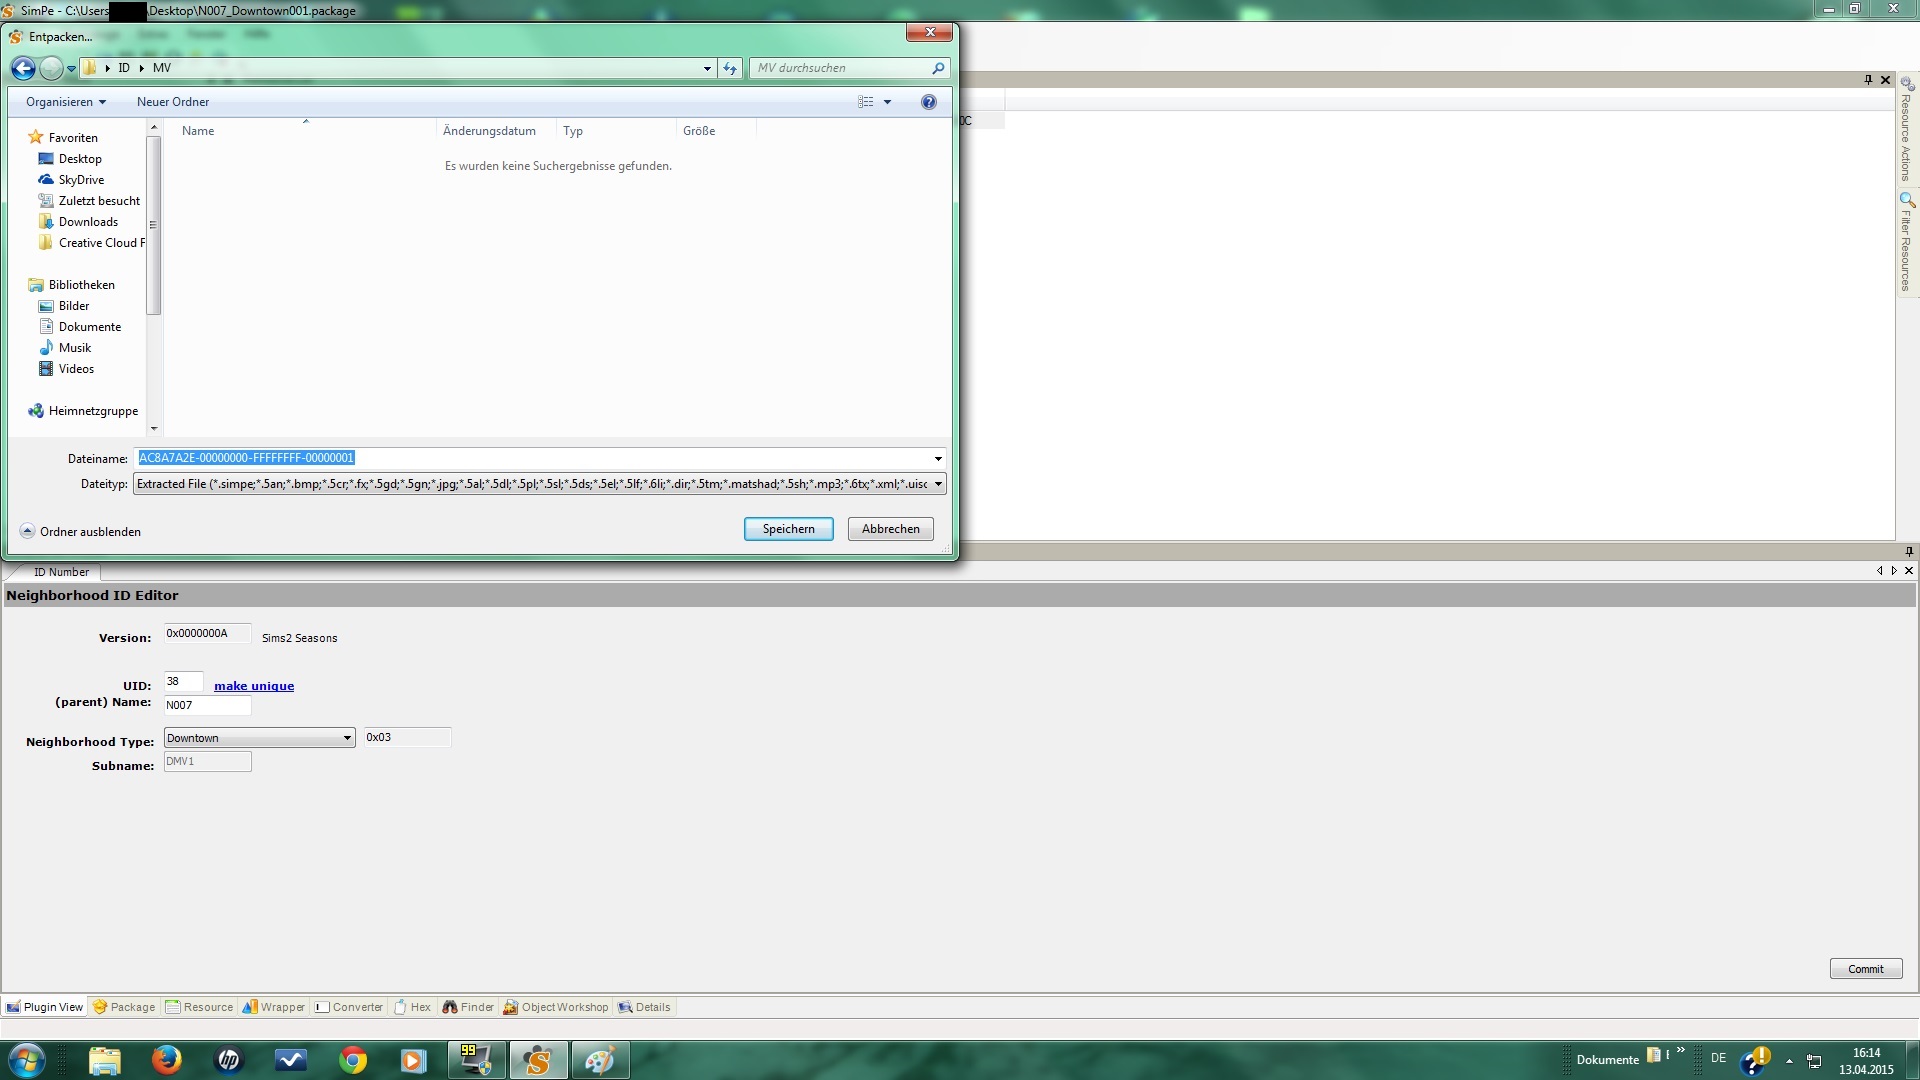
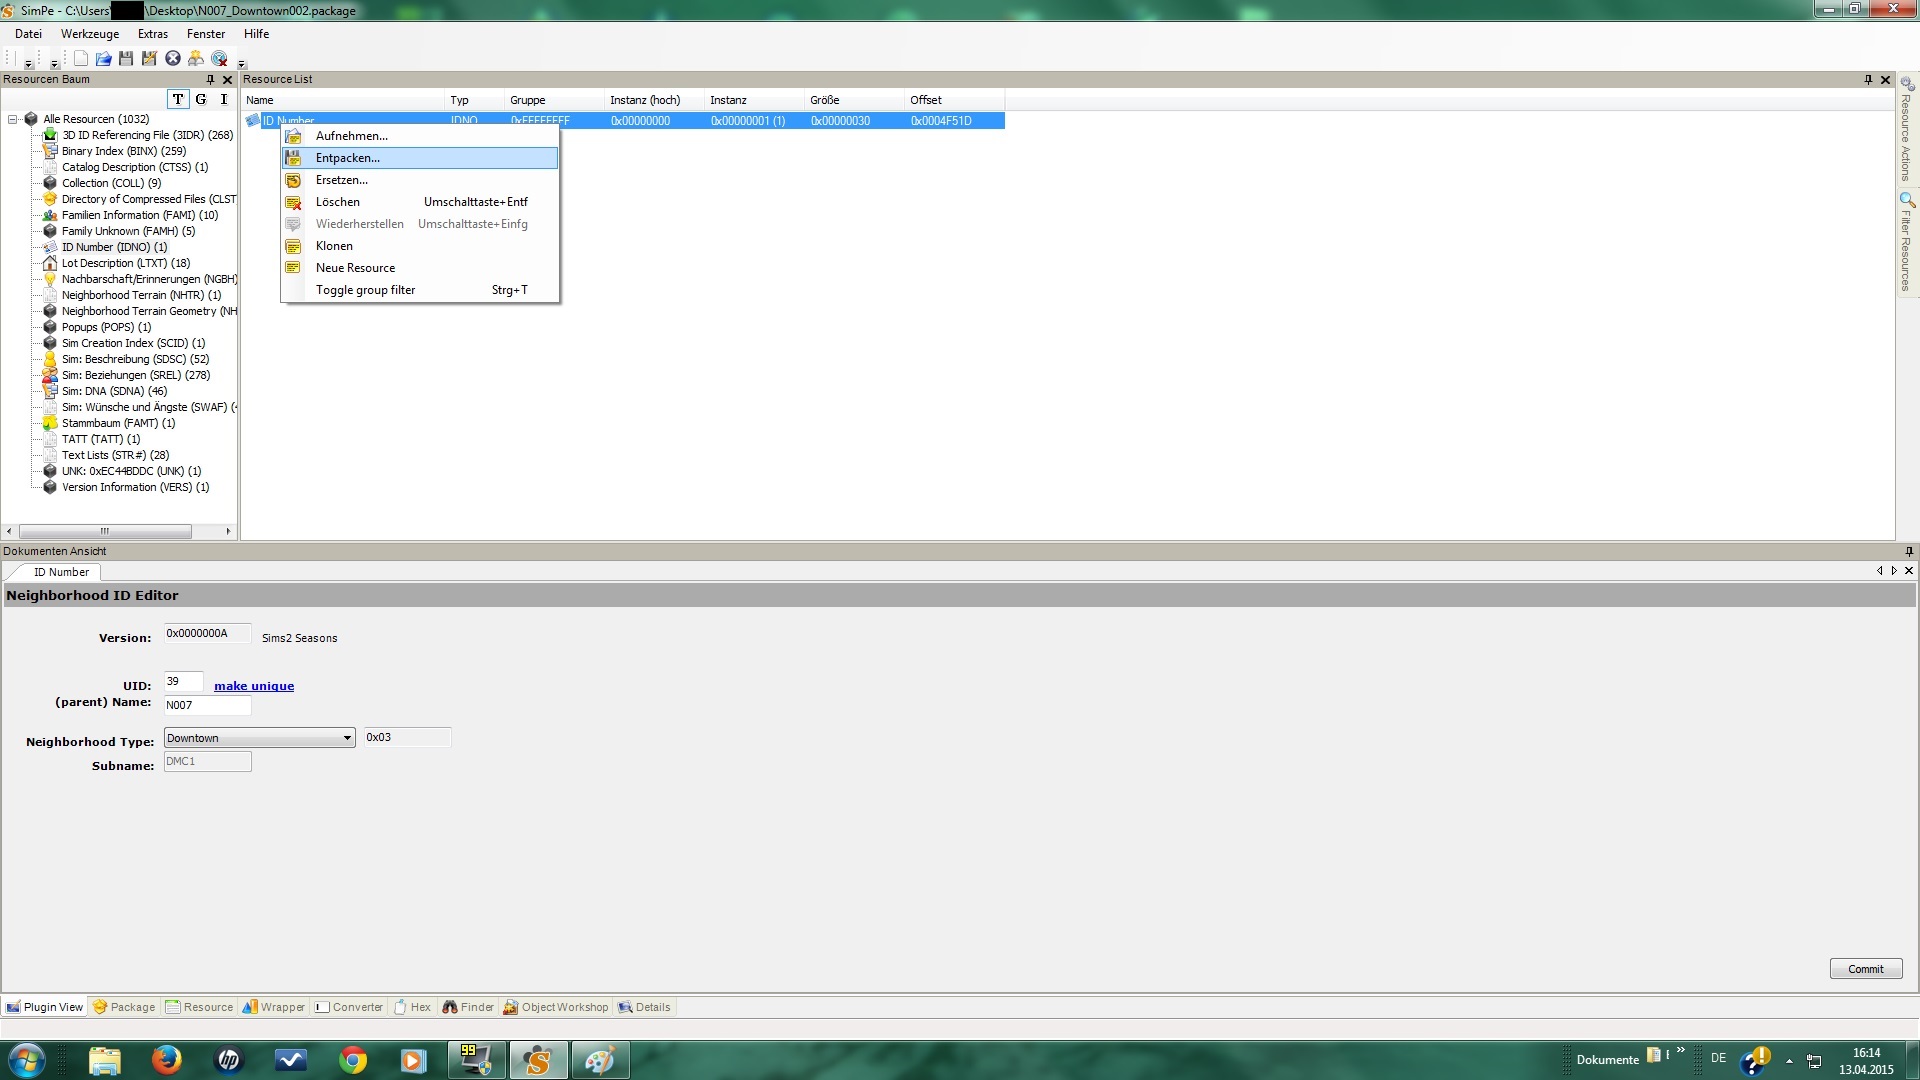
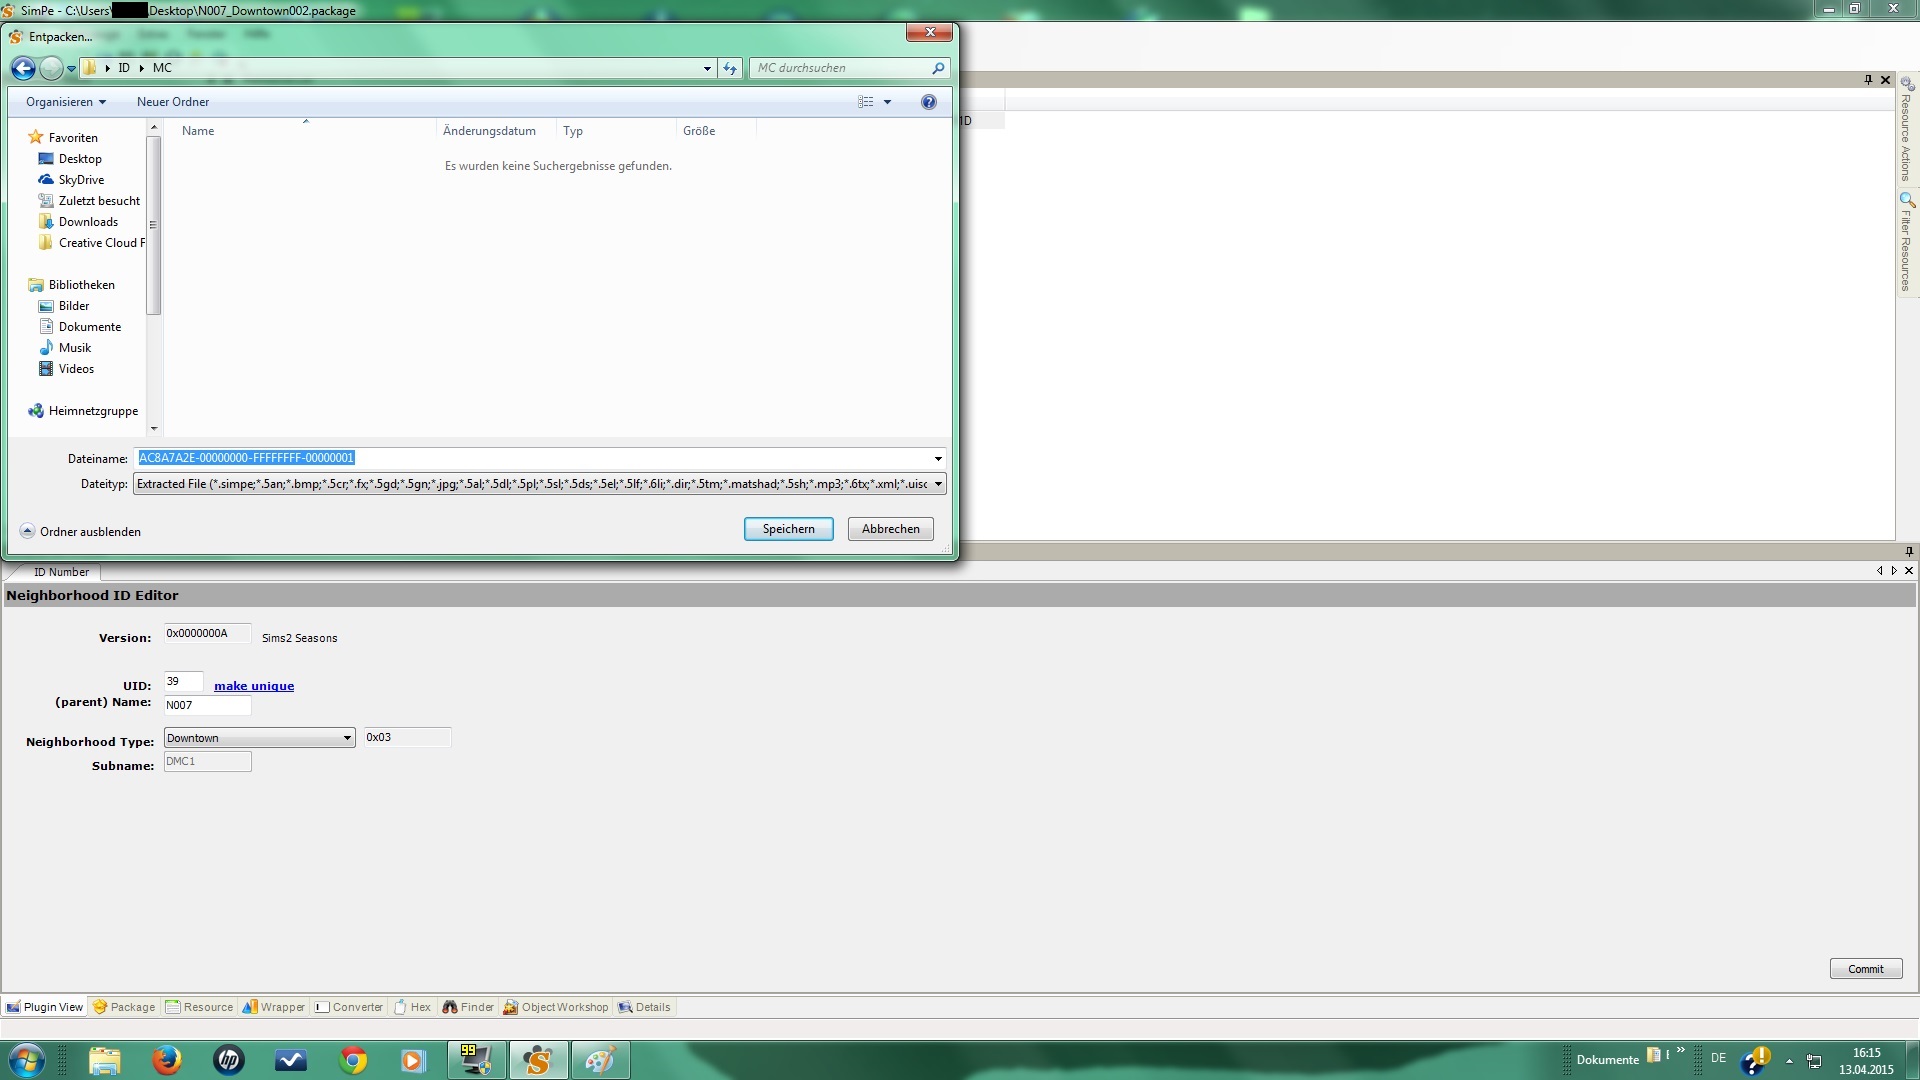
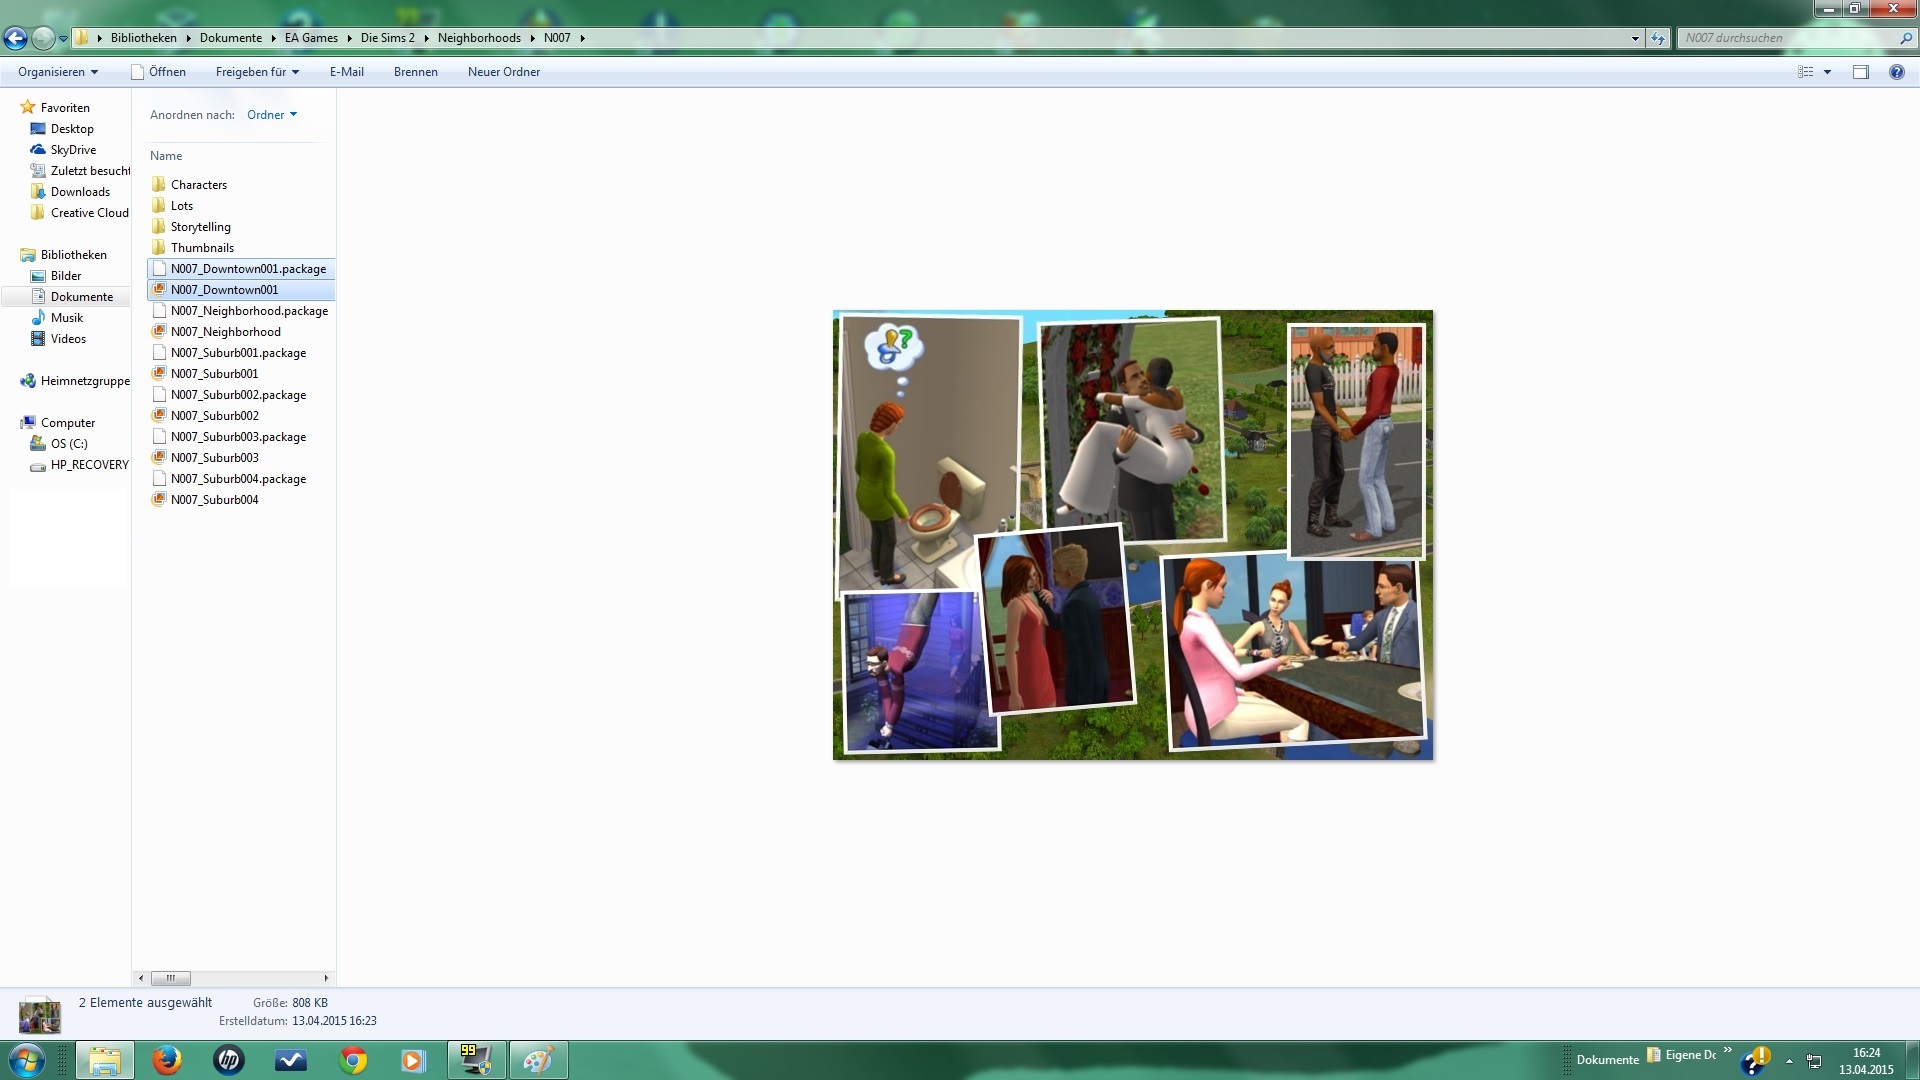
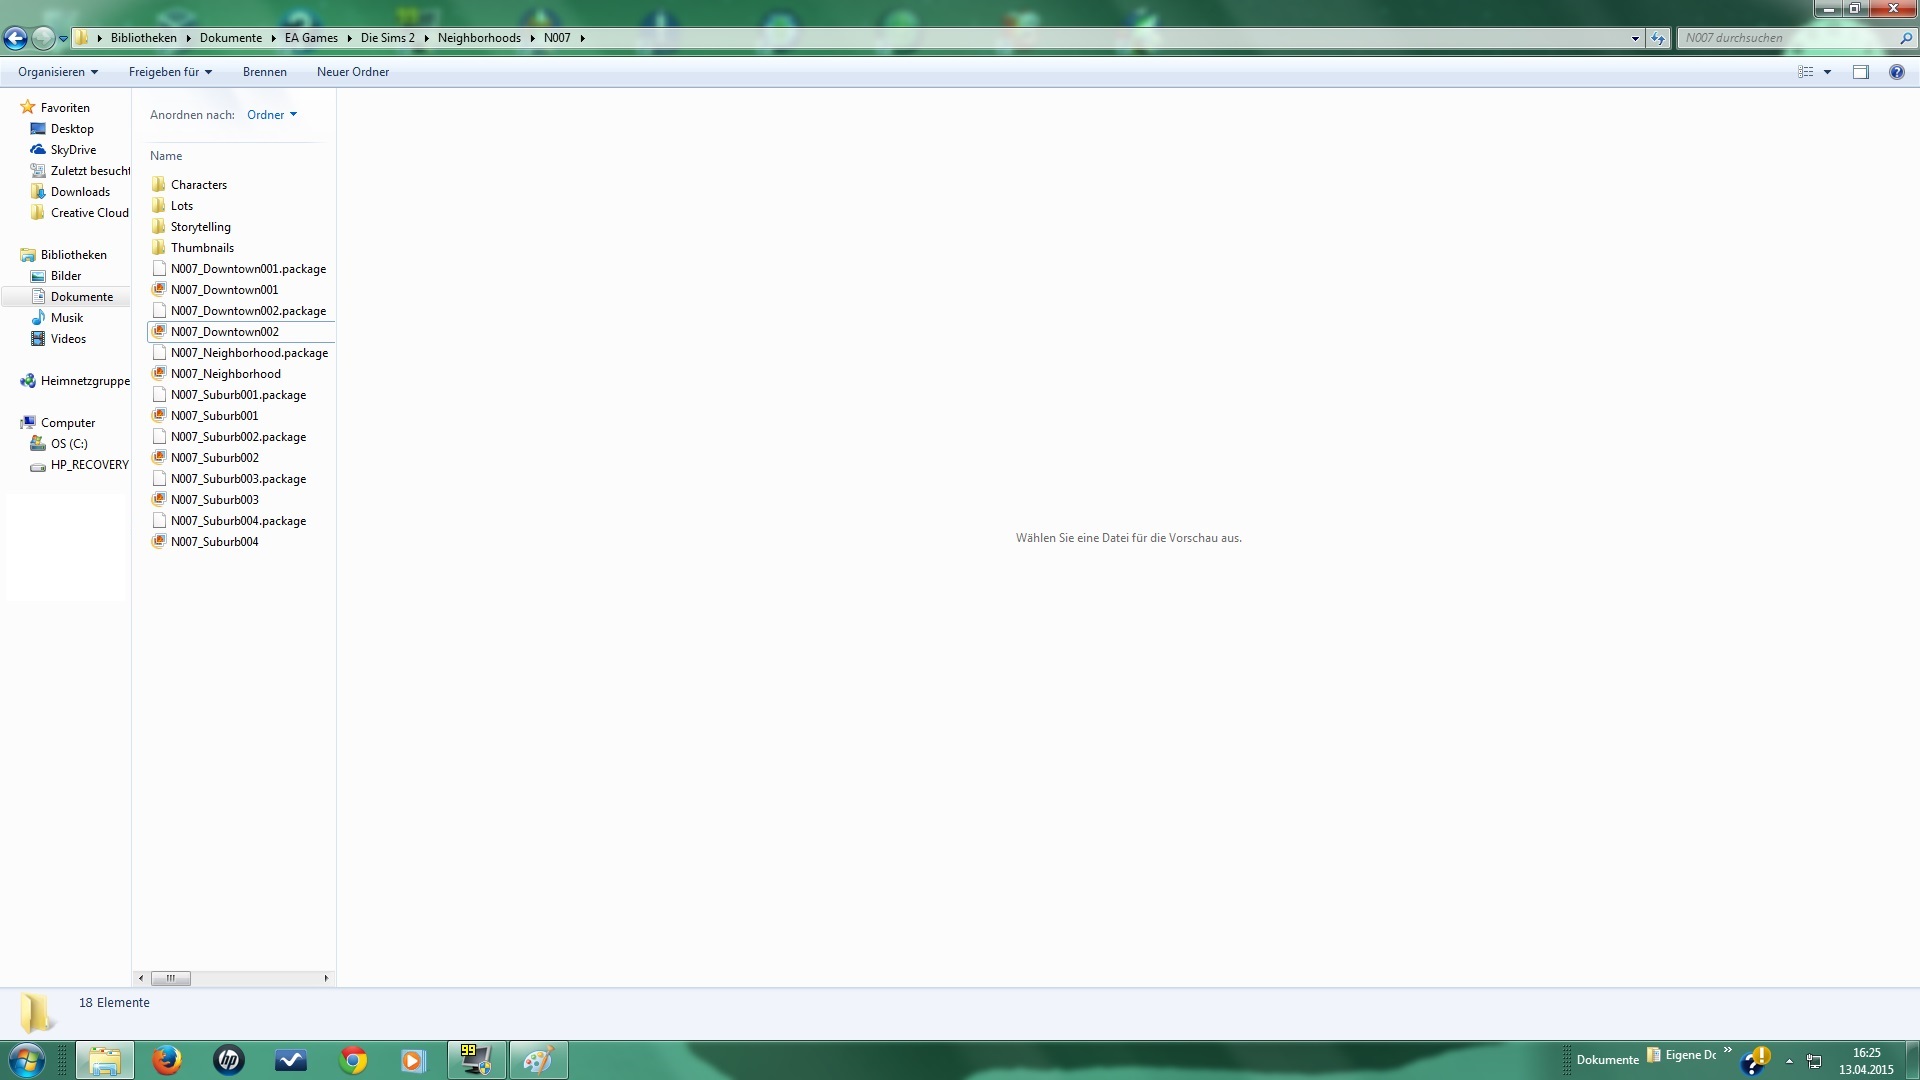
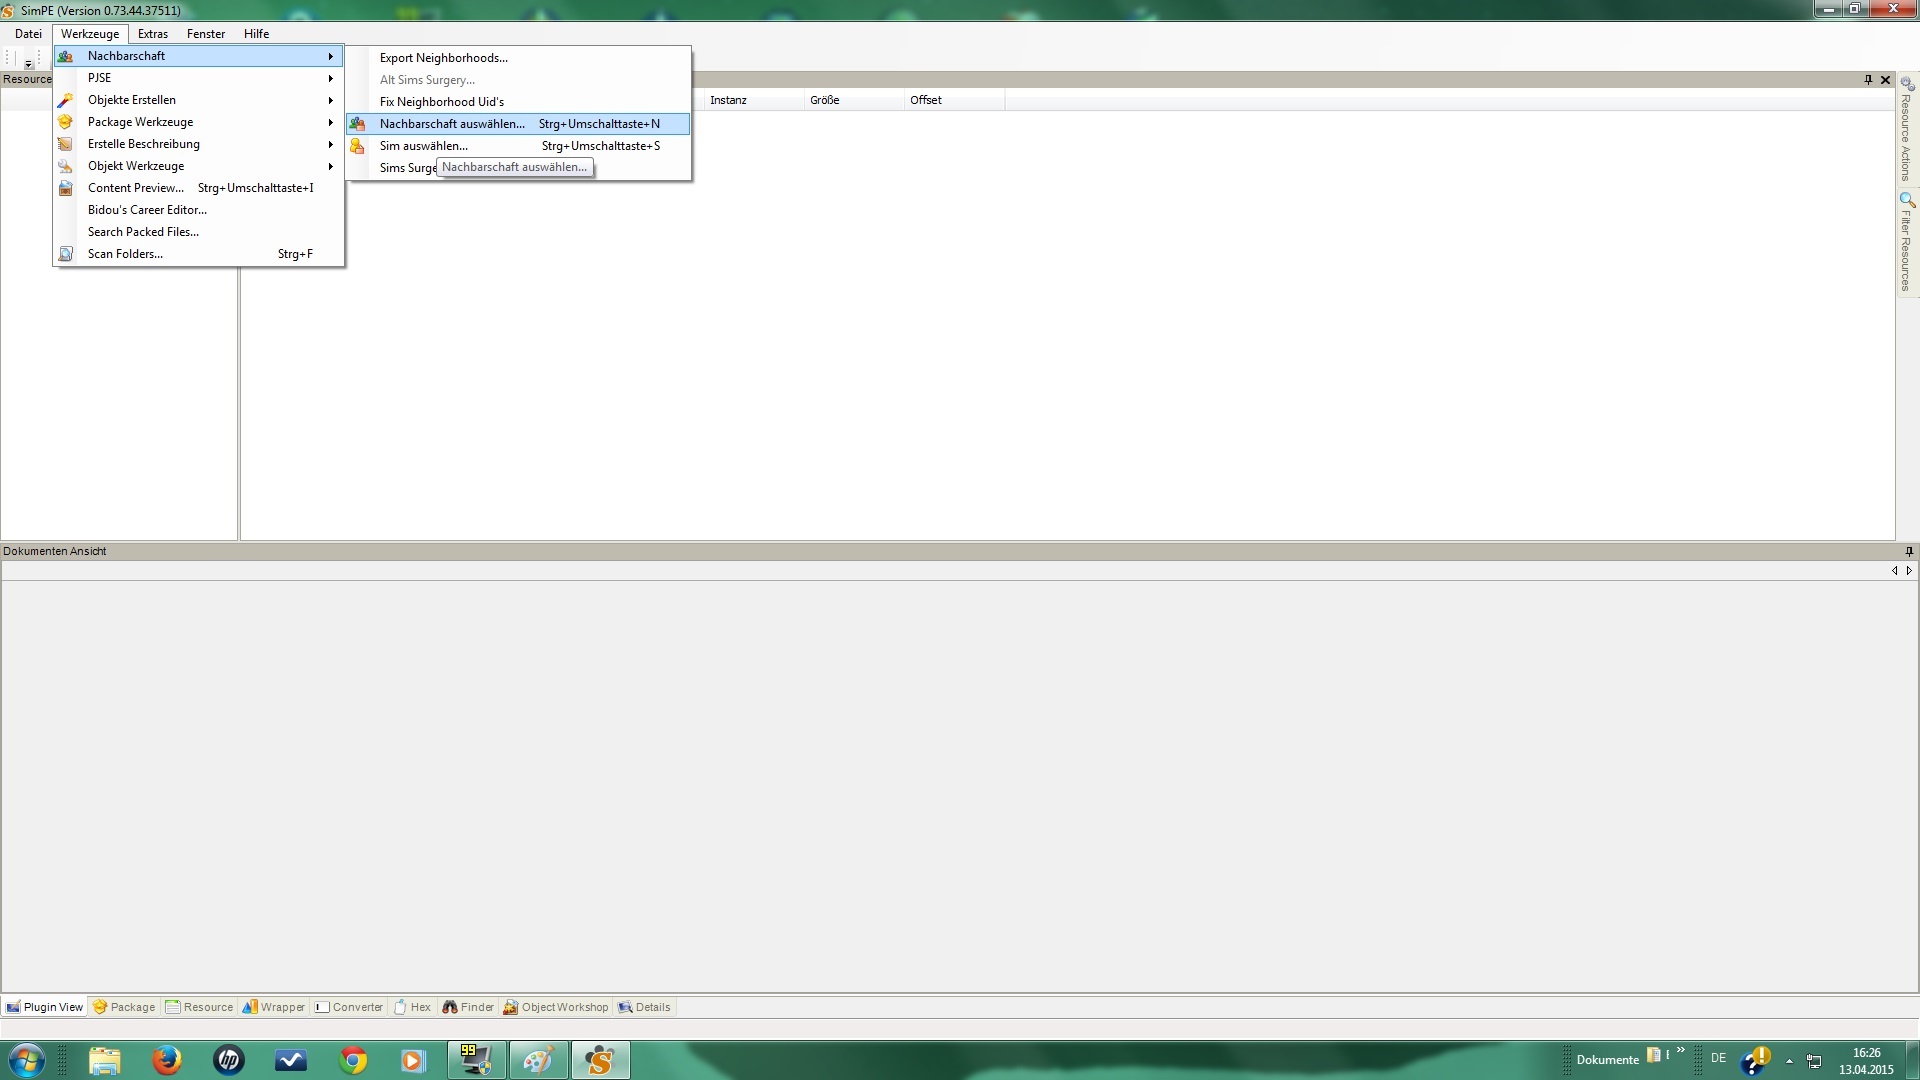
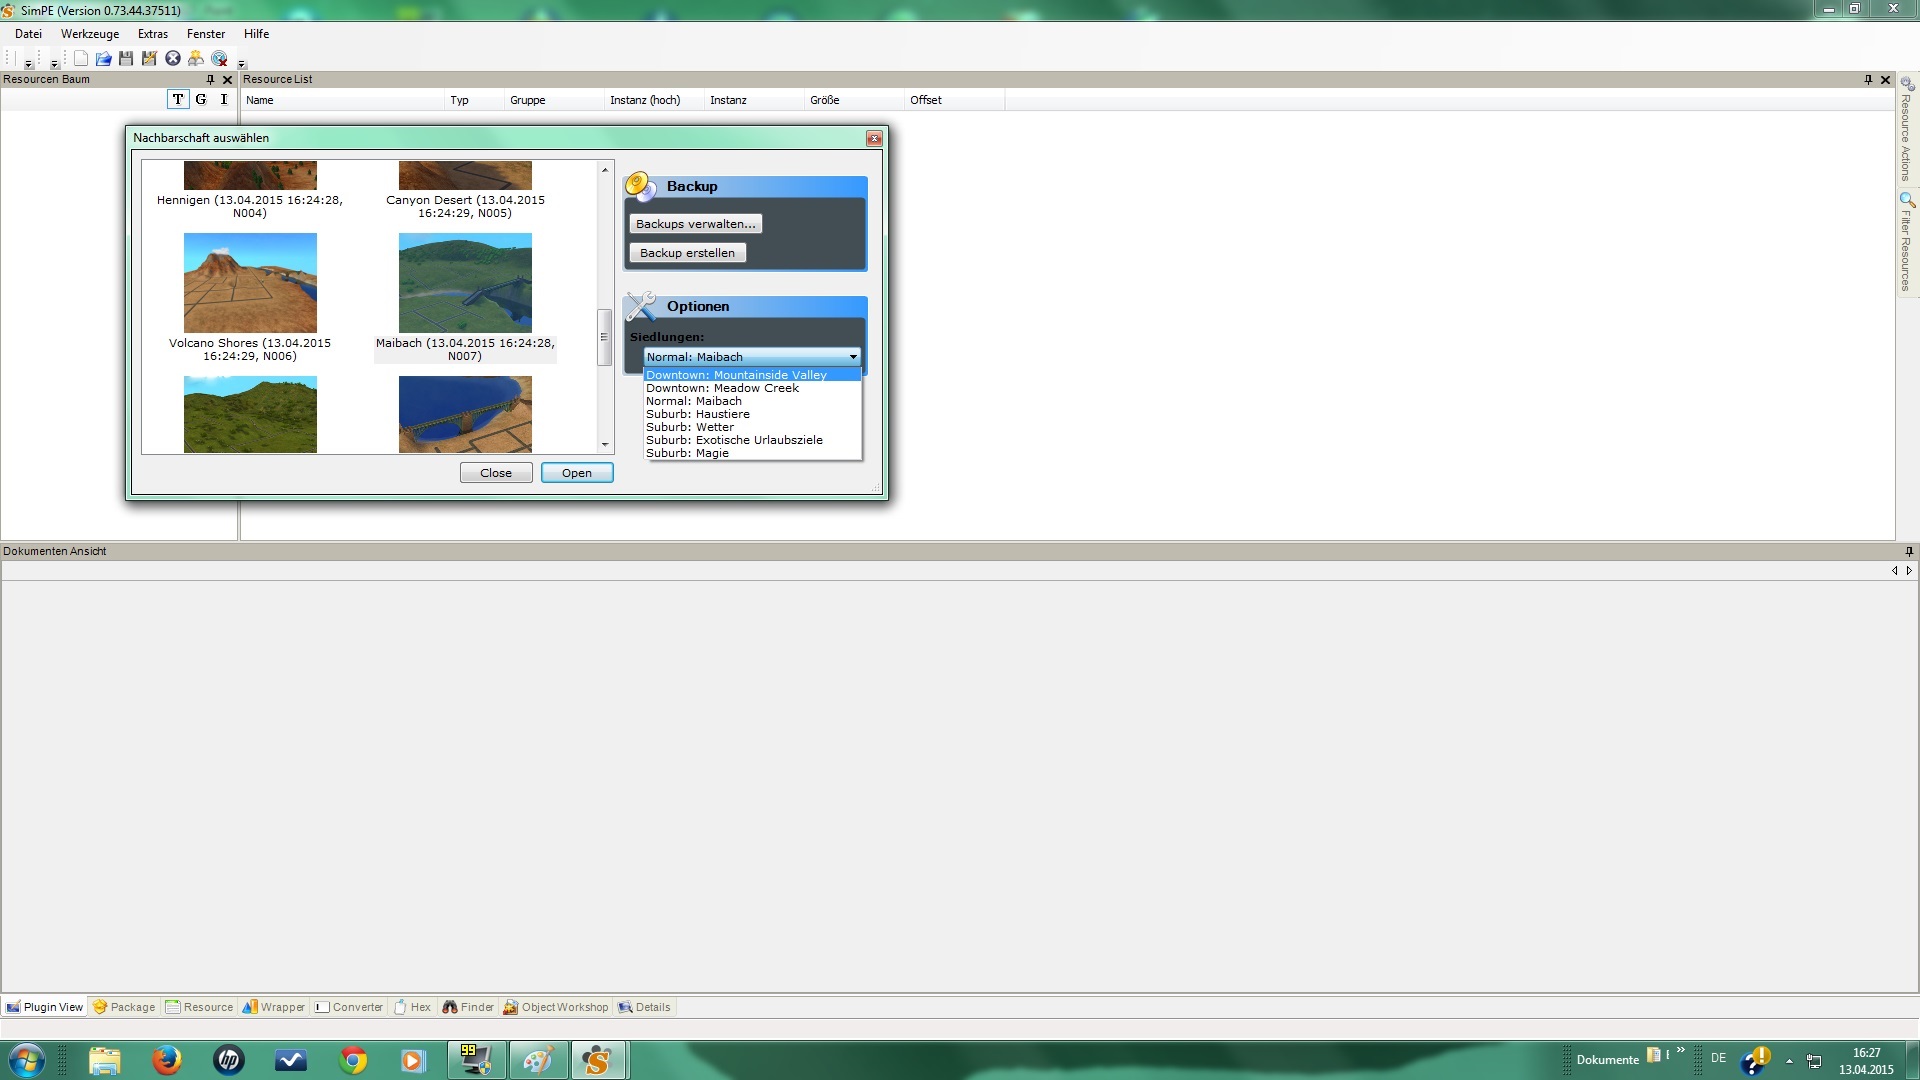
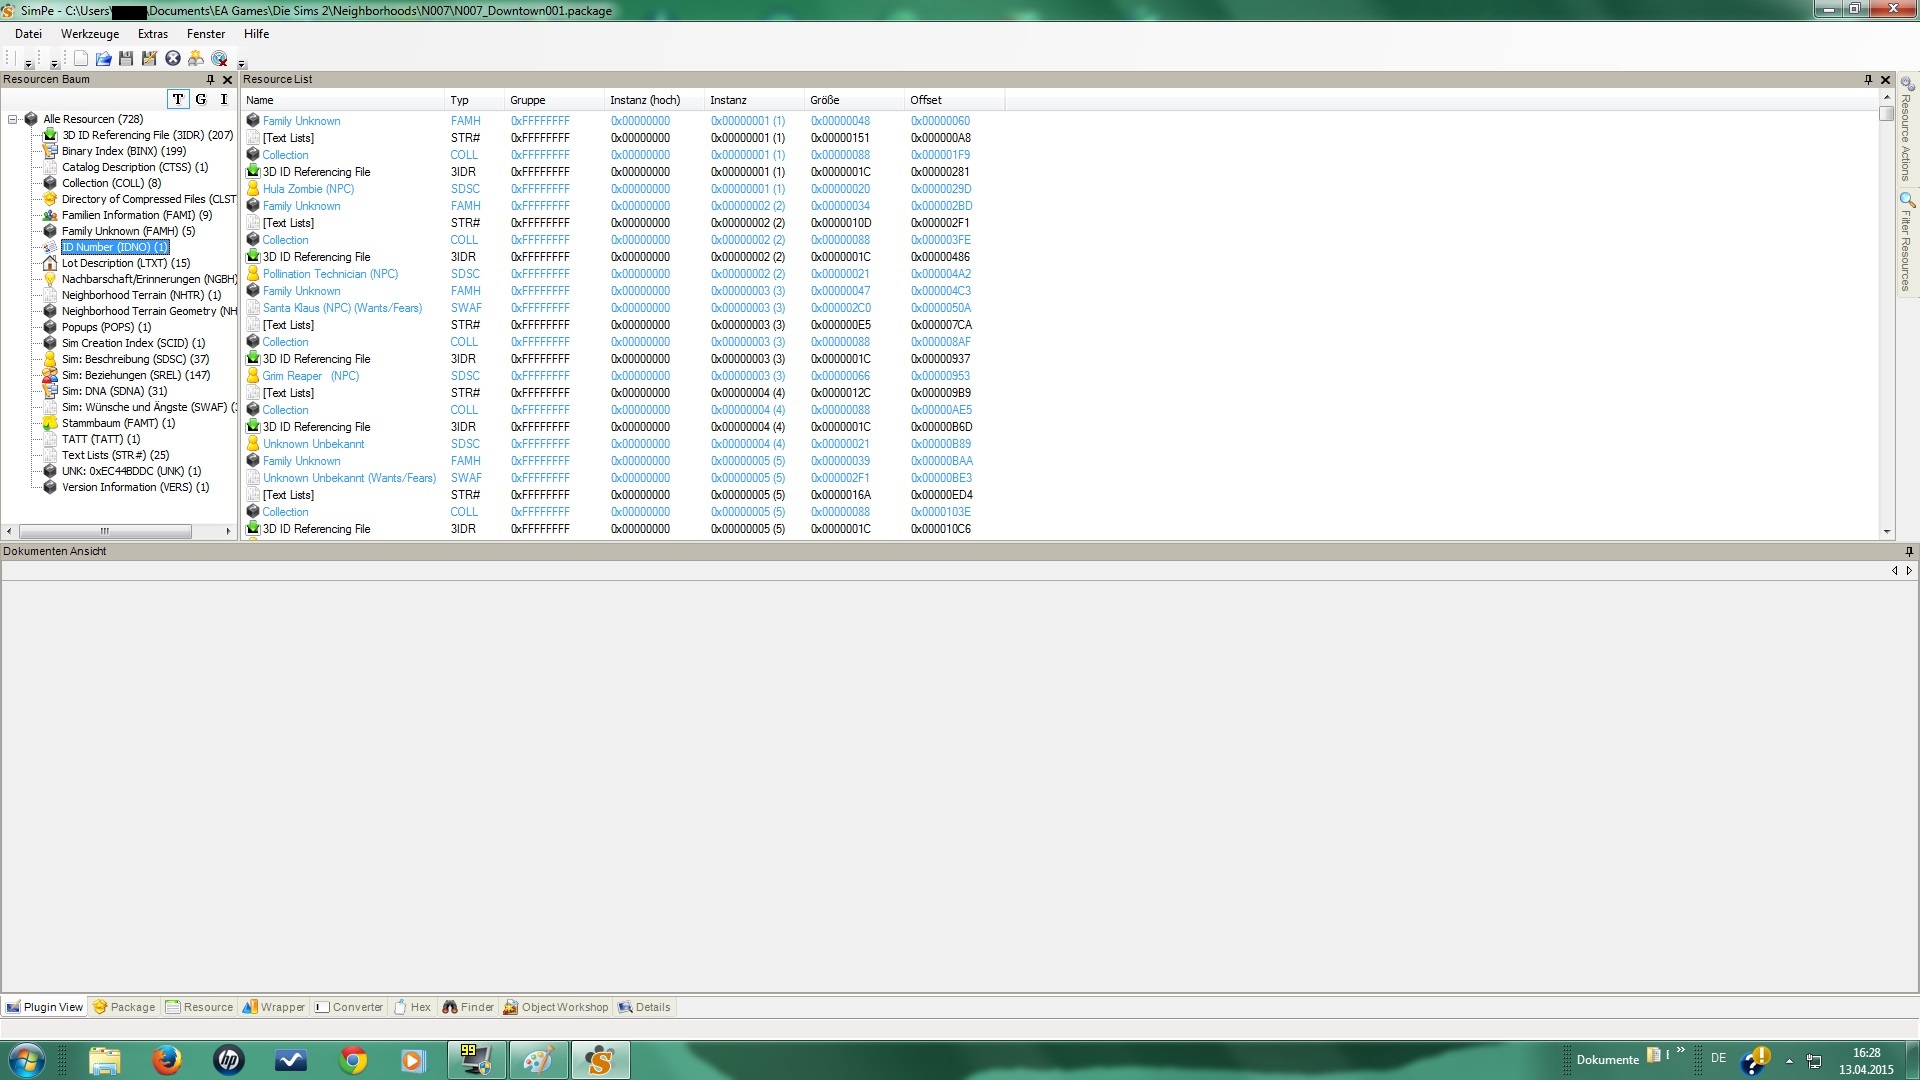
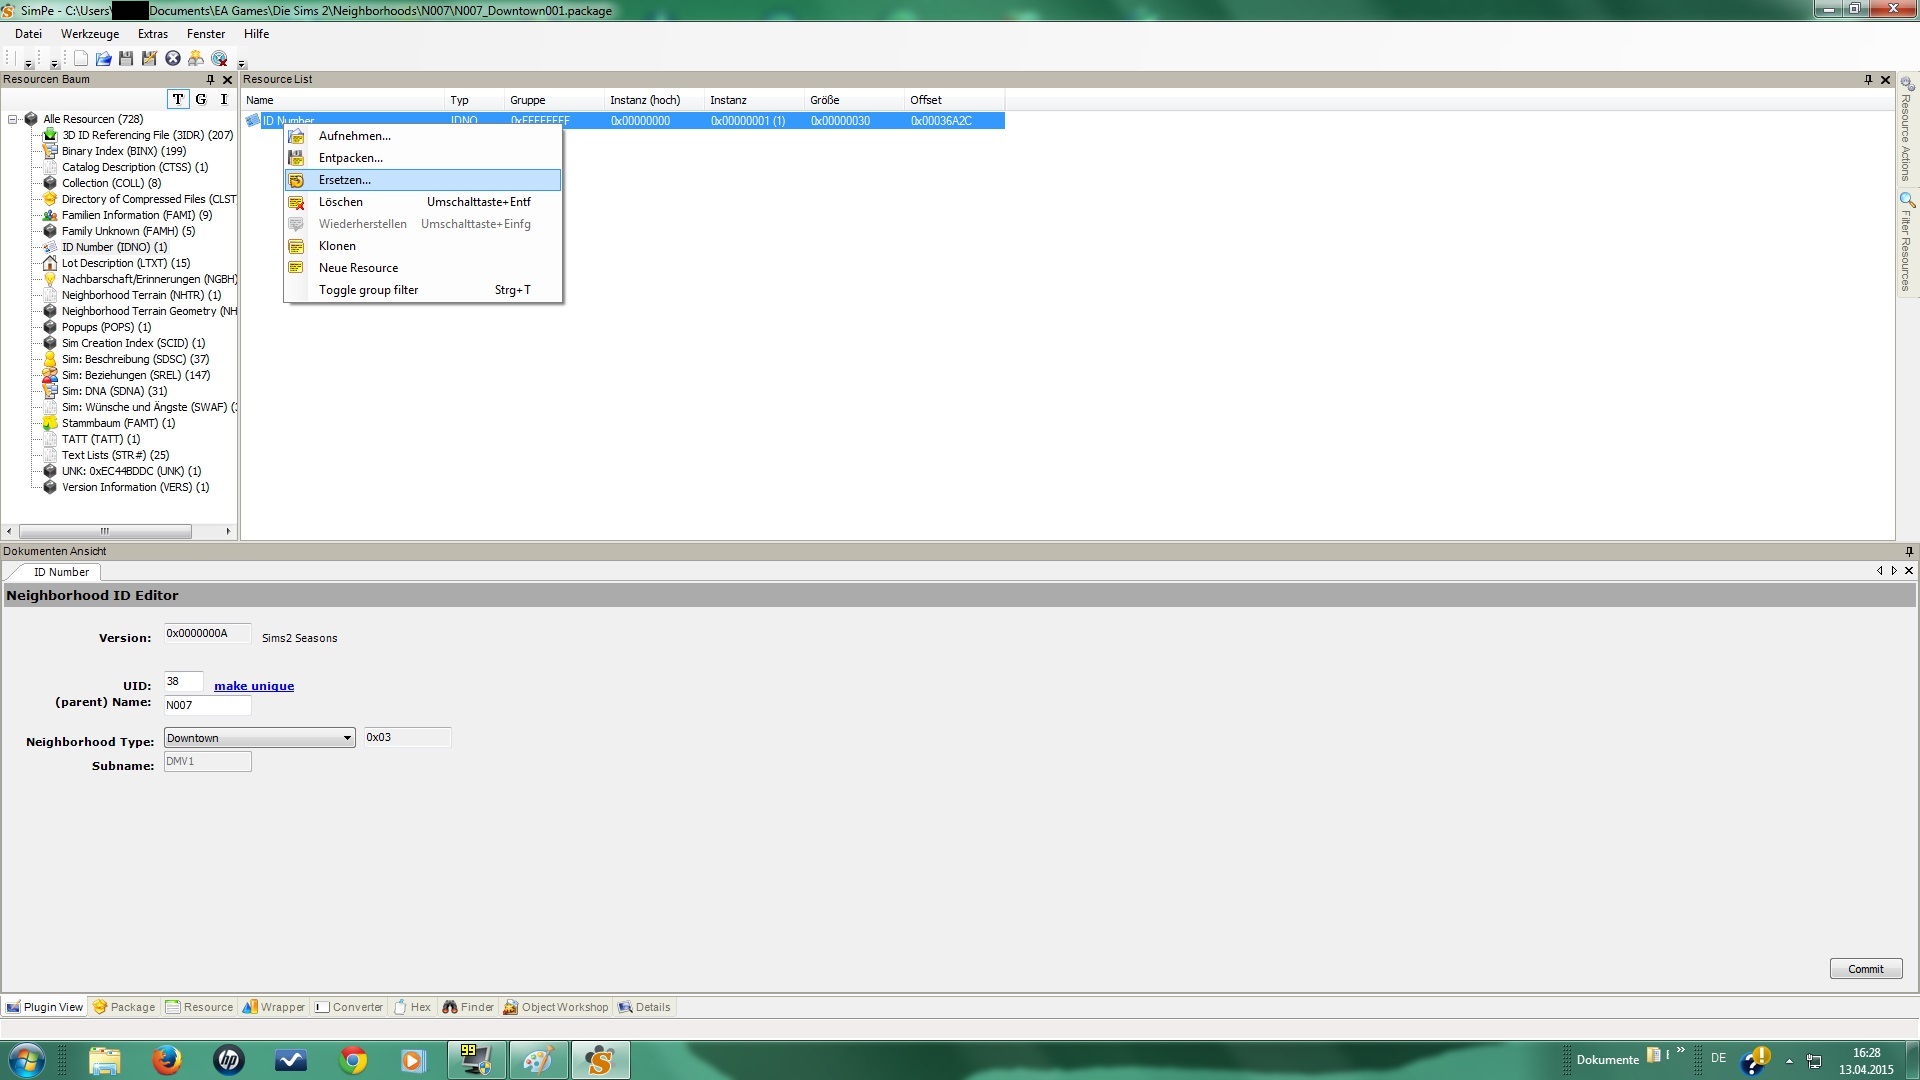
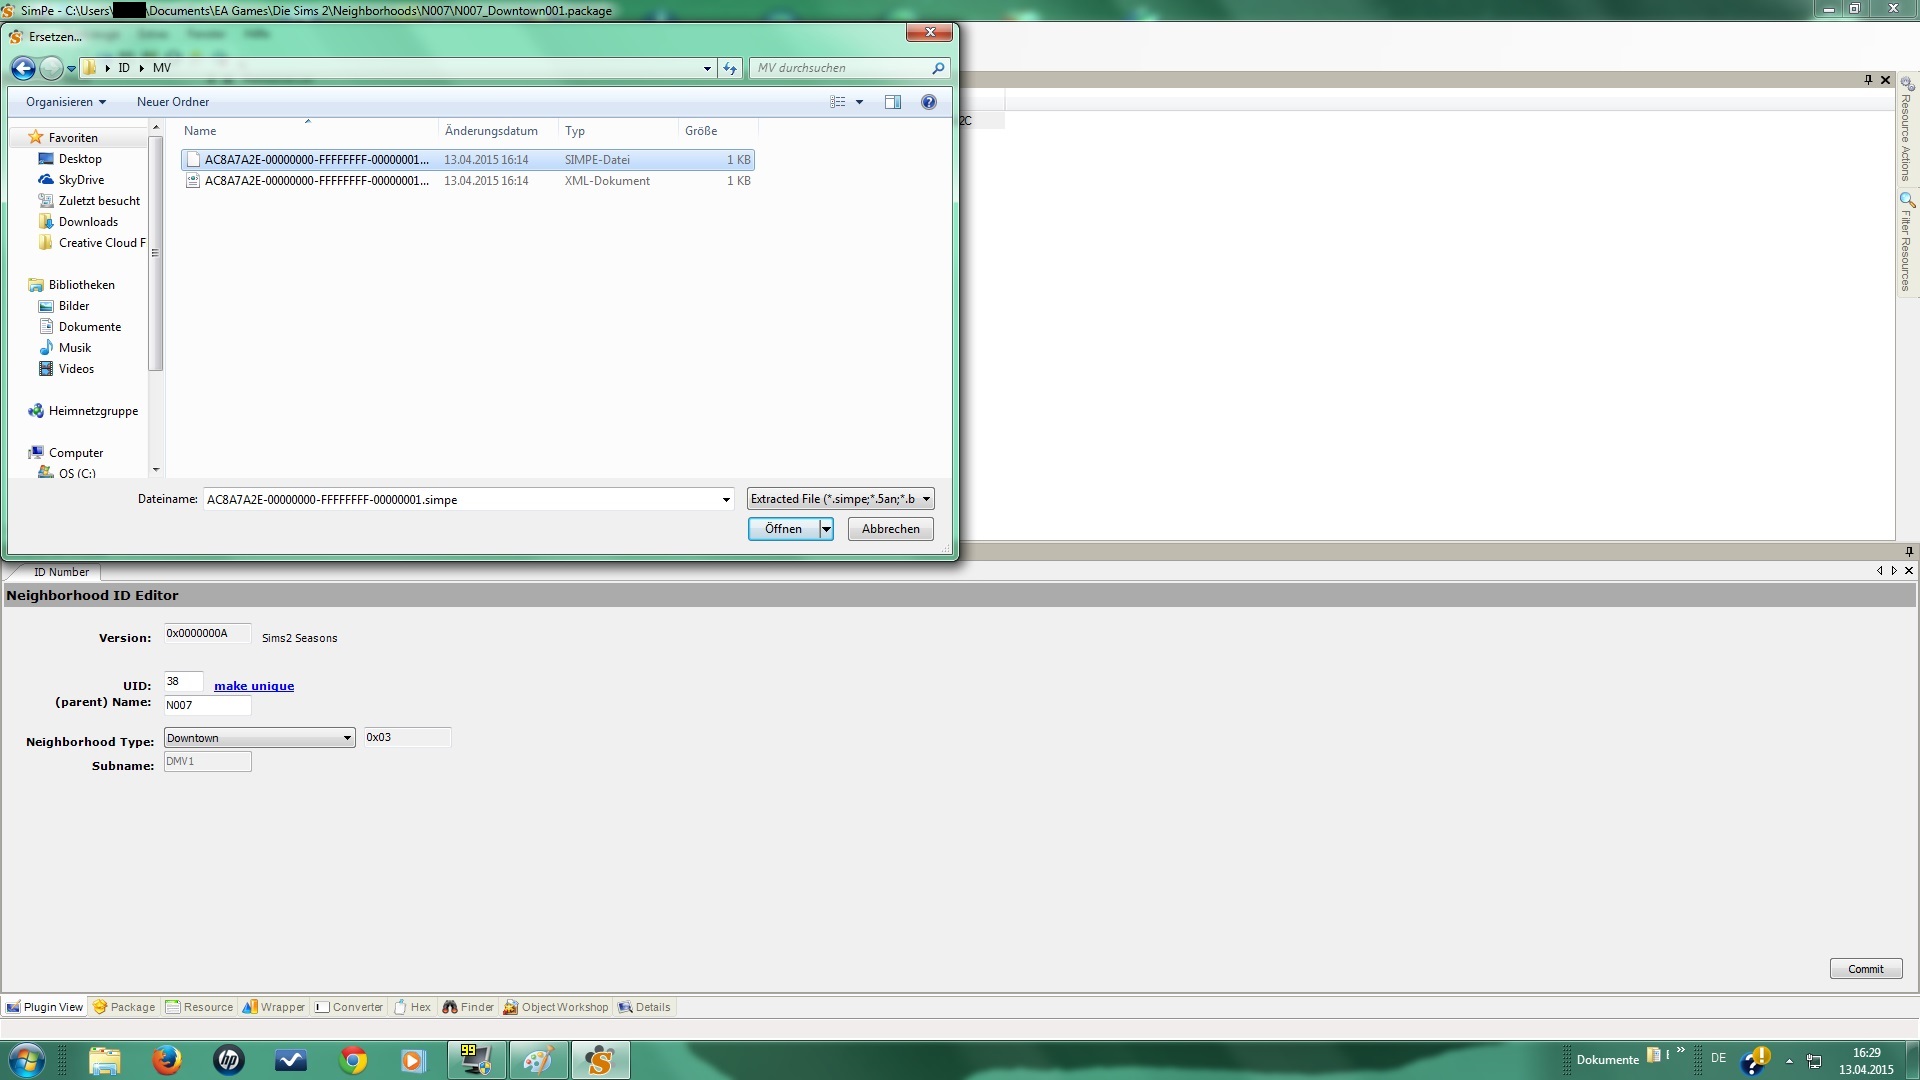
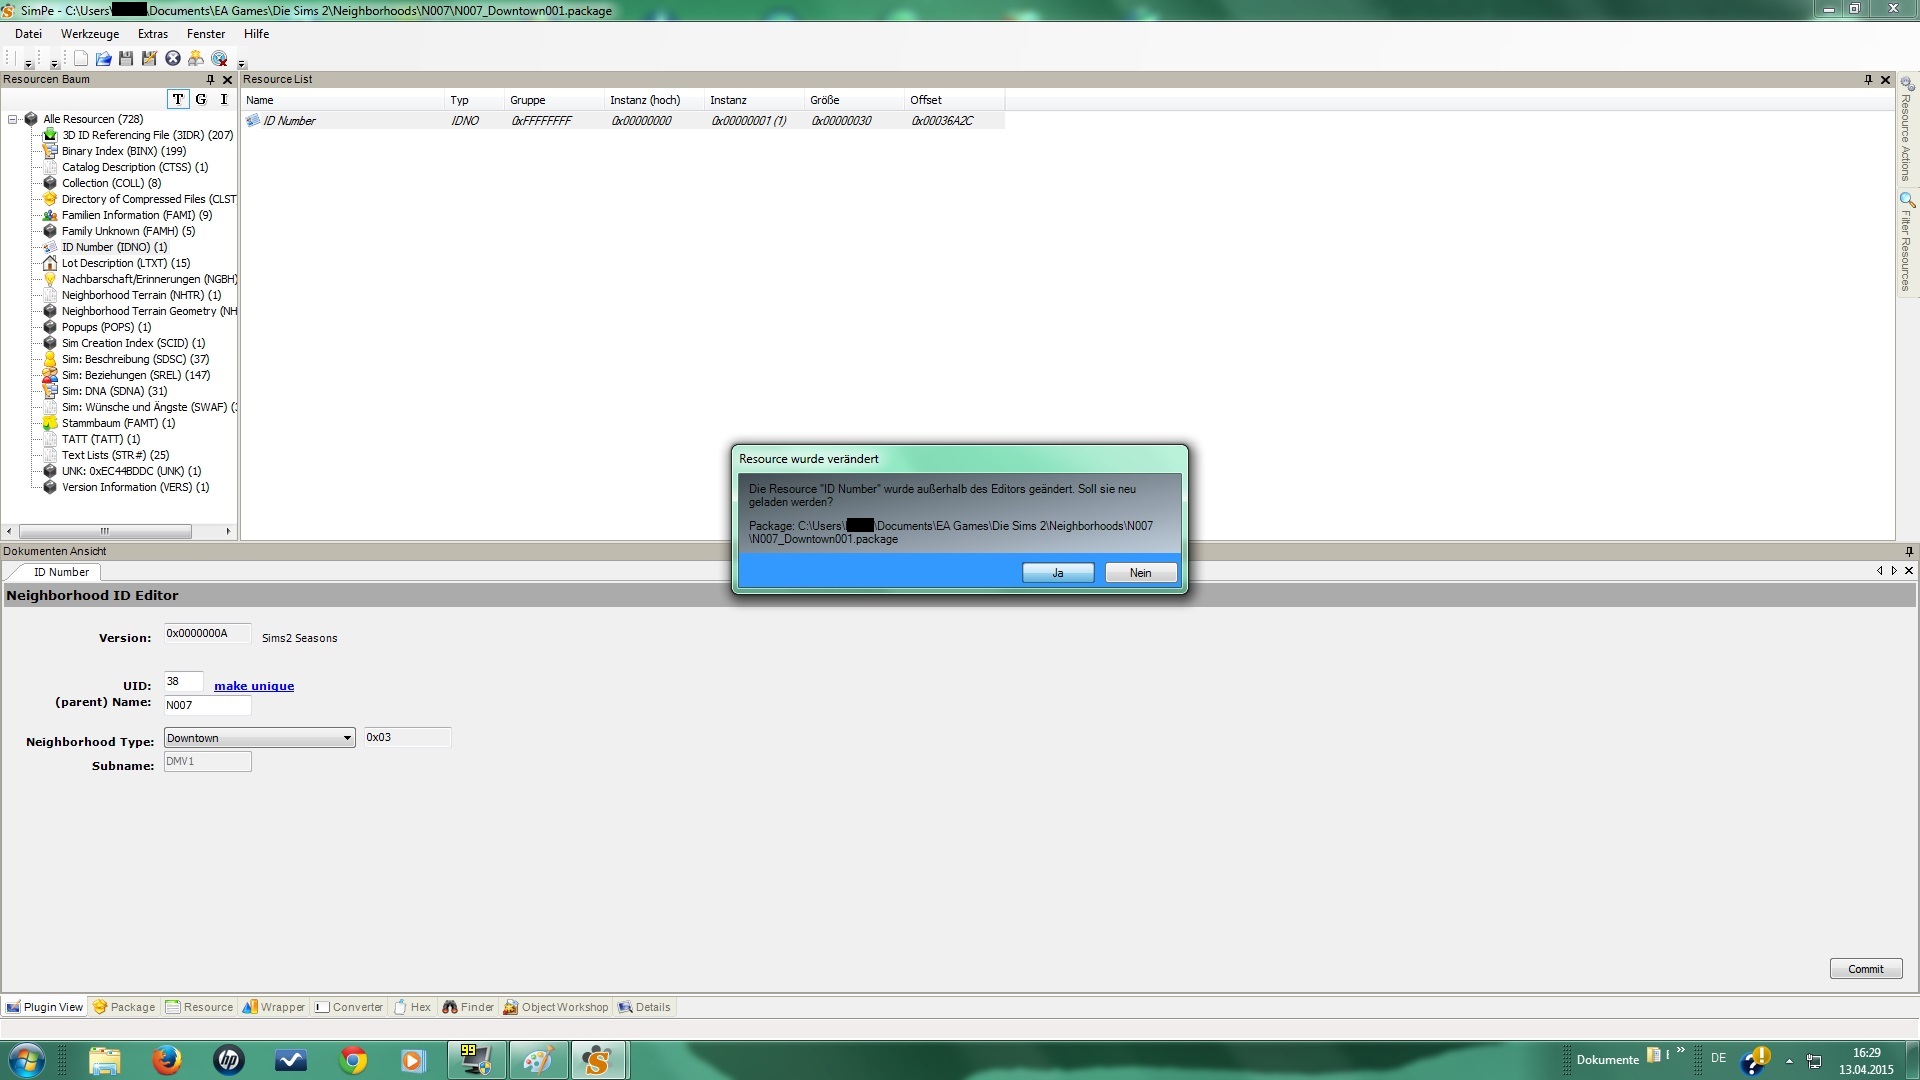
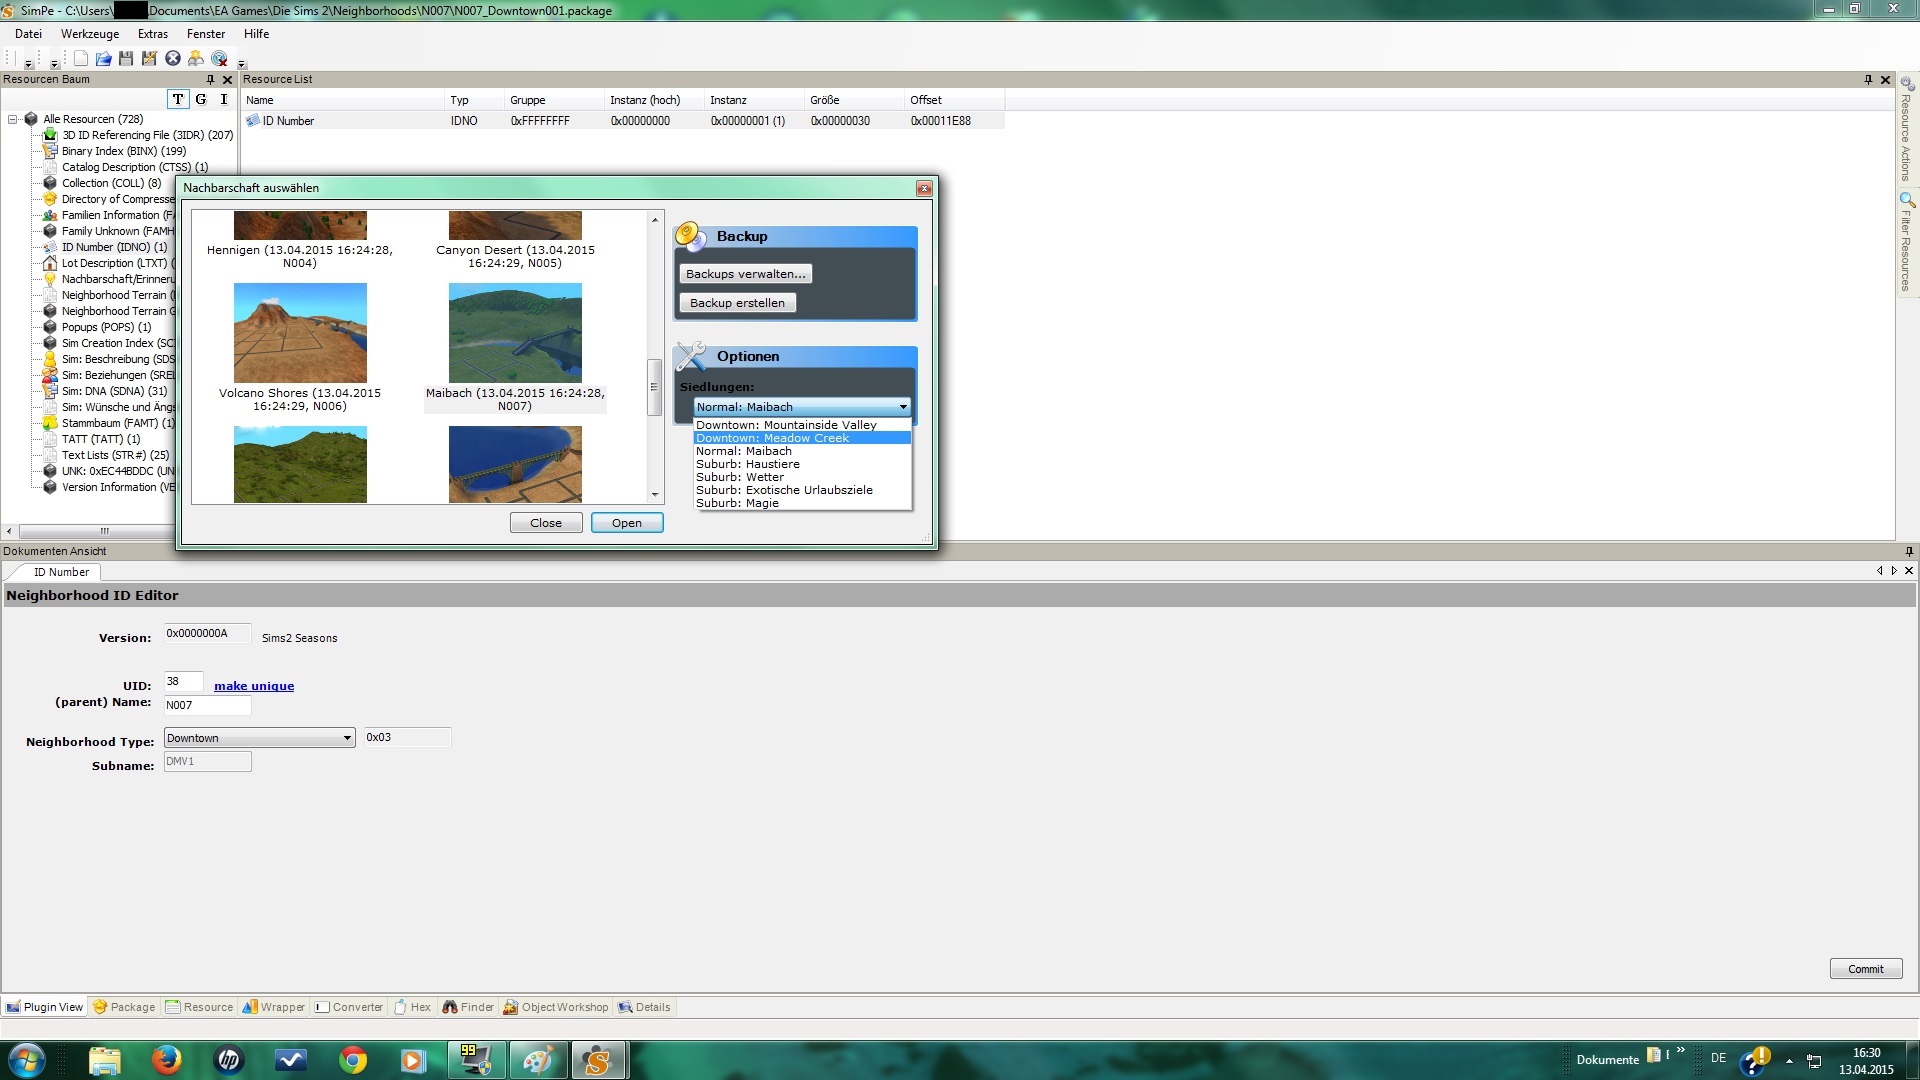
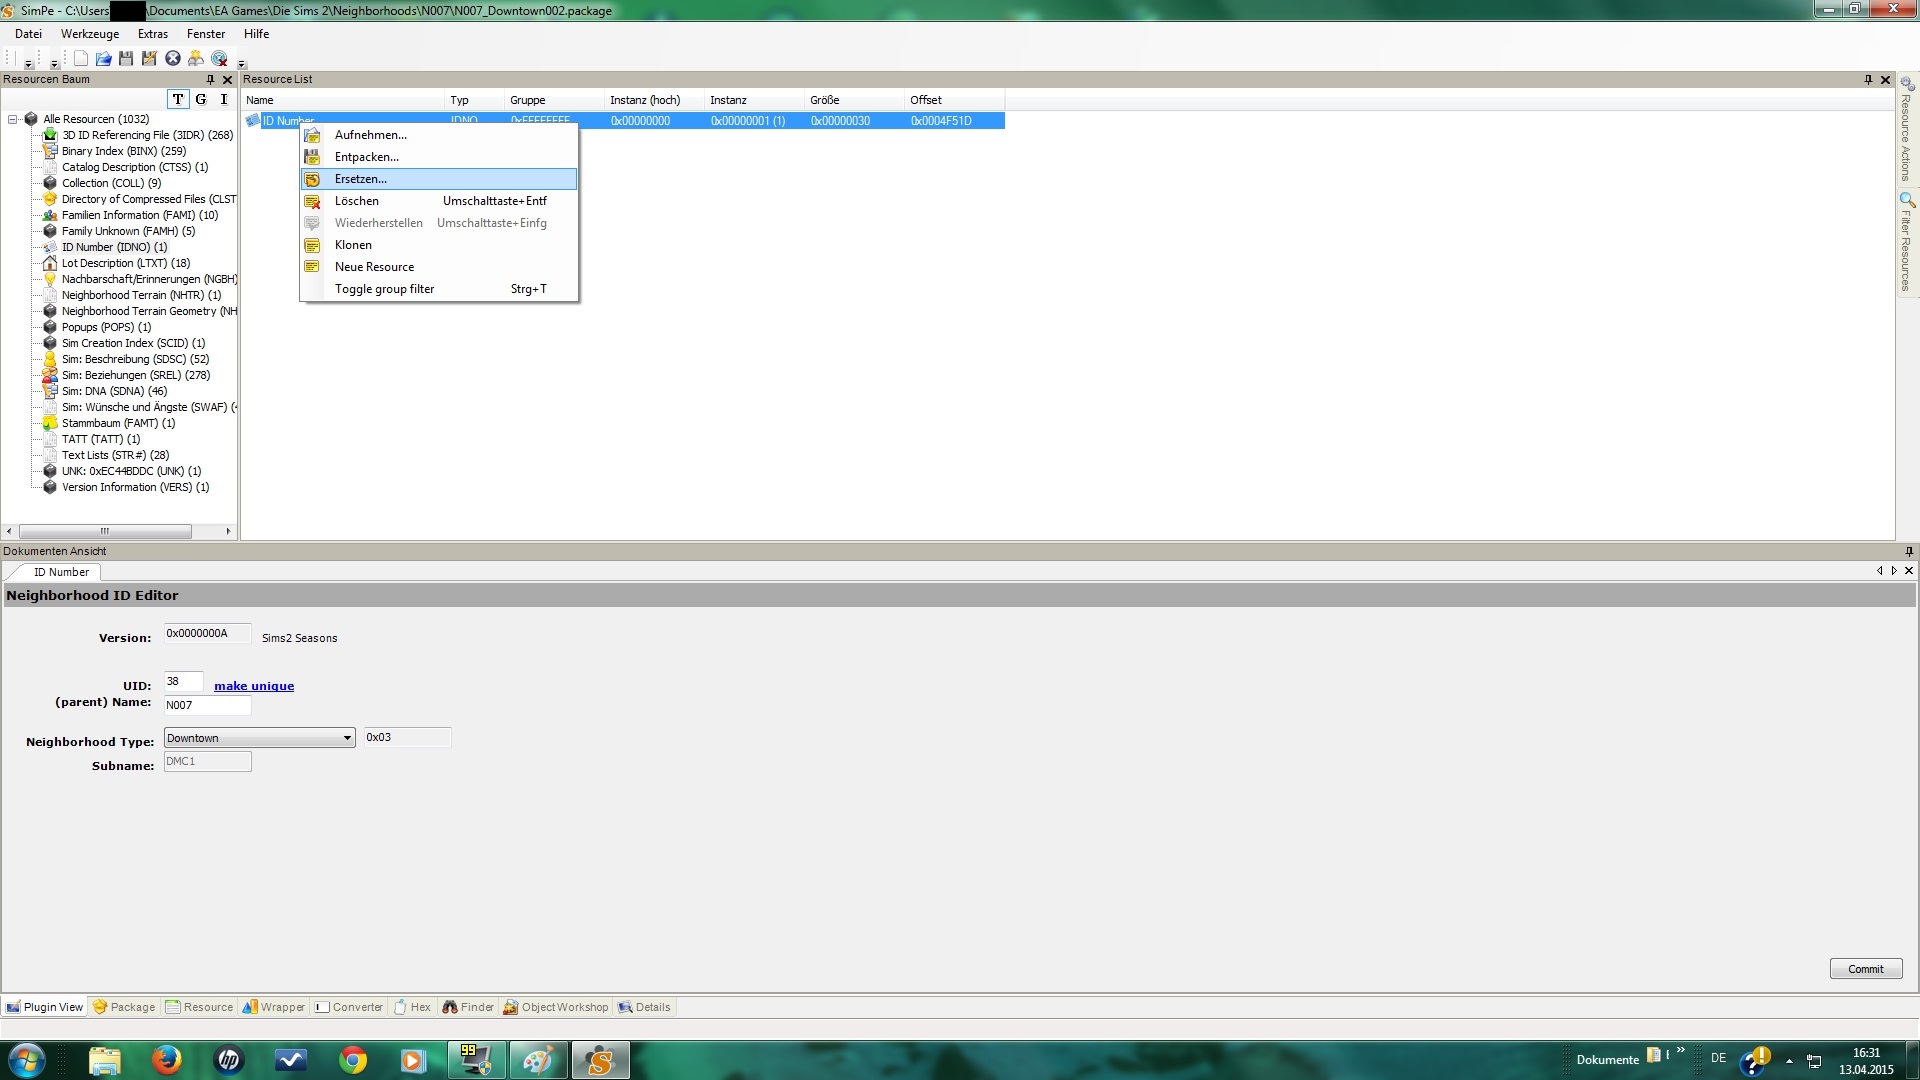
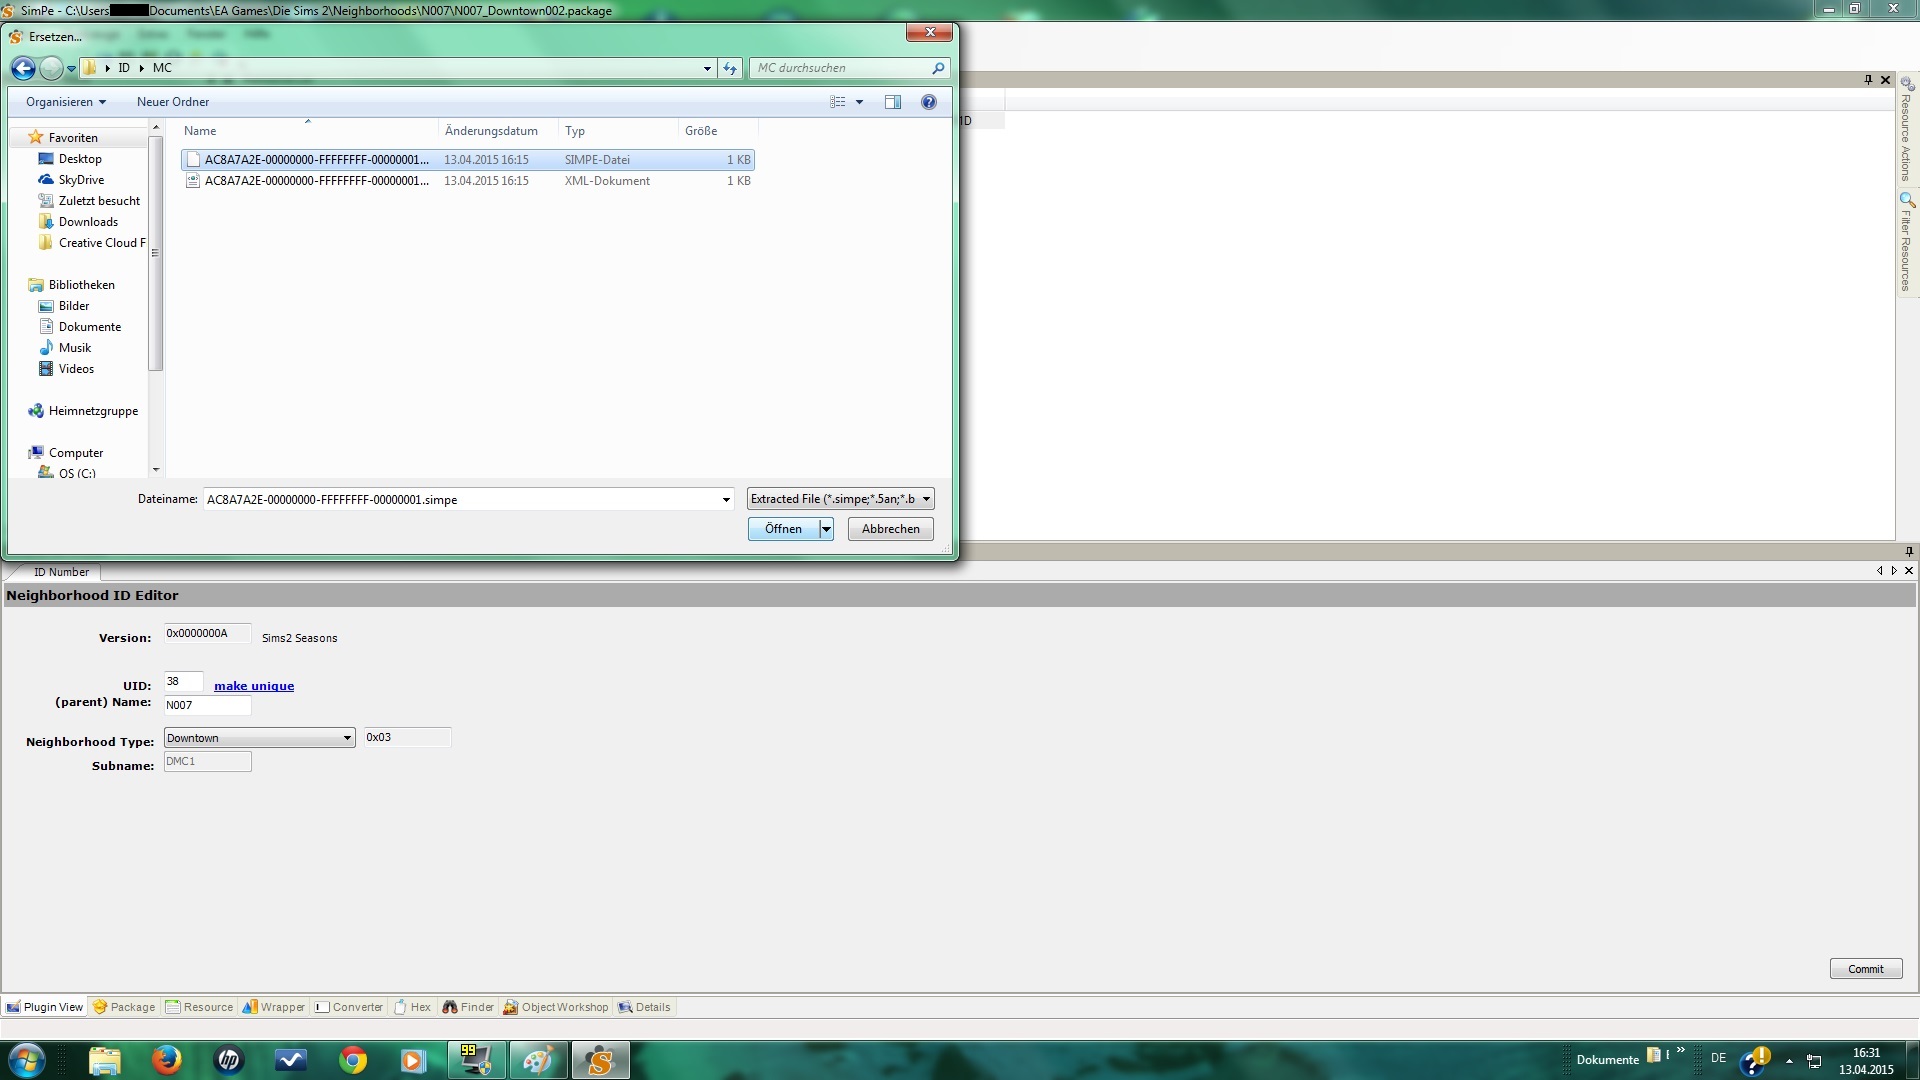
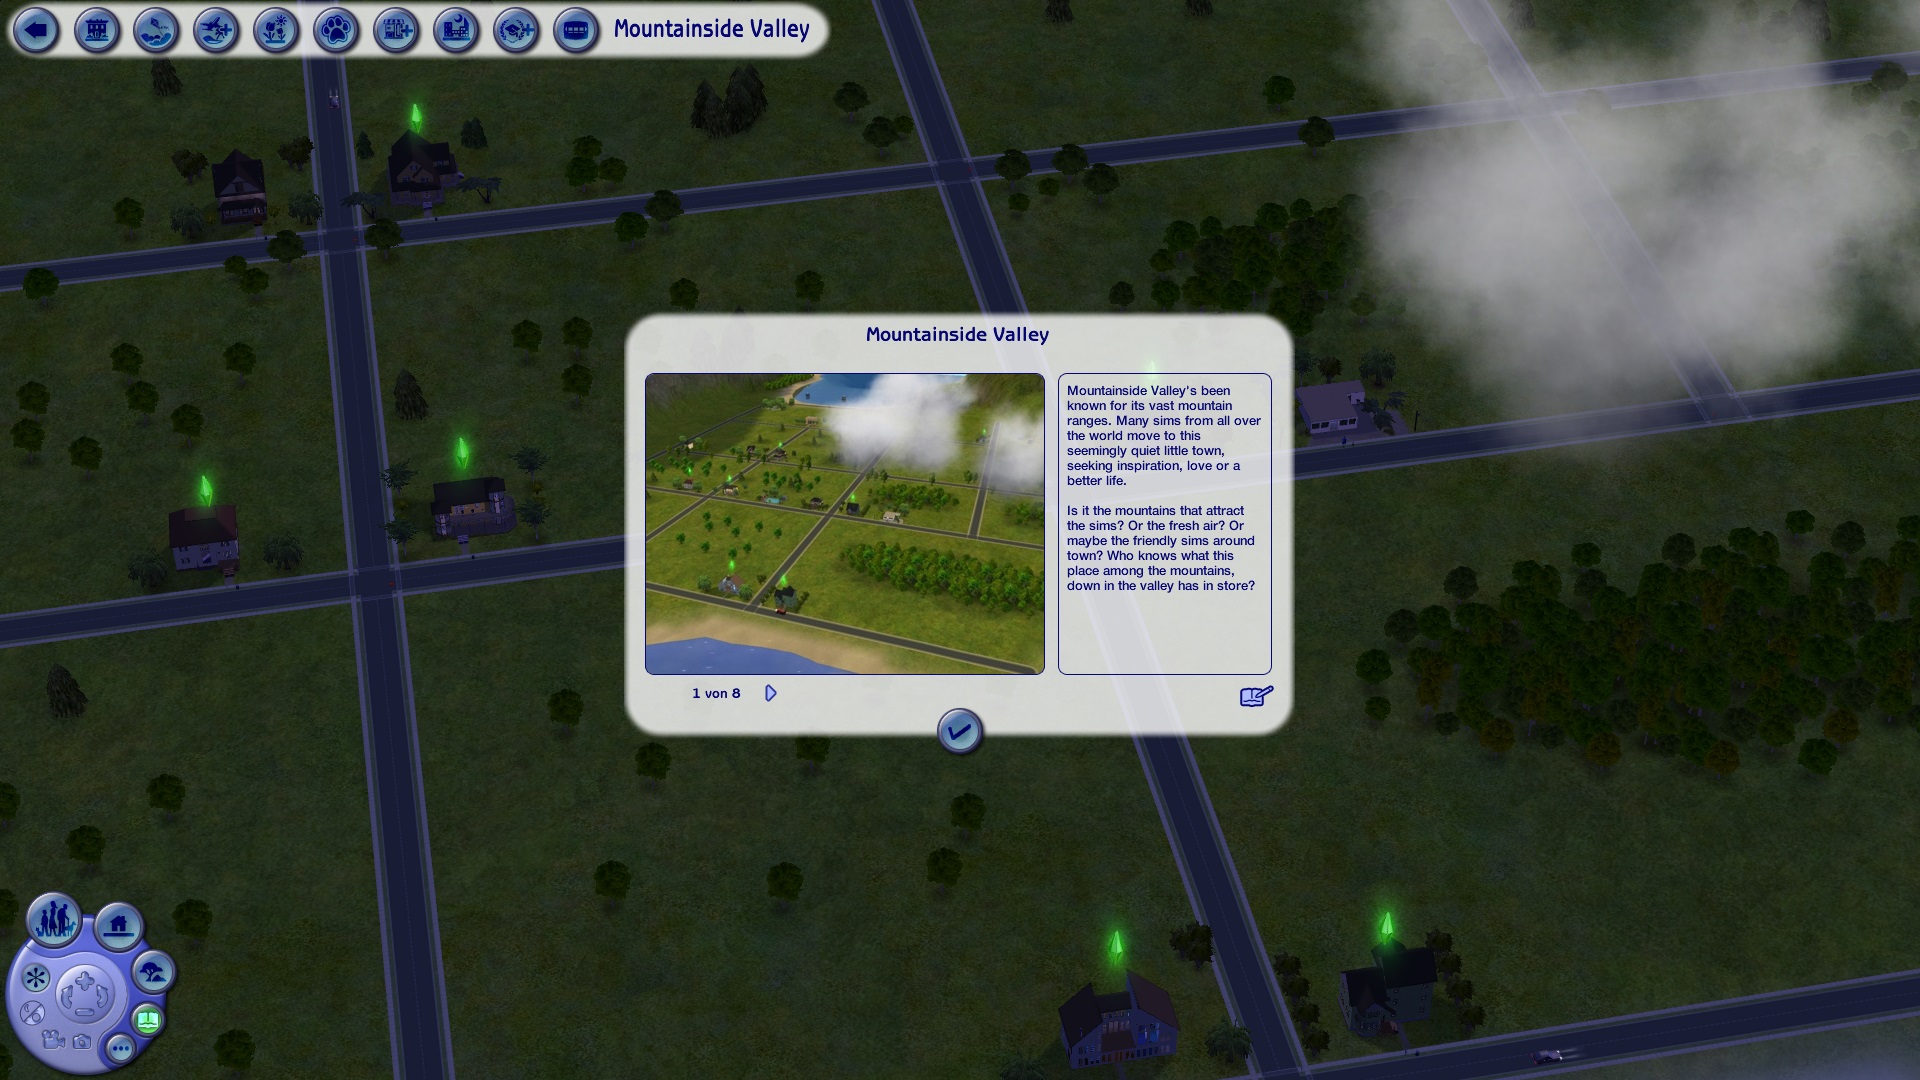
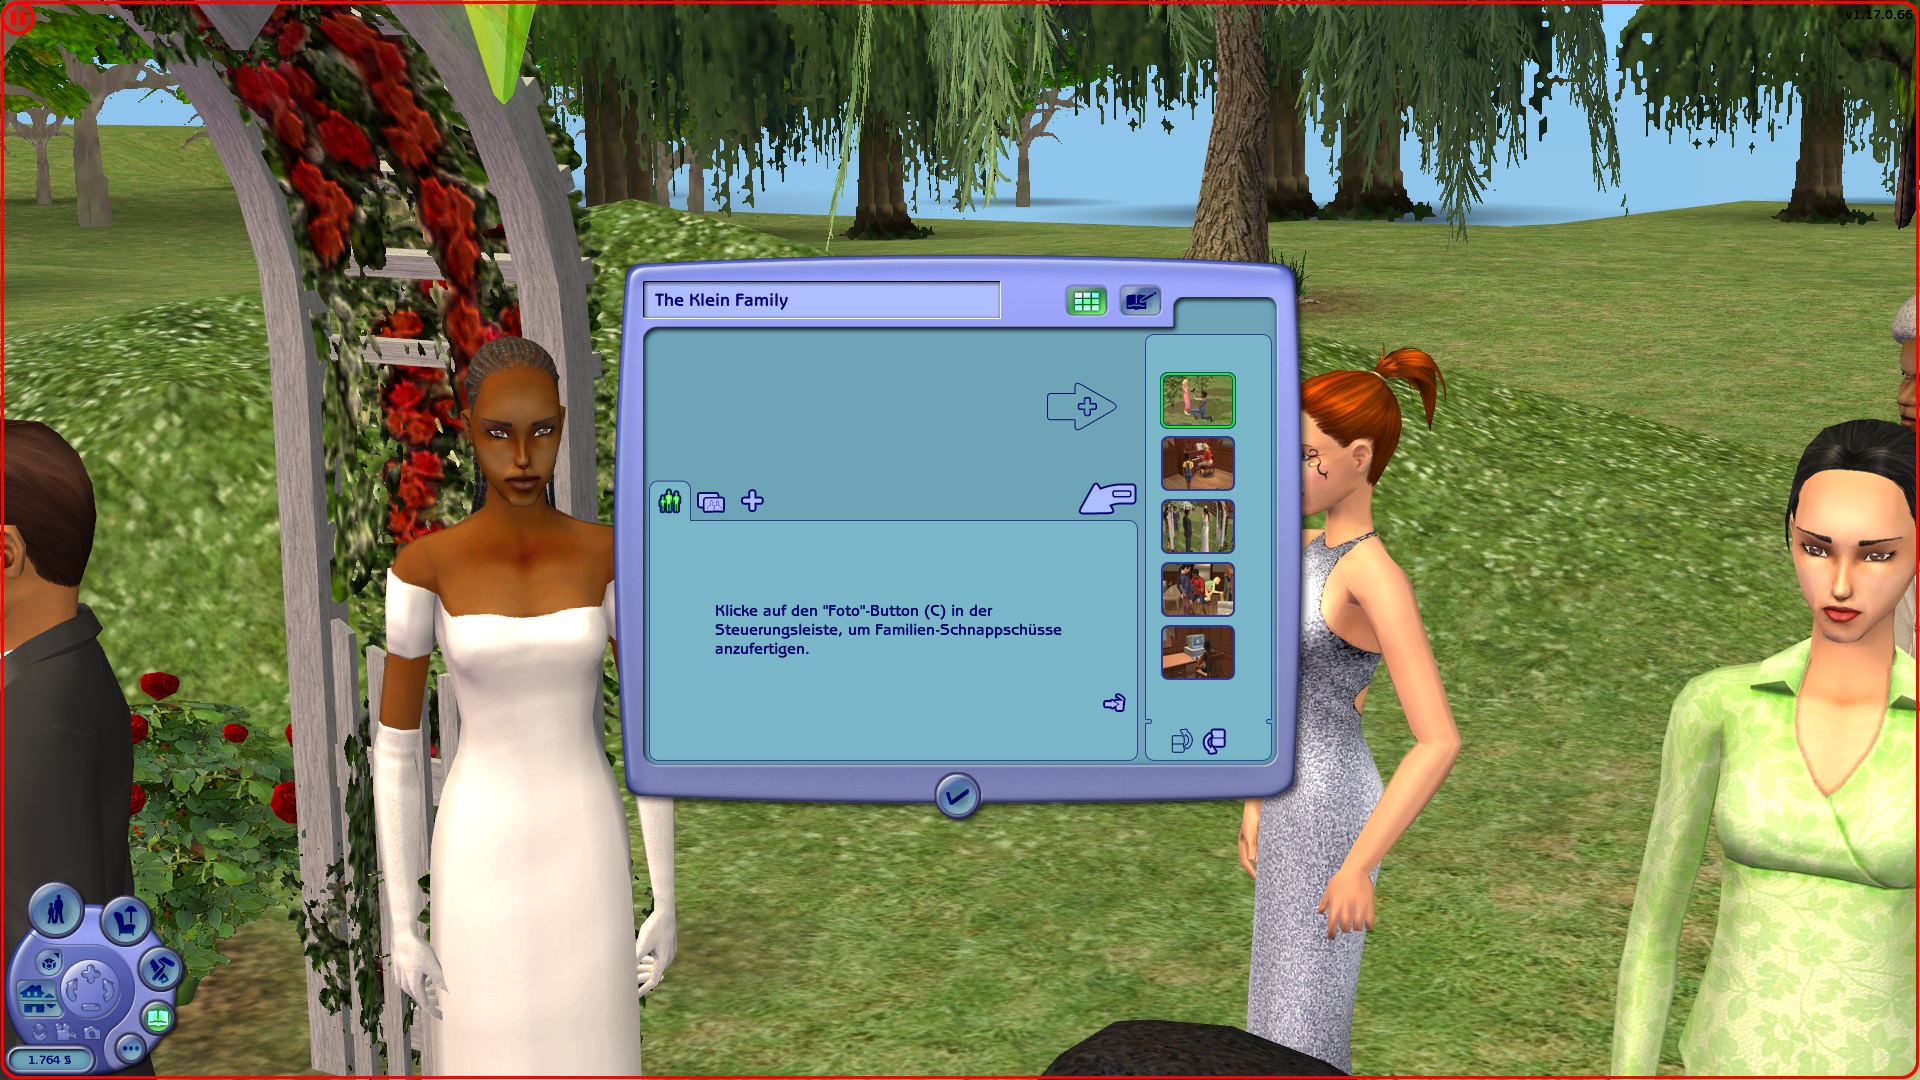
Note: The descriptions in the screenshots are not in English. My game is in German, that's why. I hope, you can still follow the tutorial. It shouldn't be a big difference at all...
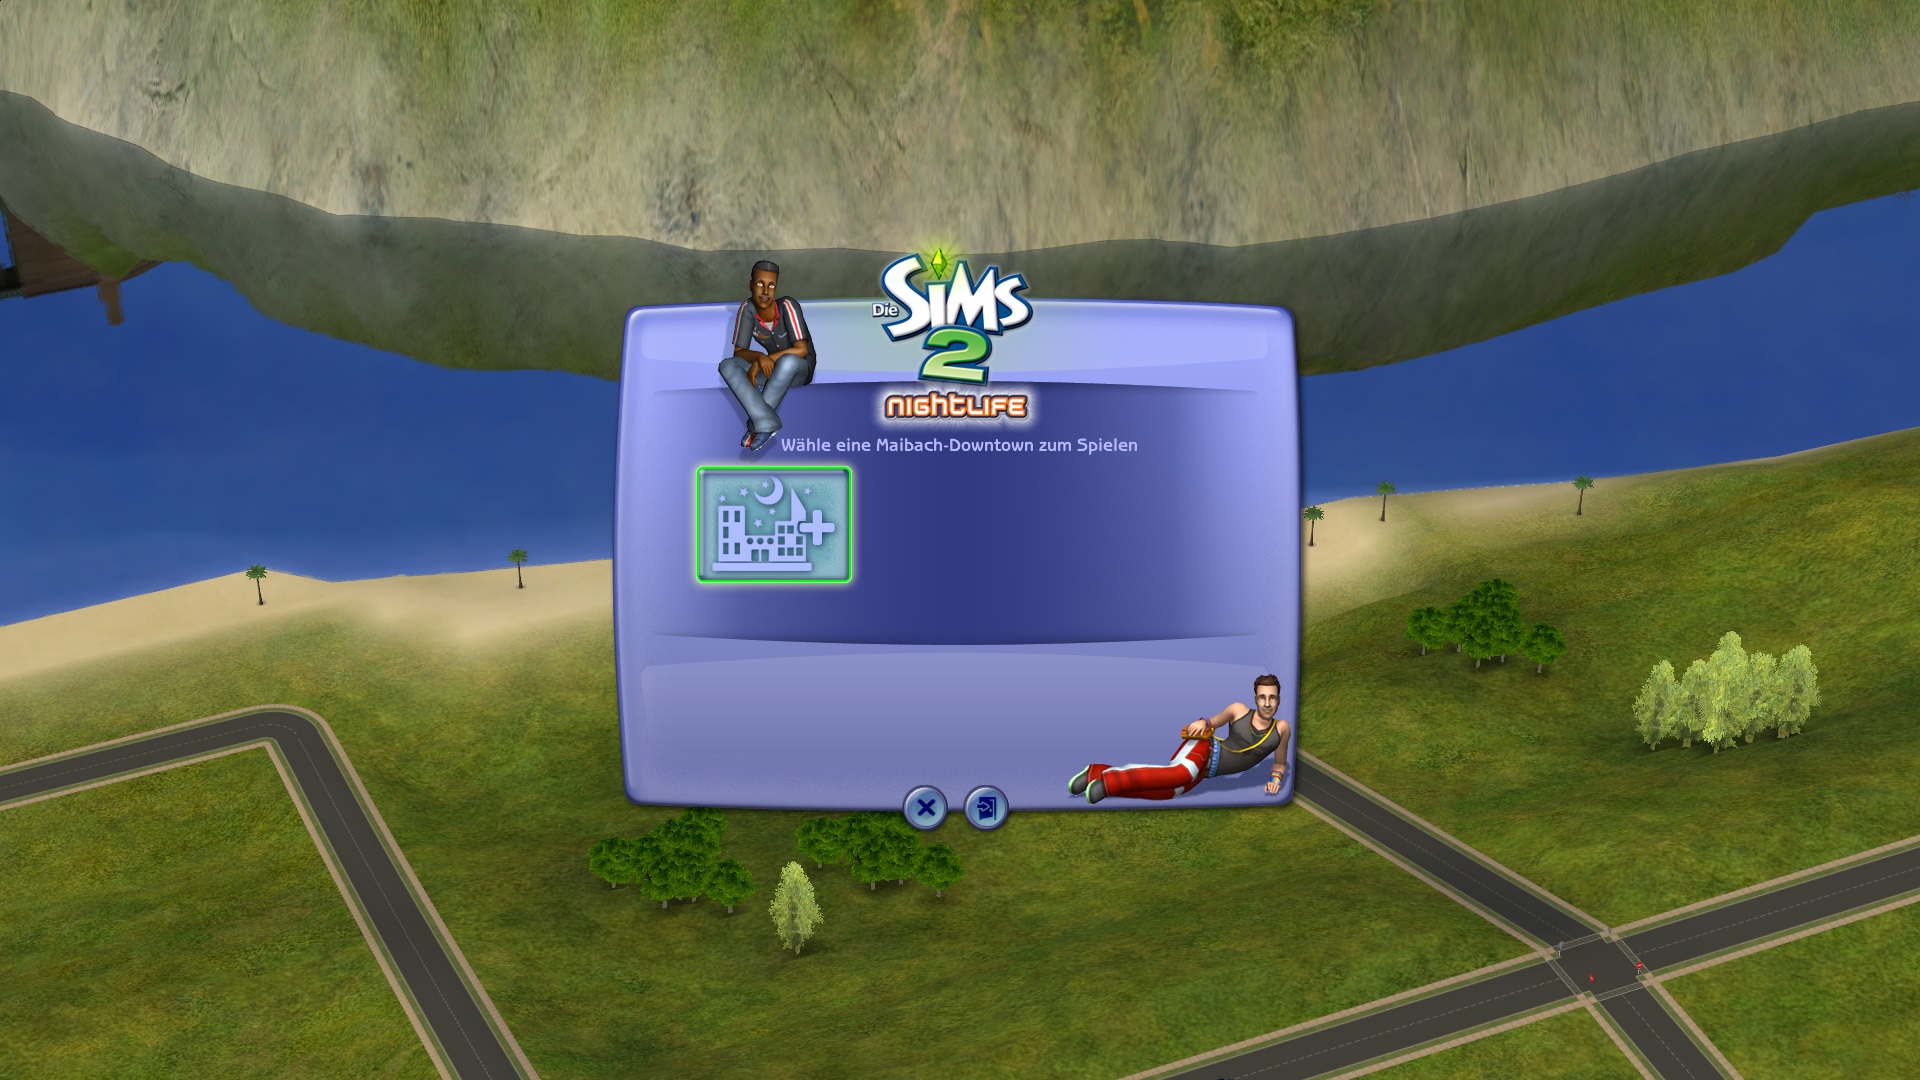
If you have any problems or if a step is unclear for you, please let me know. You can either PM me or reply to this thread. I hope I'll be able to solve your problems.
As you might noticed, by default, only the first downtown added to a neighborhood will have the sims. All of the other downtown templates added to the neighborhood will simply have no sims at all. As you know, EA doesn't delete the sims properly. The junk references may be seen in SimPE.
But there's a way to bypass this issue/feature.
Here's the tutorial. If you're confused or need more help, I've attached some screenshots of how I did it. Just click on them if you want to see it bigger. If you have any further questions, you may post your questions in this thread.
1.
backup your neighborhood in which you want to add the downtown subhoods. We'll need the
backup later so you have to backup. Otherwise, you won't be able to complete the tutorial and end up with a corrupted neighborhood. You've been warned.
2. Load your neighborhood and add the downtowns you want to the neighborhood. The first downtown will have the sims but the others won't. Don't worry about that. We'll fix that.
I'm adding Mountainside Valley and Meadow Creek as downtown subhoods to my neighborhood for this tutorial.
3. Quit your game and go to C:\Users\Your Name\Documents\EA Games\The Sims 2\Neighborhoods and open your neighborhood folder.
There, you'll see the downtown subhoods (Downtown001.package, etc.)
4a. Copy and paste them to desktop.
4b. Copy and paste the Storytelling folder to desktop as well. We'll need it later.
5. Delete your neighborhood folder and replace it with your
backup you've hopefully and thankfully made in Step 1.
6. Open
SimPE and extract the neighborhood ID of each downtown subhood you've copied to desktop.
To do this, click on the IDNO record on the left panel. Now, it should be on the right panel. Right-click on it and choose "Extract". I've created a folder for each ID number. (Just to recongize it better)
7. Now, you can delete the downtown subhood packages. We don't need them anymore.
8. Launch the game and load your neighborhood. Add
1 downtown subhood template and quit the game again. Don't add more downtown subhoods!
9. Go to C:\Users\Your Name\Documents\EA Games\The Sims 2\Neighborhoods and open your neighborhood folder
There, you only should have one downtown.
Cut and paste it with its picture to desktop.
10. Launch the game again load your neighborhood and add another downtown subhood template and quit the game again. Again, don't add more than 1 downtown subhoods! As you see, you can actually add Mountainside Valley again, but I wouldn't do so.
11. Go to C:\Users\Your Name\Documents\EA Games\The Sims 2\Neighborhoods and open your neighborhood folder again.
There, you should see a new "Downtown001.package" with its picture. Rename "001" to "002" and cut and paste to desktop.
12. Repeat these steps with all your other downtown subhoods until you have added all of the downtown subhoods you want to add.
13. Now, you can move all of your downtown subhood packages from desktop into your neighborhood folder.
14. Open your downtown subhoods in
SimPE and replace the existing ID numbers with the ones you've extracted in Step 6 of each downtown subhood and save.
15. Go to C:\Users\Your Name\Documents\EA Games\The Sims 2\Neighborhoods and open your neighborhood folder, then the Storytelling folder.
There, you'll have to delete the neighborhood pictures and the .xml file of the downtown subhoods. Why? Because the game merged them all together and screwed it up.
16. Open up the Storytelling folder you've copied in Step 5.
There, you'll need to copy the neighborhood pictures and the .xml file of the downtowns. The family pictures don't need to be fixed.
17.Go back to C:\Users\Your Name\Documents\EA Games\The Sims 2\Neighborhoods and open your neighborhood folder, then the Storytelling folder and paste the fixed pictures/xml files of the downtown subhoods.
18. Check your neighborhood with Mootilda's HoodChecker and click on the Remove button to fix the sims' instances.
19. Congratulations! You have multiple inhabited downtowns in your neighborhood now.
As you see, both of the downtowns are inhabited and all of the neighborhood/family pictures are there.
If you want to add more downtowns afterwards, you can simply repeat the steps.
- Make a
backup of your neighborhood.
- Add the subhood (even if no sims will be added)
- Extract the ID number of the newly added subhood.
- Copy the Storytelling folder to desktop
- Then delete the subhood and restore from
backup - Take out all of the current downtowns
- Add the new downtown template
- Rename the downtown template (e.g. Downtown001 becomes Downtown009)
- Move all of your downtowns templates back to their actual place.
- Replace the ID number of the newly added downtown template
- Delete the screwed up neighborhood pictures and .xml files of the downtown subhoods in the Storytelling folder
- Copy and paste the fixed neighborhood pictures and .xml files of the downtown subhoods into the Storytelling folder.
- Use Mootilda's HC to fix the sims' instances