From all the staff here at MTS, we'd like to wish all of our members and guests a Happy Holidays, and a Merry Christmas!
Quick Reply
Search this Thread
Scholar
Original Poster
#1 Old 17th Nov 2012 at 9:55 PM Last edited by Fergie_F : 13th Dec 2012 at 8:11 PM.
Default Cottage and Bungalow Roof Tutorial - for Dormers, Attics and a bit of Split-leveling too!
After fiddling about with the 'constrainFloorElevation' I managed to create my Victorian Cottage known as Moonlight Bungalow, I was very pleased with the outcome and then 'TudorMan23' wanted to know how I did the roof, so now I'm going to tell you all as best I can. Beware, there'll be a lot of pictures in the following stages and the skills I will try and demonstrate should be entirely transferable, even to the Sims 2. There's no need to try and recreate the house I am using for a demonstration as I will be uploading it when it's finished.

Stage 1.
You need to plan the layout and size of the building if it doesn't already exist. You also need to think about where the fireplaces are going to go, whether the chimneys will start inside the house, or whether they will be outside.


You need to bear in mind that what you have downstairs will be bigger than upstairs as the upstairs will lose a tile's width all the way around, except for dormers and gable ends, where the upstairs walls will connect with the external walls.

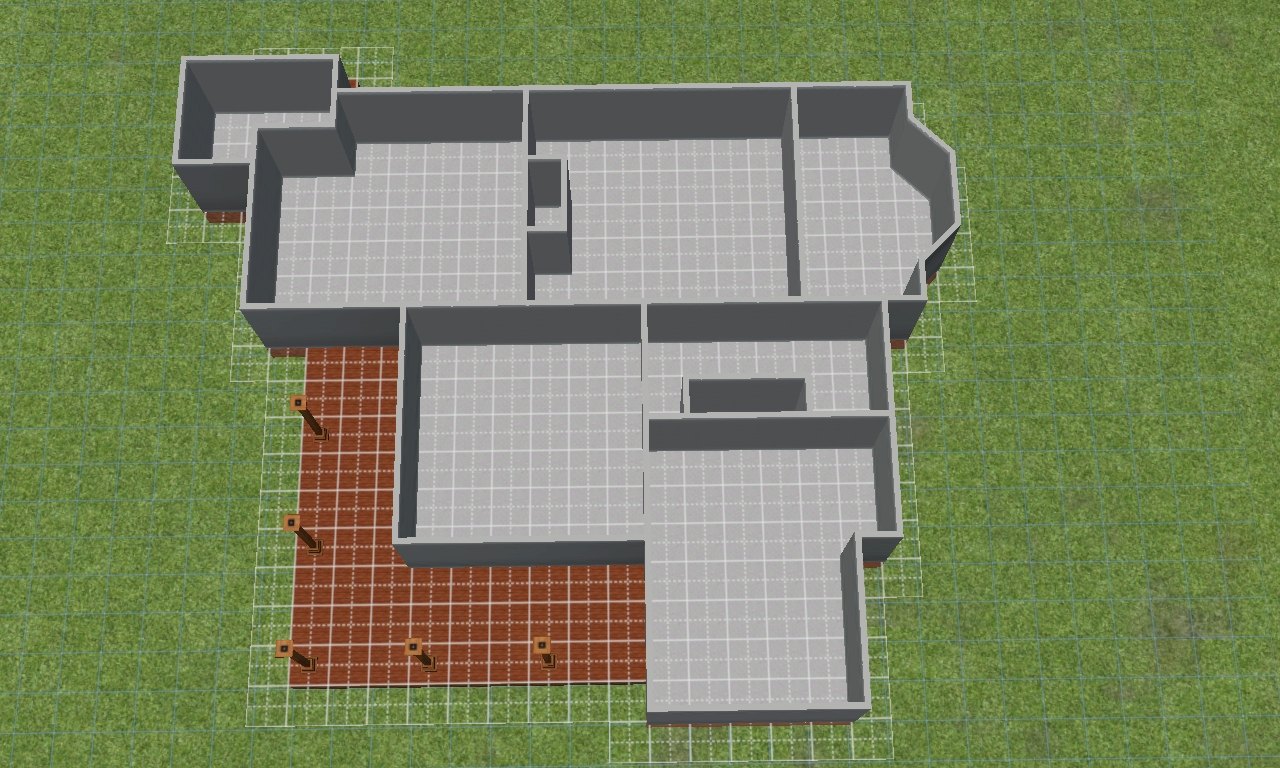
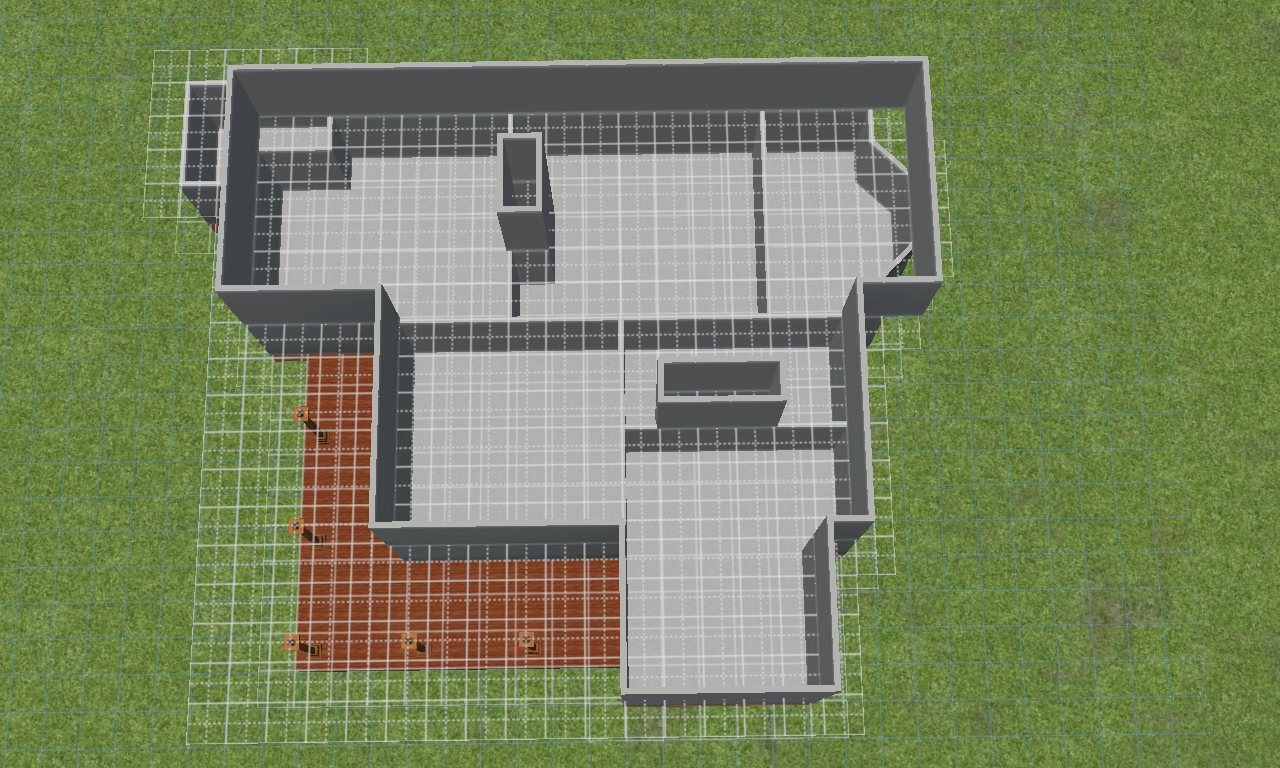
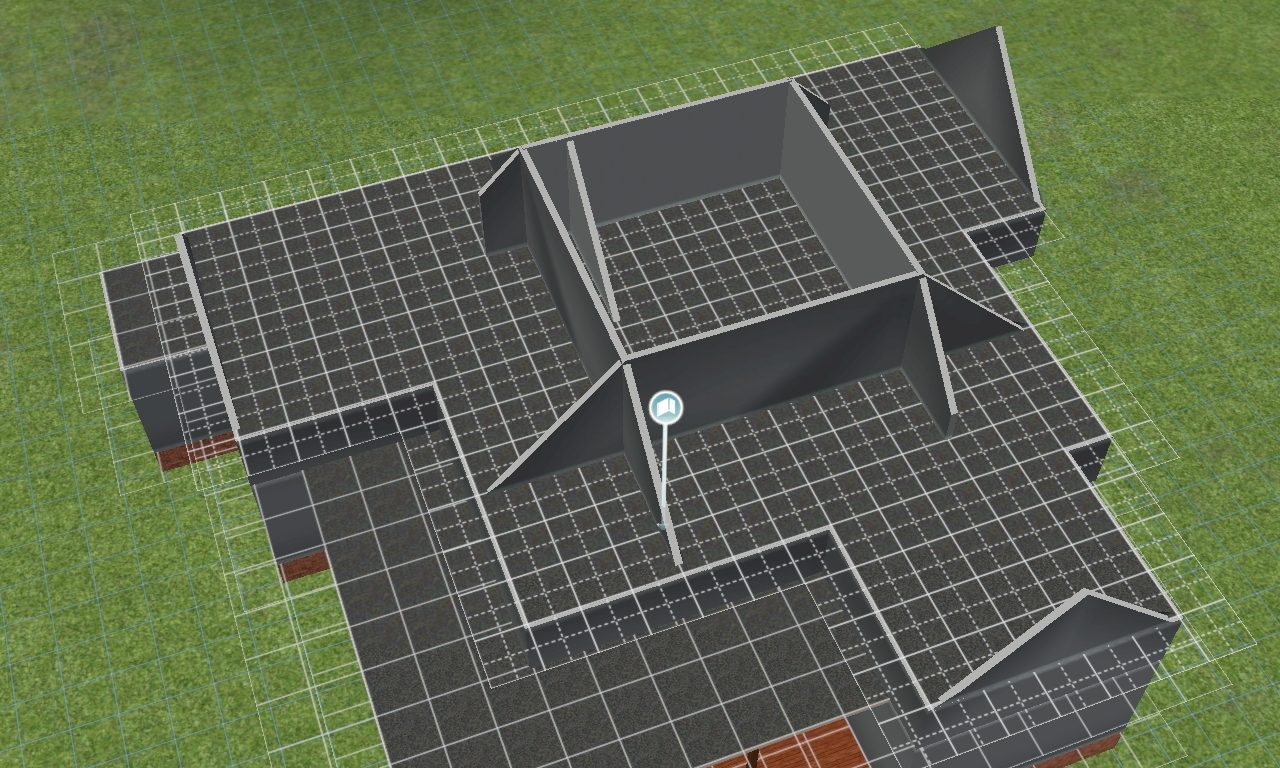
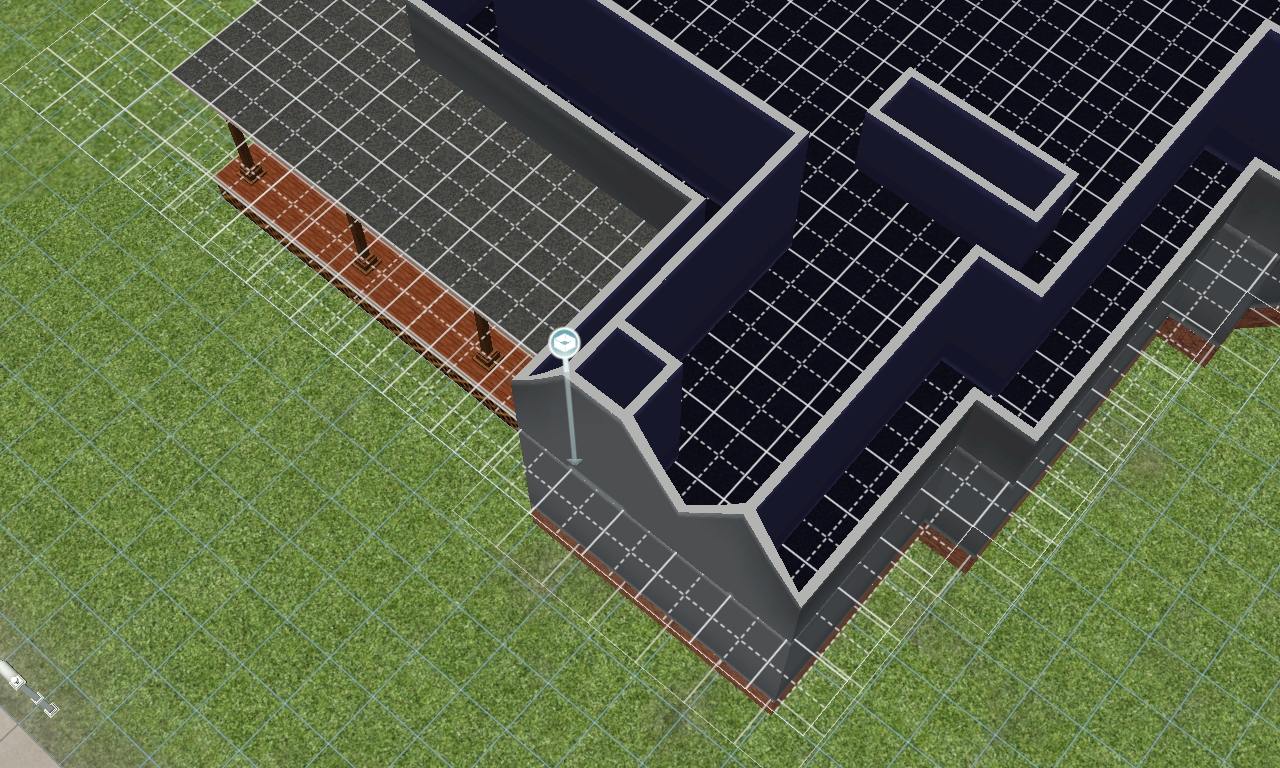
Once you've laid out all the external walls/basic shape of the house (excluding the roof) I suggest giving the inside a floor upstairs and also on the verandas and overhangs if you have any, this will make things easier in the future. Then place the interior walls upstairs bearing in mind that there should be a tile's width betweem them and the external upstairs walls, apart from where there are gable, the interior walls need to link up to the exterior walls at the gables like so:

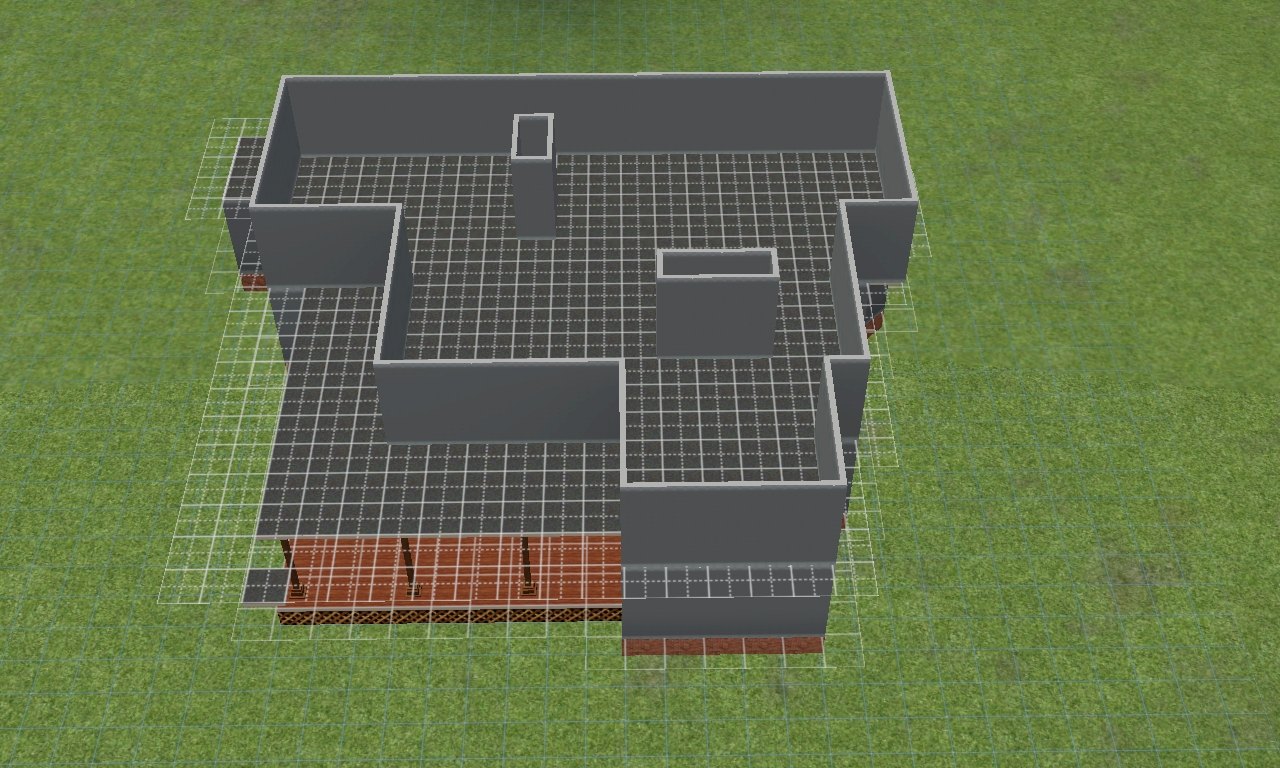
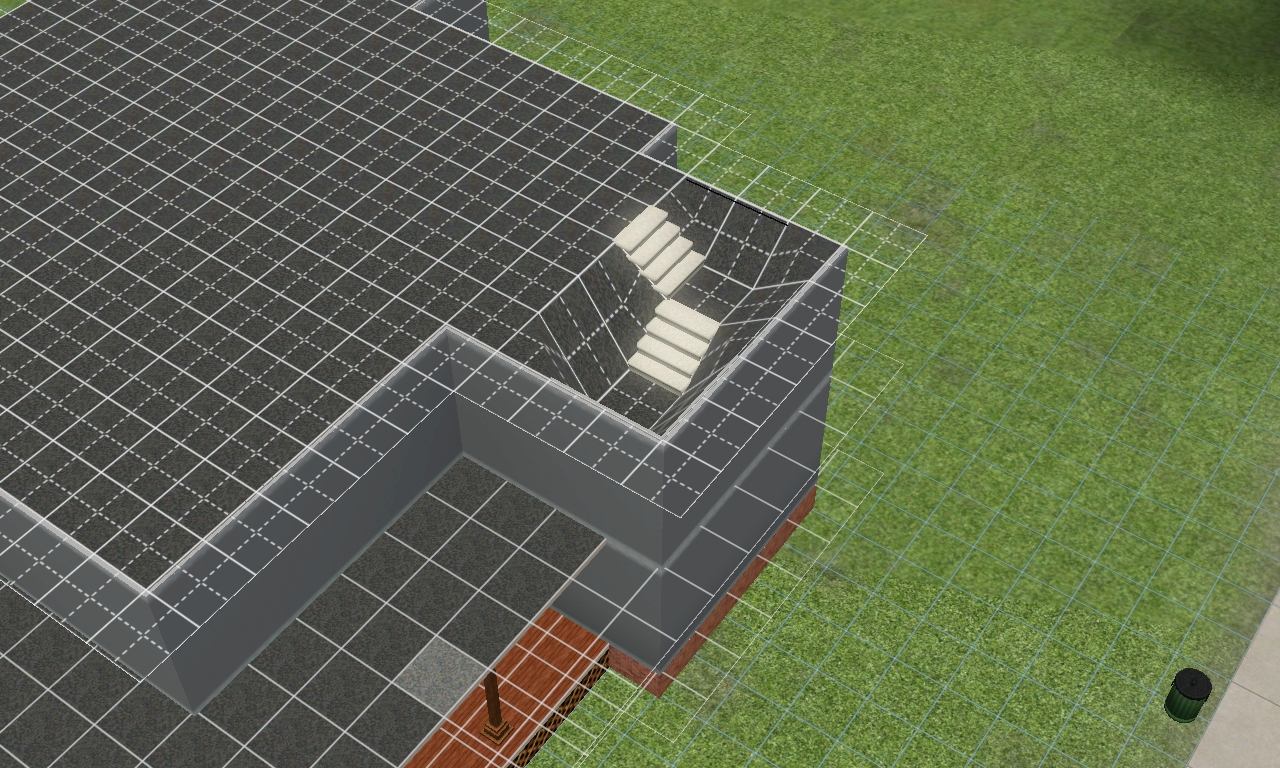
Then cover the upper floor with floor tiles, a tiles width of overhang can be helpful, but it's not necesary. Then open the cheat box with 'ctrl' & 'C' and then type in 'constrainFloorElevation false'. This will allow you to change the height of the walls. Now use staircases to start lowering the highest floor created, like so:

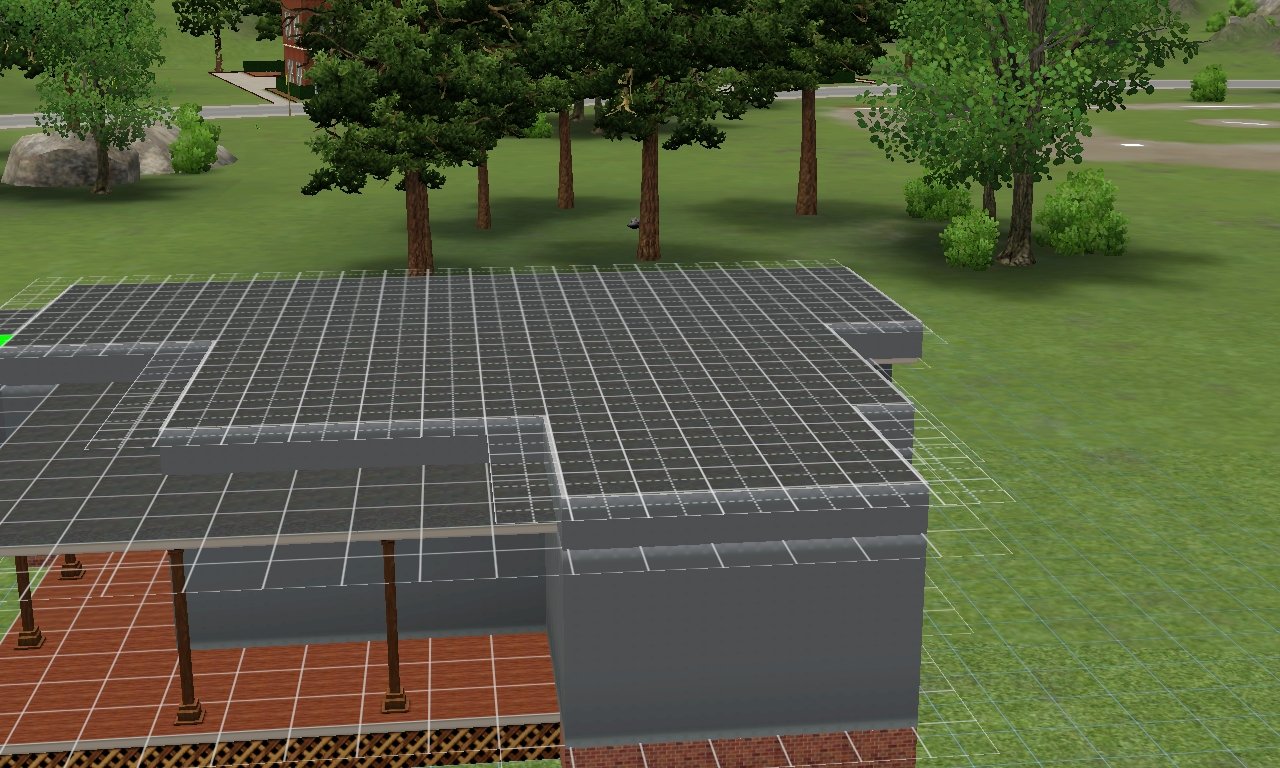
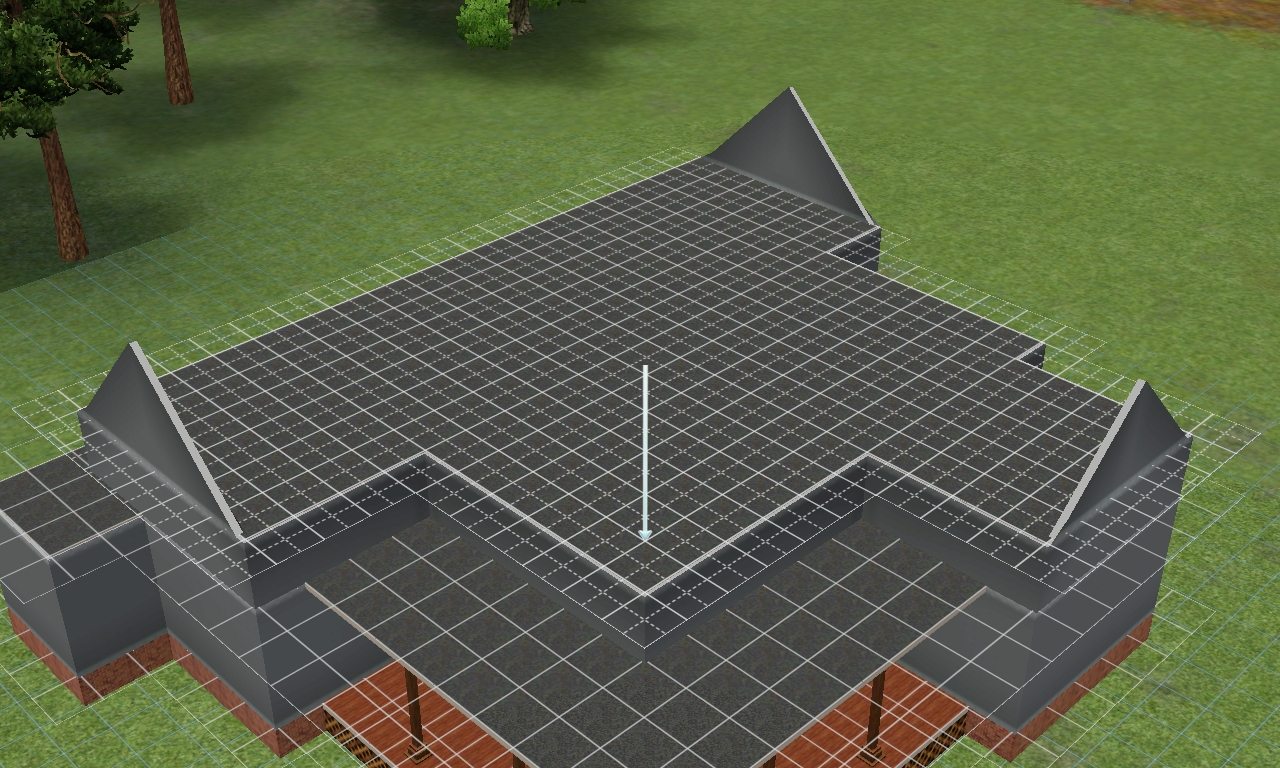
For this particular tutorial I'm going to lower the height of the attic/upstairs with 2 staircases. Once the second staircases have reached the levels shown, delete both of them and go to the 'Terrain Tools' and get the 'Level Terrain' tool, then click and drag from the level the second staircase created and drag to cover all of the highest level, this make take a coulpe of drags, it the tool starts playing up simply click on a different tool and then click back onto the 'level terrain' tool and continue leveling the floor to the height which the second staircase created, this should flatten it out like so:

You can always lower it again with another staircase to a level like so:

Altought I'm not going to do it with this tutorial.
That's all for stage 1!
Screenshots
5 users say thanks for this. (Who?)
Advertisement
Scholar
Original Poster
#2 Old 17th Nov 2012 at 10:31 PM
Default Stage 2.
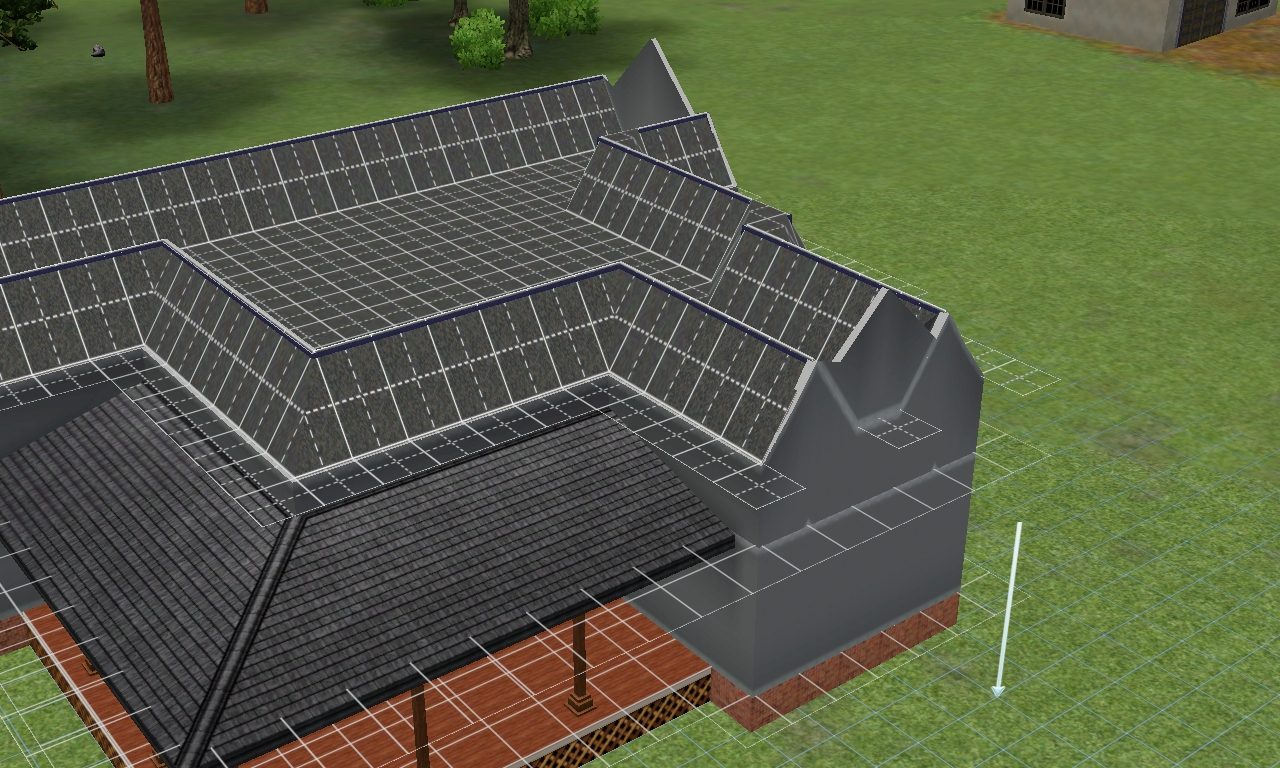
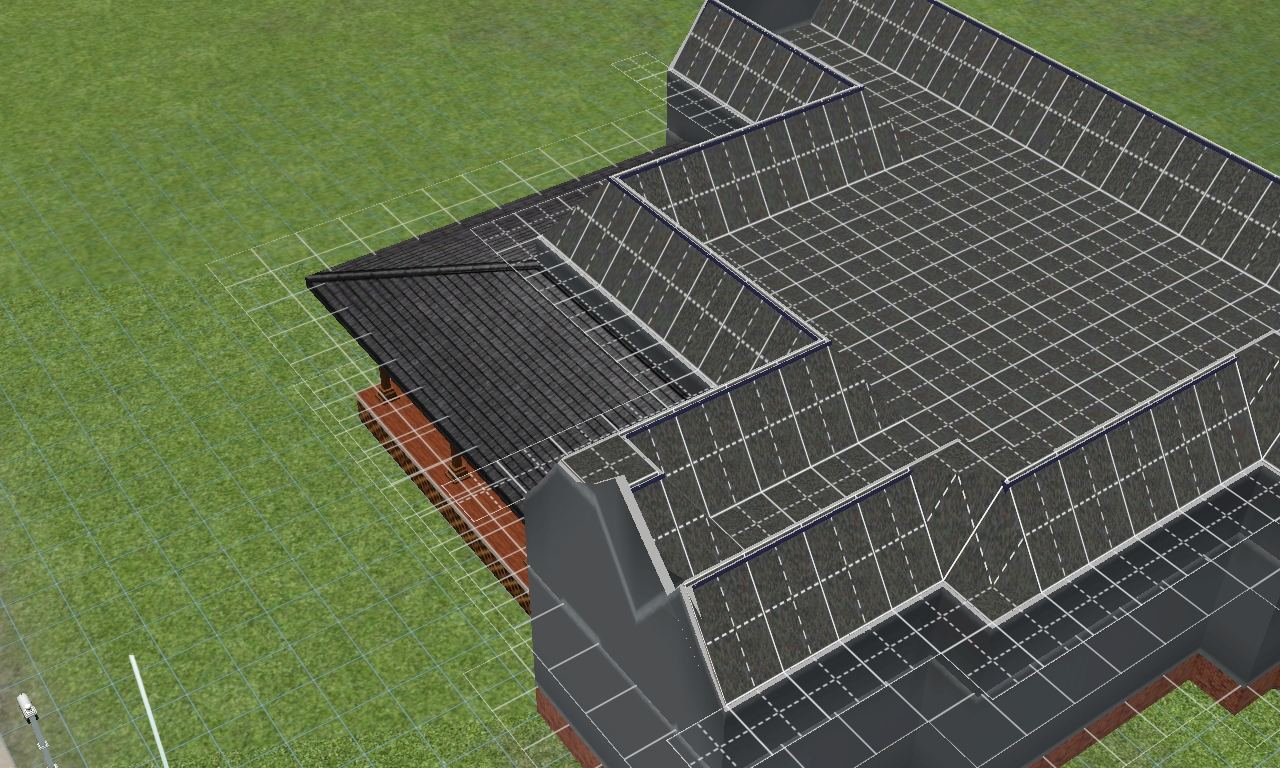
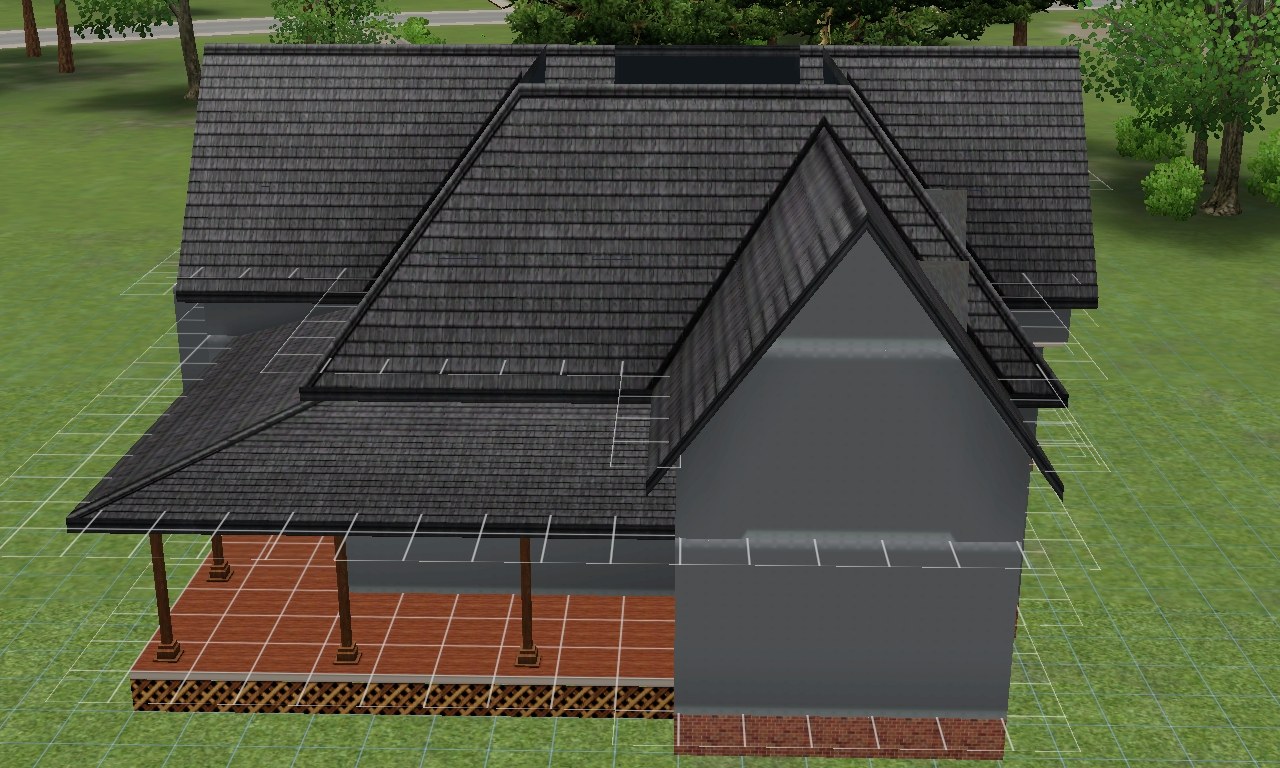
Once the leveling from 'Stage 1.' has been done you can add the roof, I strongly advise you to avoid 'auto roof', it's no good. Make sure you put gables where you've planned on putting them (where the interior upstairs walls connect with the exterior ones) and bear in mind whether you want to have a further attic/flat roof, don't use the mansard roof tool, just use the hiped half roofs like so:

Once you have successfully placed the roofs, I suggest removing all the walls they create, except the gable walls, keep them.


Next step, replace all the interior upstairs walls from stage 1 ( where you left the tile's width all the way around, except for connecting to the gable walls). Like so:

This should leave you with an outcome like so:


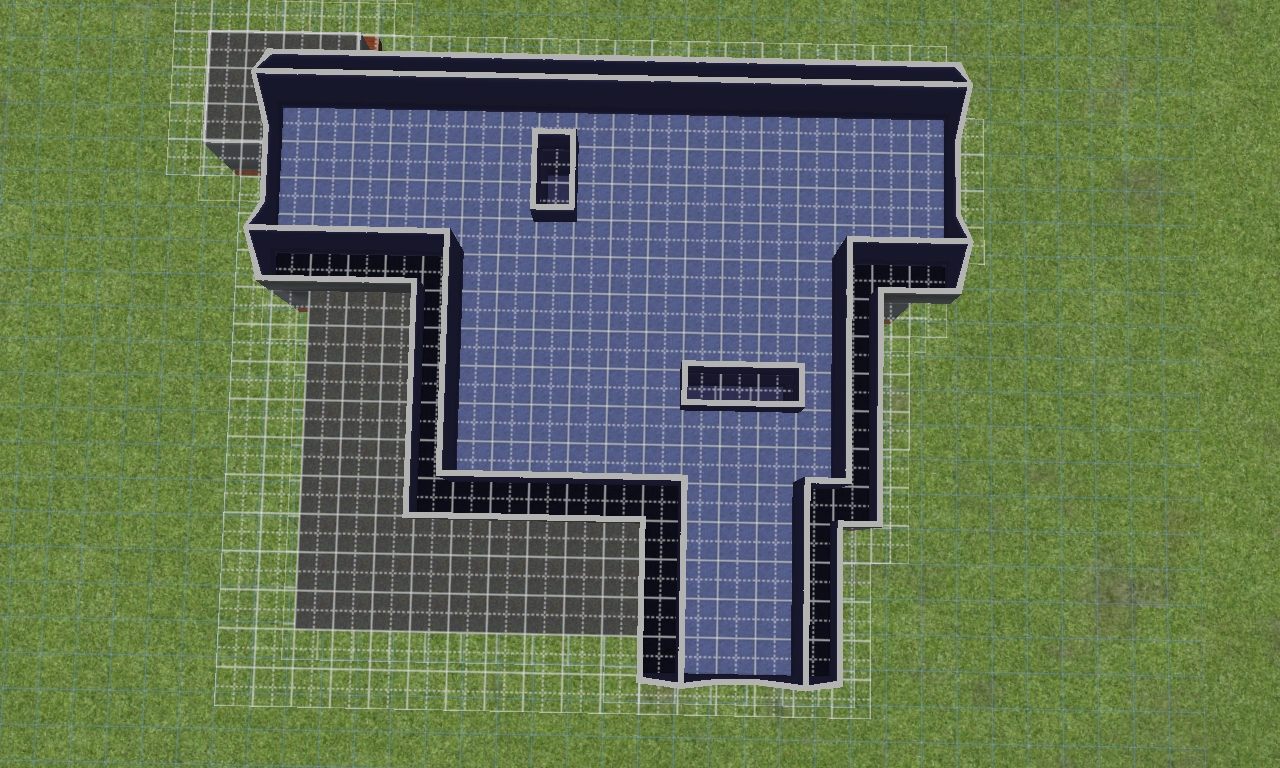
Now you need to creat a small 1 by 1 sized room in a corner which will be inside the usable part of the upstairs, like so:


The use the leveling tool and drag it over all of the upstairs which is within the area surrounded by the tile's with partition of the exterior walls and where it connects with the gable walls like so making sure to leave the exterior walls, excluding the gable walls, at the height they were lowered to with the use of the stairs, like so:


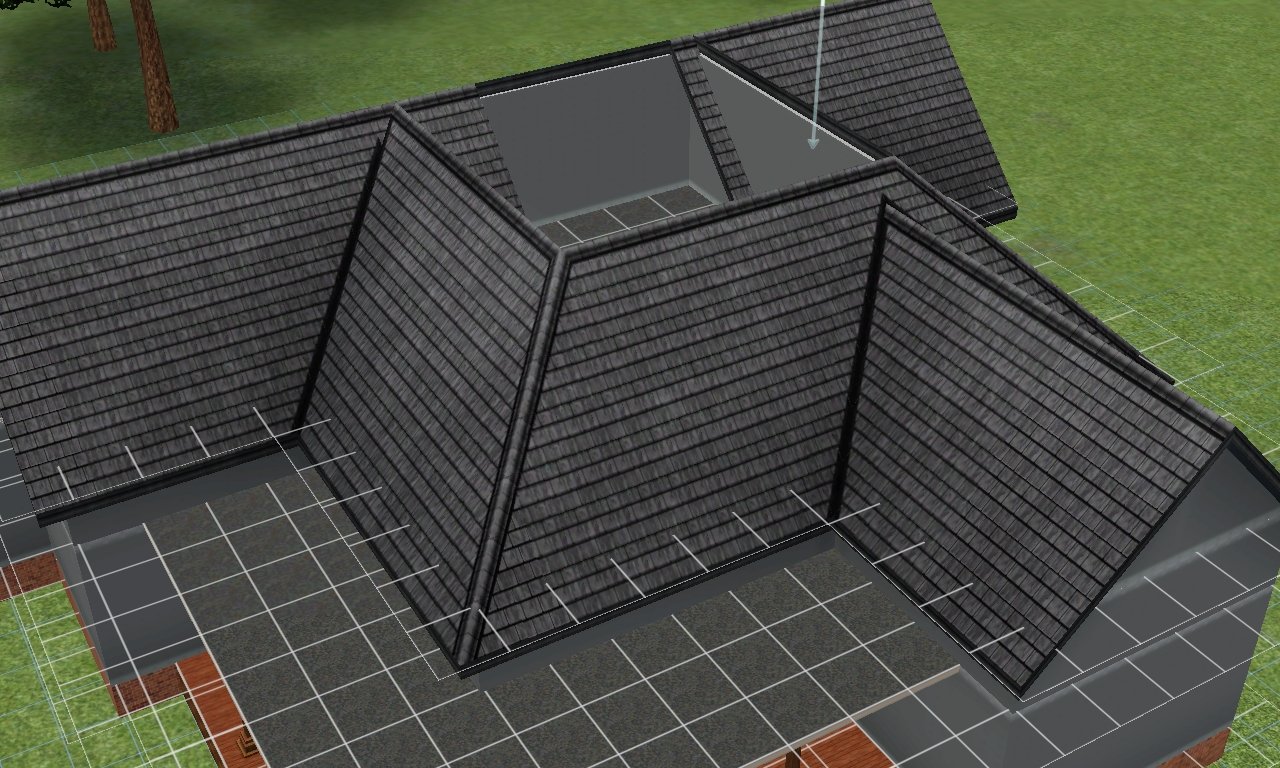
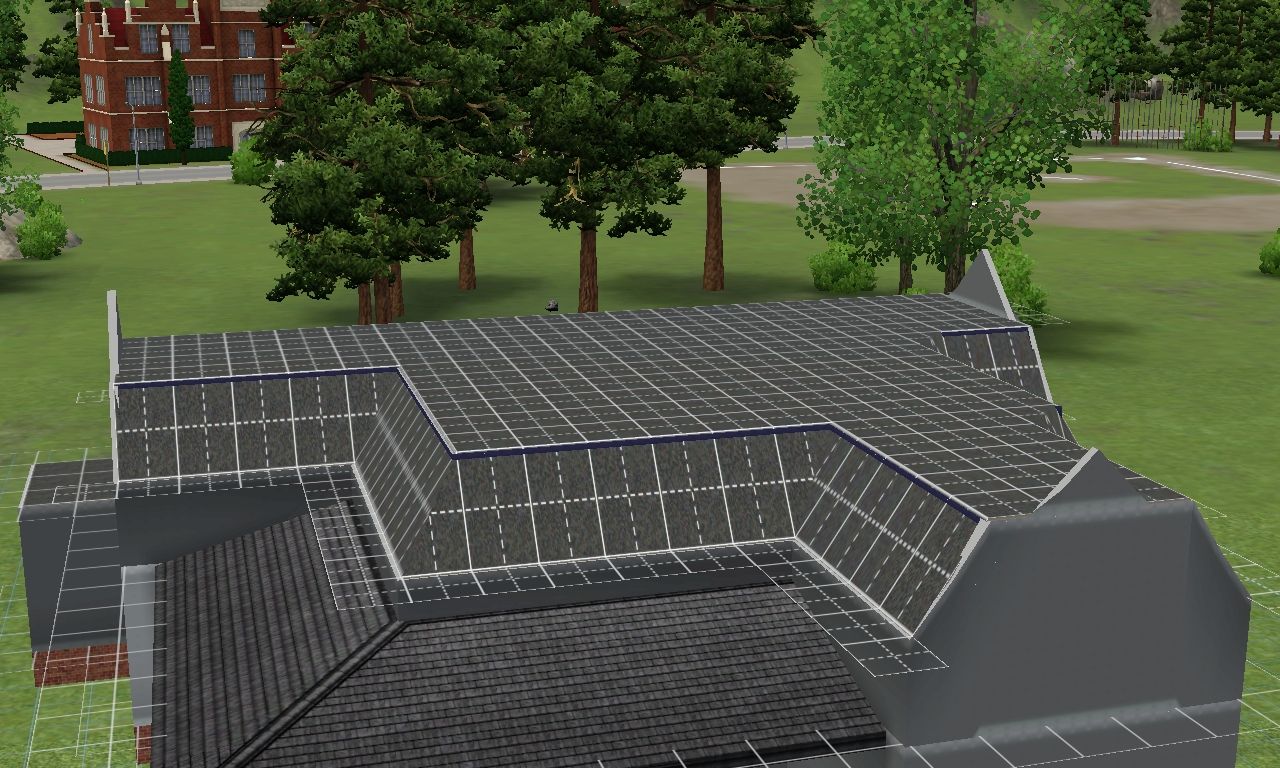
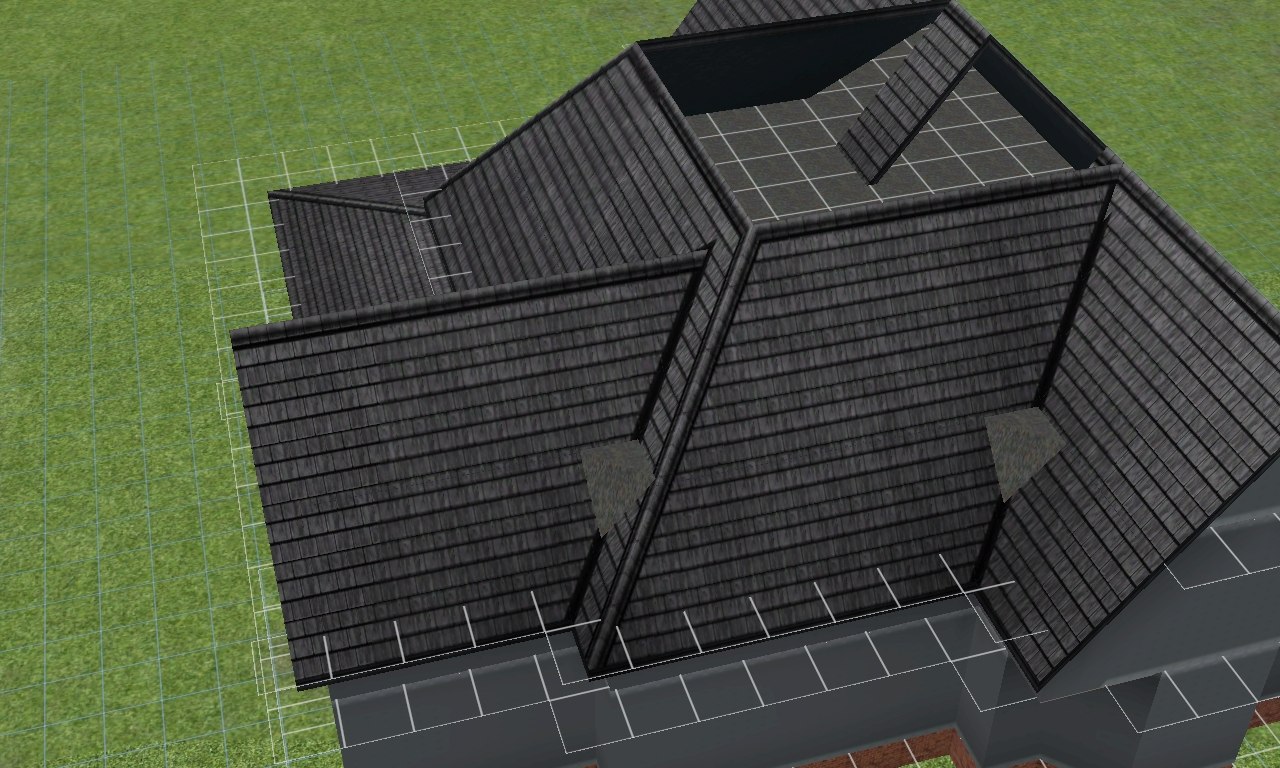
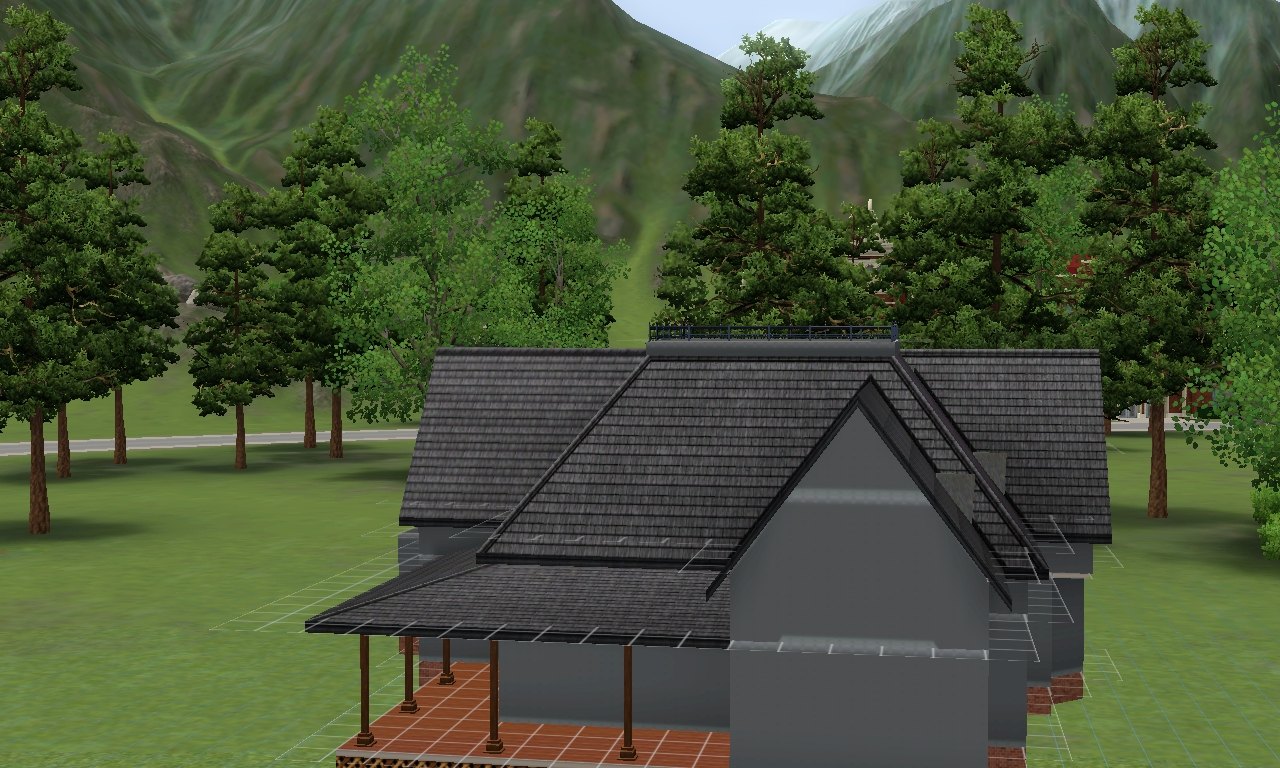
Now it's time to fiddle about with the pitch of the roofs, I suggest the slidder which works all of the roofs and then use the individual roof adjusting tool on roofs for porches to make them as shallow as possible. You should try to set the pitch so that you can't see the top of the newly adjust area, except where you are going to have a flat mansard roof, which is why there's a large whole in the roof of this house, like so:

In the area under the large whole is where I am going to put another room to act as an attic, like so:


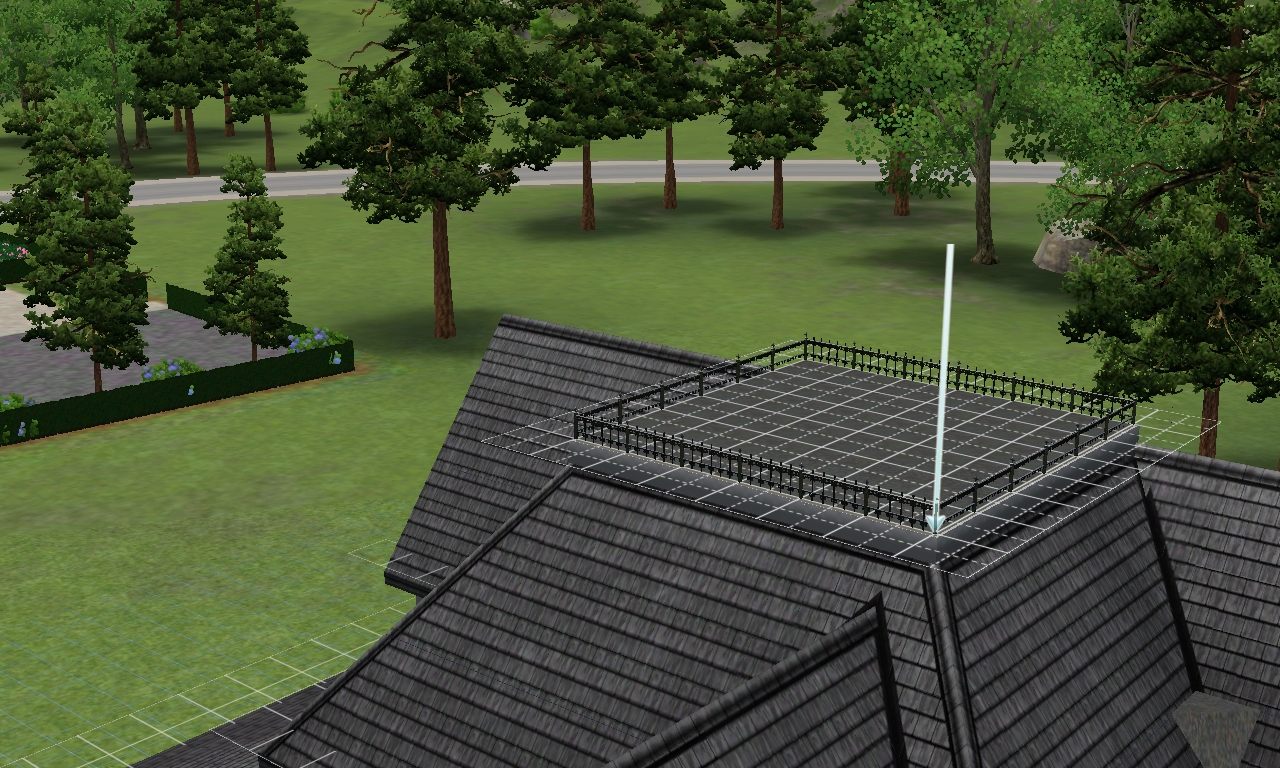
The put a floor above this room to create the flat mansard roof like what is pictured above, you can then put a fence on it for decoration. Don't worry about the odd floor tiles poking out of the roof from corners, provided they are above the tile's width between the interior and exterior walls of the upper floors, they will be removed later.

And so concludes Stage 2. Please feel free to send me a message with any pointers/tips for improvement I will try to get the concluding stage 3 uploaded soon, but for now, I NEED SLEEP!
Scholar
Original Poster
#3 Old 19th Nov 2012 at 6:46 PM
Default Stage 3.
Now to remove the floor tiles poking up through the roof, simply delete the floor tiles which are above the 1tile wide gap between the interior and exterior walls of the upper floor like so:
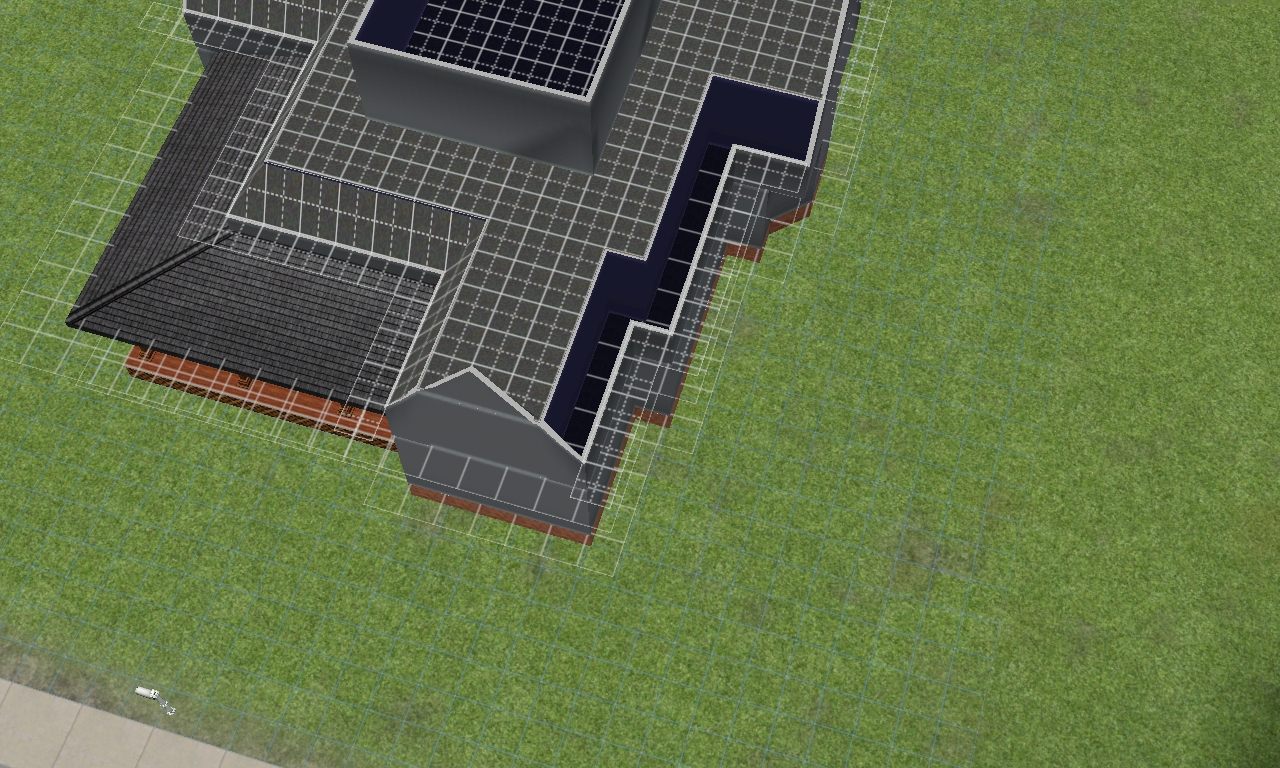
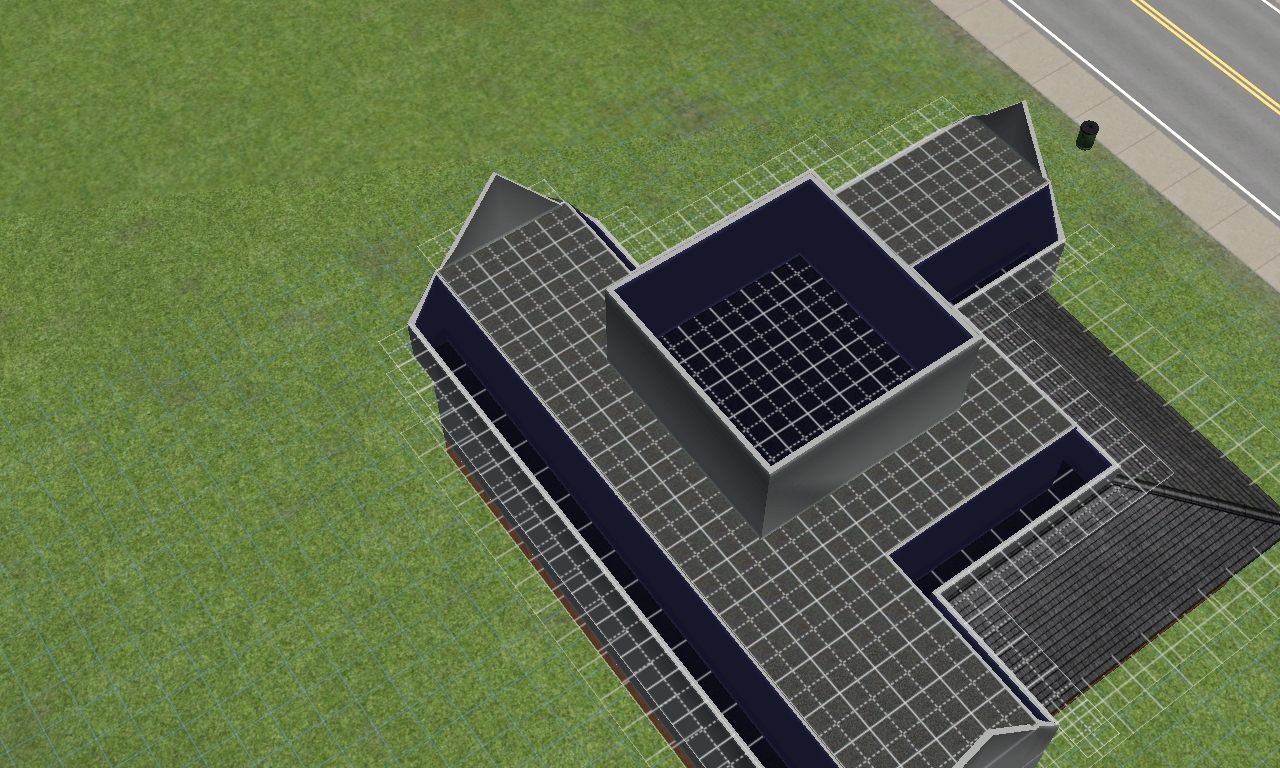
Now there shouldn't be any tiles poking up through the roof:
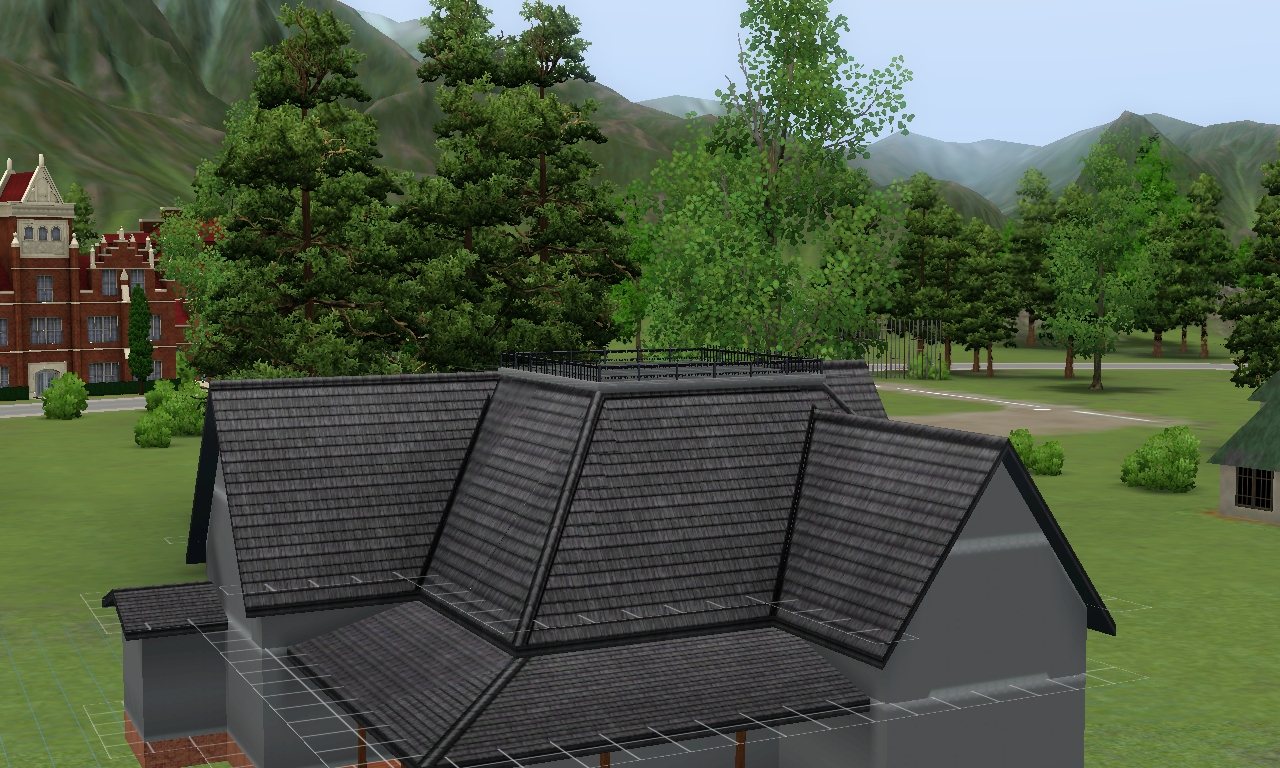
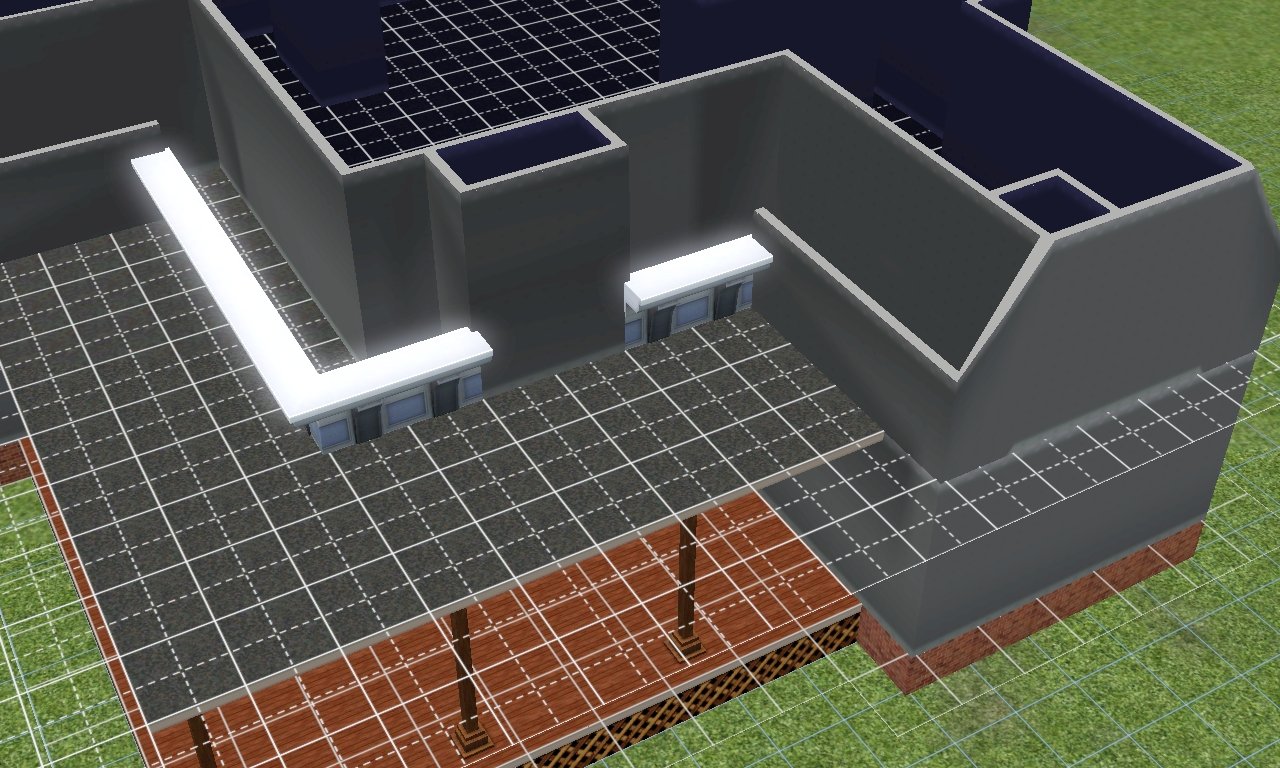
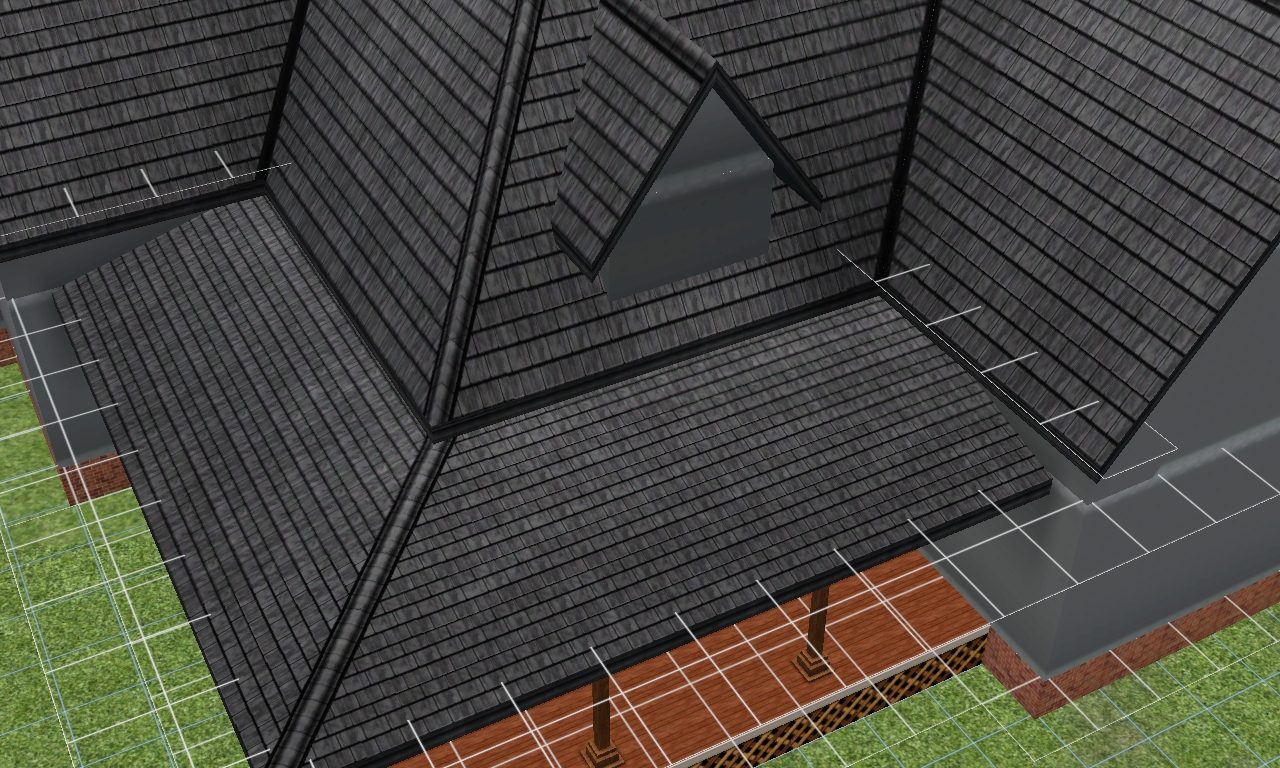
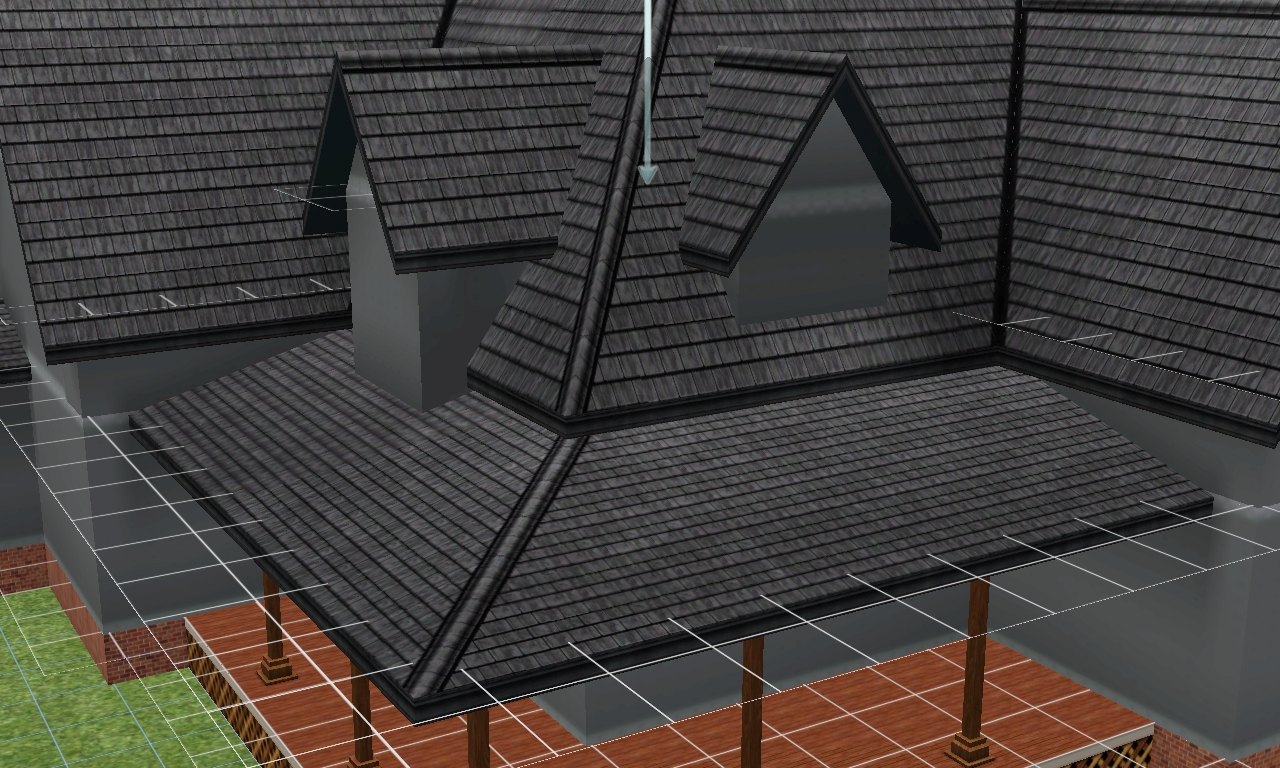
The next steps are for adding dormers, it involves using the cornices from the update for Supernatural, although it doesn't work when the cornices are place adjoining the gable walls, it looks very odd as the conices creat odd gaps with the roof. But I'll show you how best to use them.
Firstly remove the shortened walls around where you want to put the dormer(s) like so, leaving a gap for the actual dormers:


You can then put a roof on the dormers:
It's also a good idea to experiment with the proportions of the dormer(s) like so:

And that's about it for the dormers, now onto the fireplaces chimneys, placing fireplaces where the chimneys are mostly inside should be fine, but when you're having fireplaces on an outer wall which means that the chimney will be outside will often have problems like this:
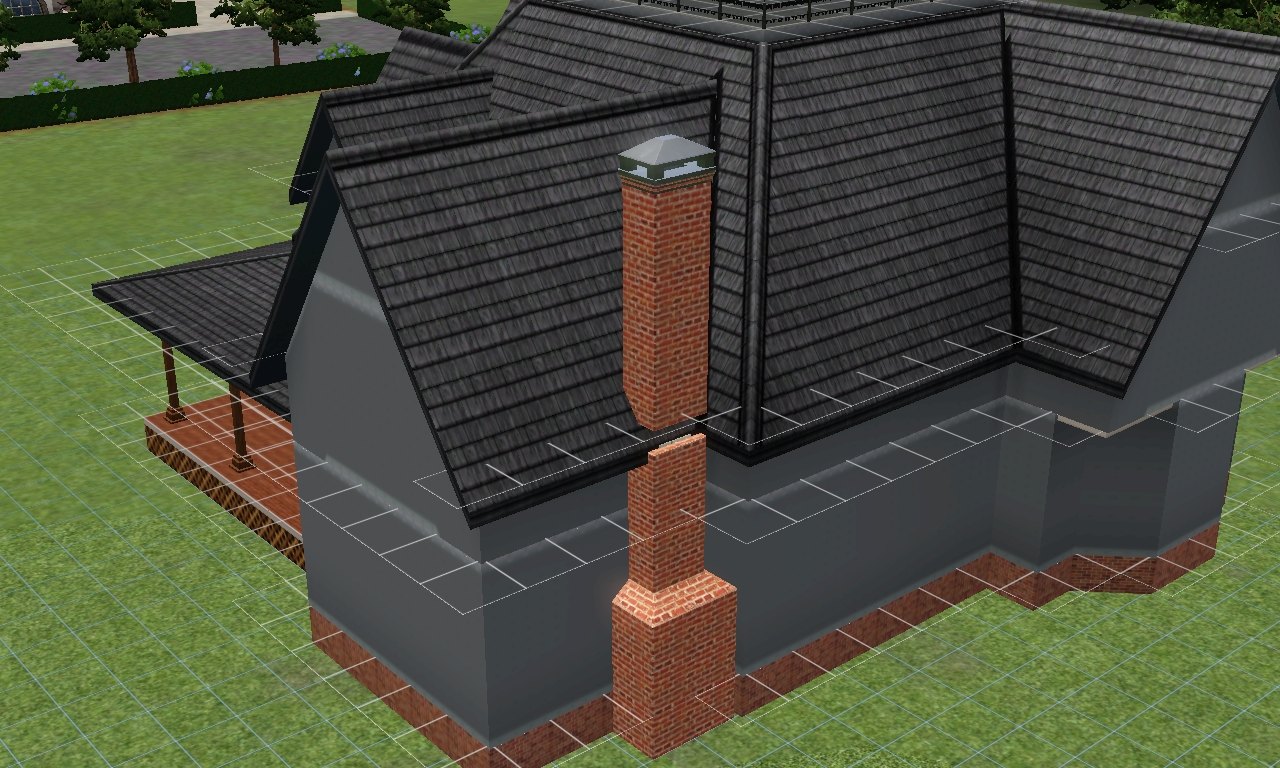
If you're not having this problem then fine, but if you are, then here's a way to solve it, first you'll need to open up the cheat box, with ctrl C, then type in 'moveObjects on', now you can shift and click on a piece of the chimney, you need to swiftly place the piece back where it came from, whilst holding down the shift key, so that you will have a second duplicate piece to place in the gap, which may require a bit of fiddling to get the right piece of chimney and place/replace them like so:
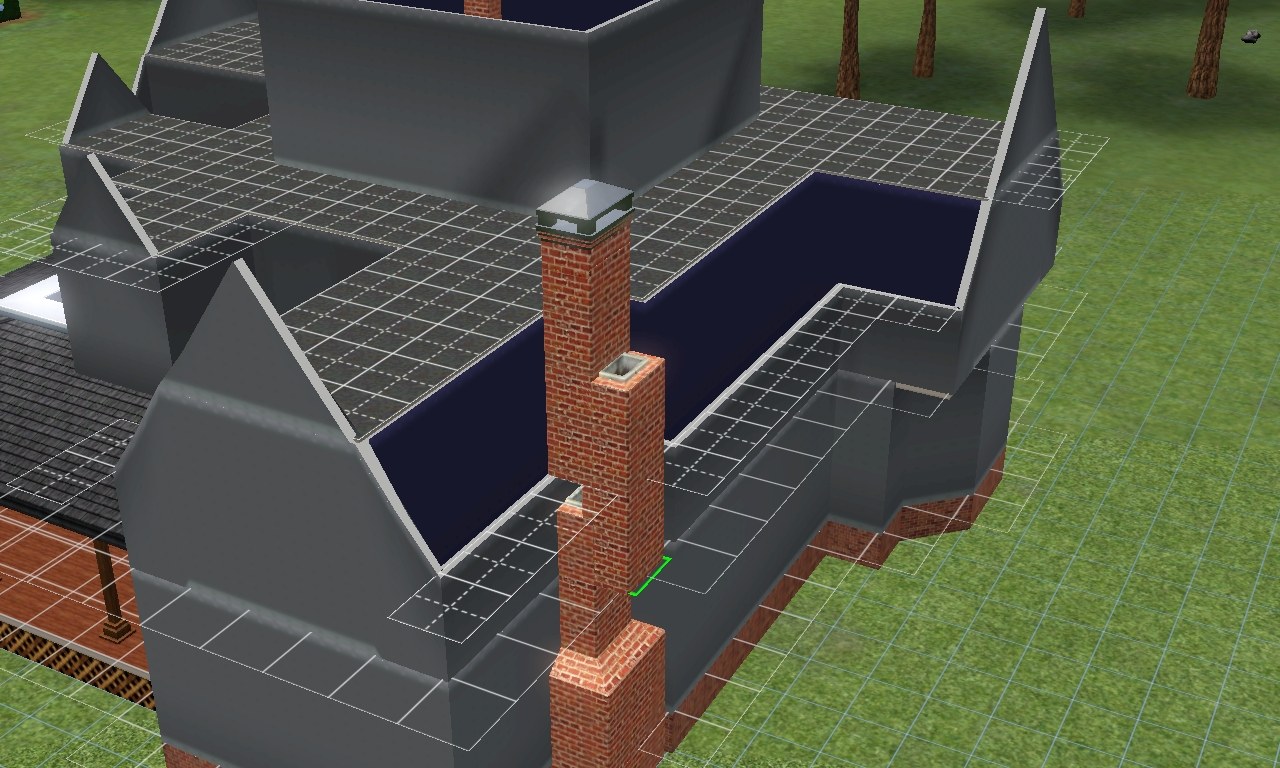
For this particular house I'm not wanting any external chimneys, so onward I go.

Now on to the fun parts, placing windows and doors, e.t.c.
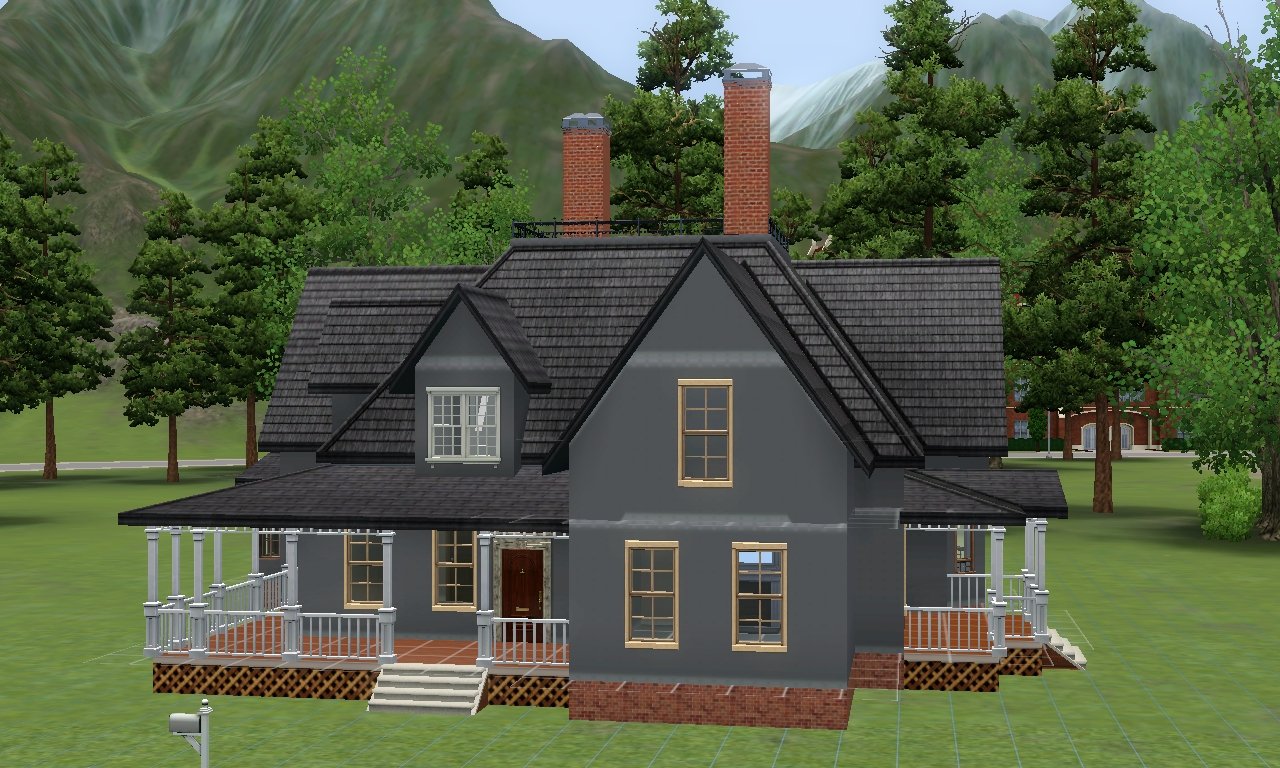
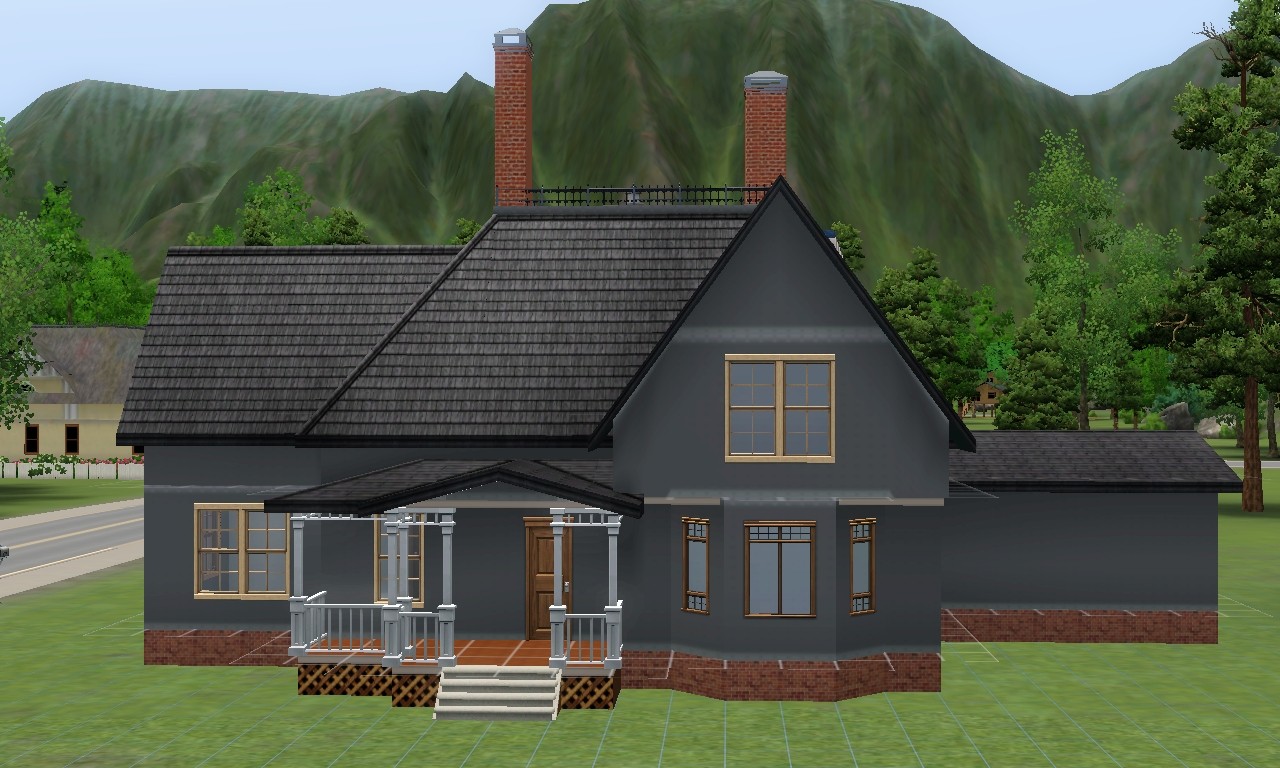
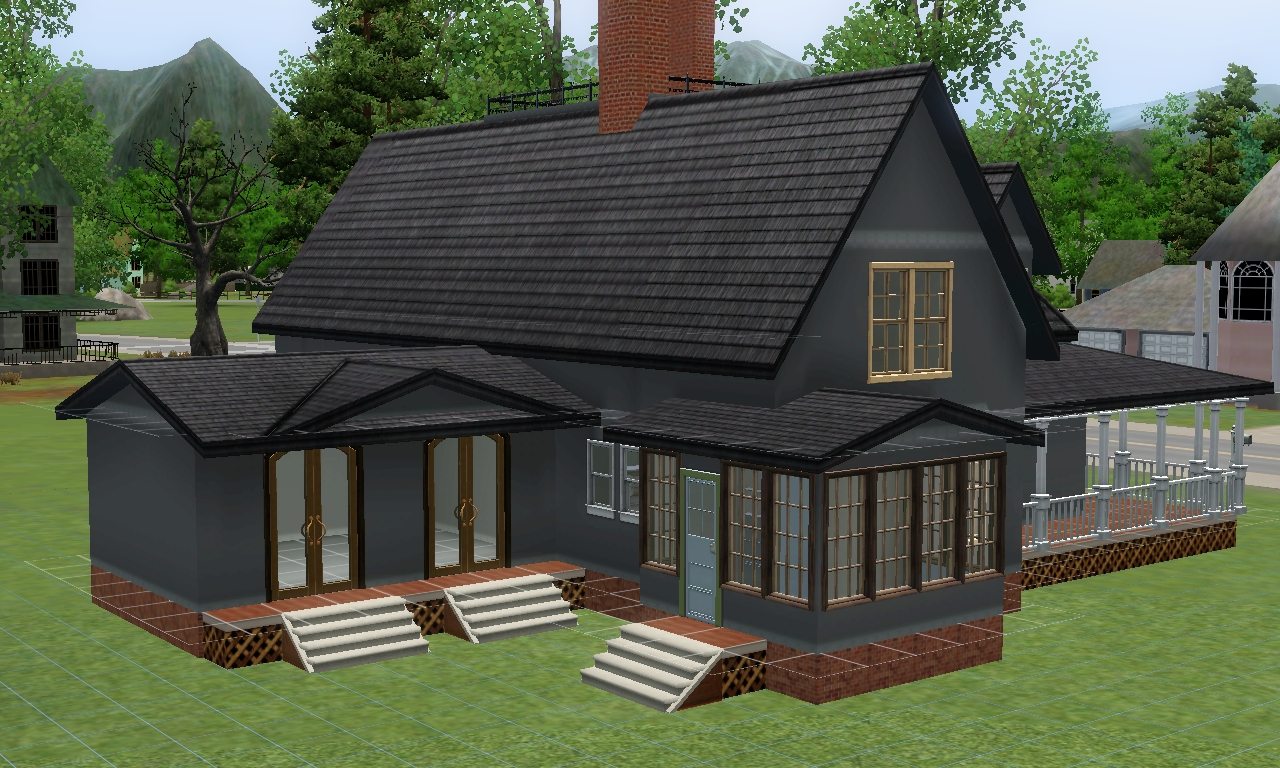
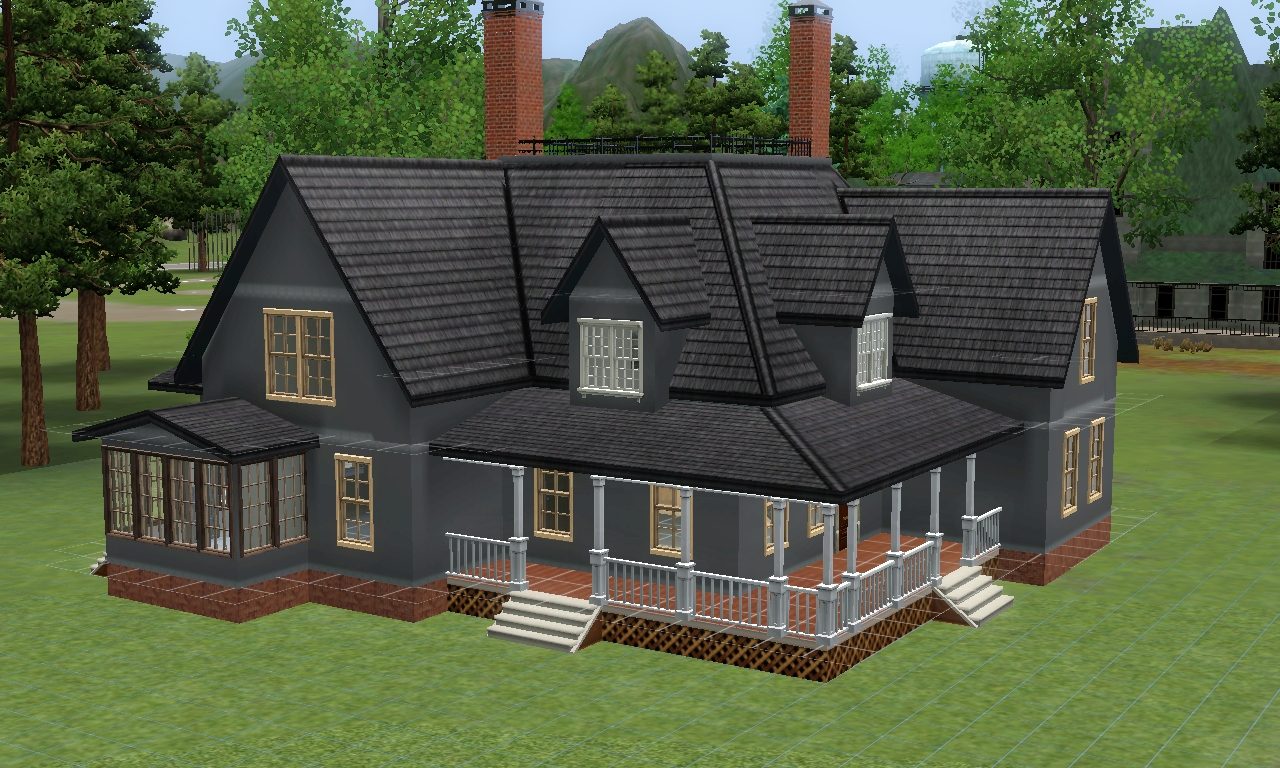
You may think you're now home and safe, but if you've had any experience with the CFE cheat, then you'll know differently, especialy when it comes to wall coverage, just take a look:
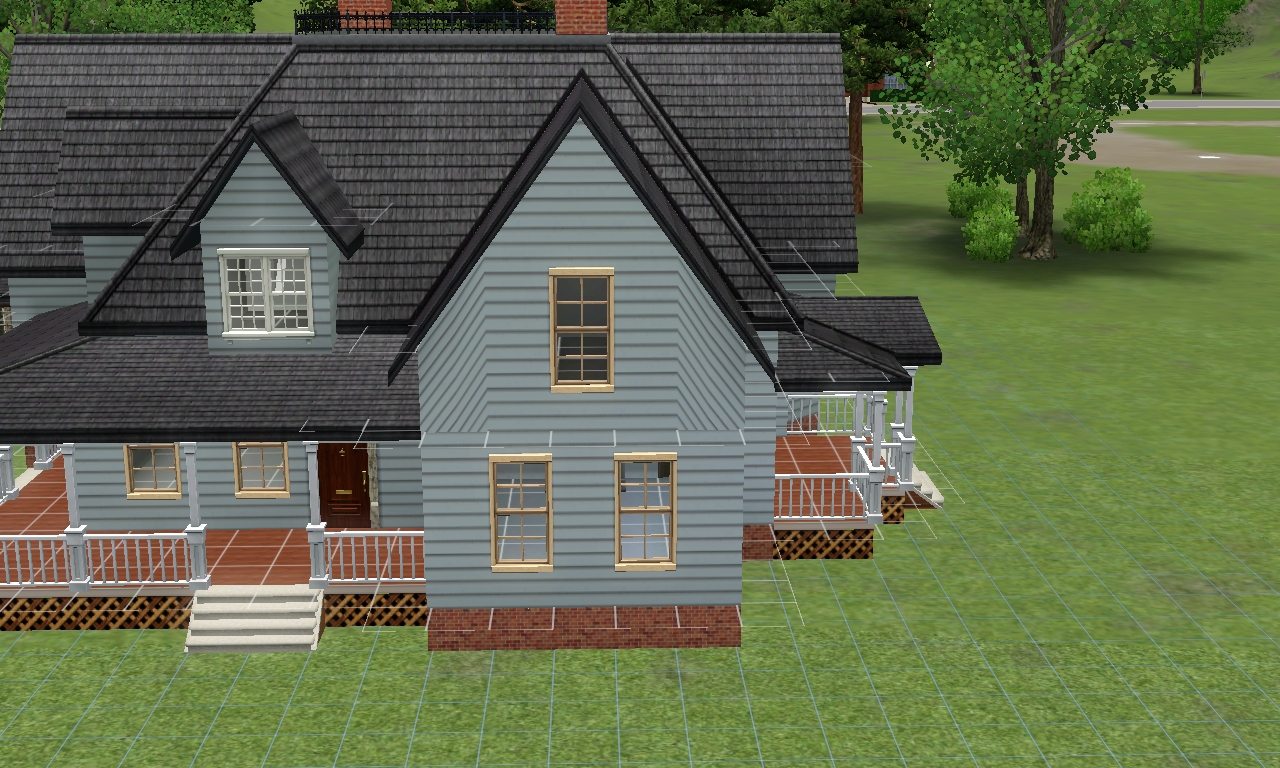
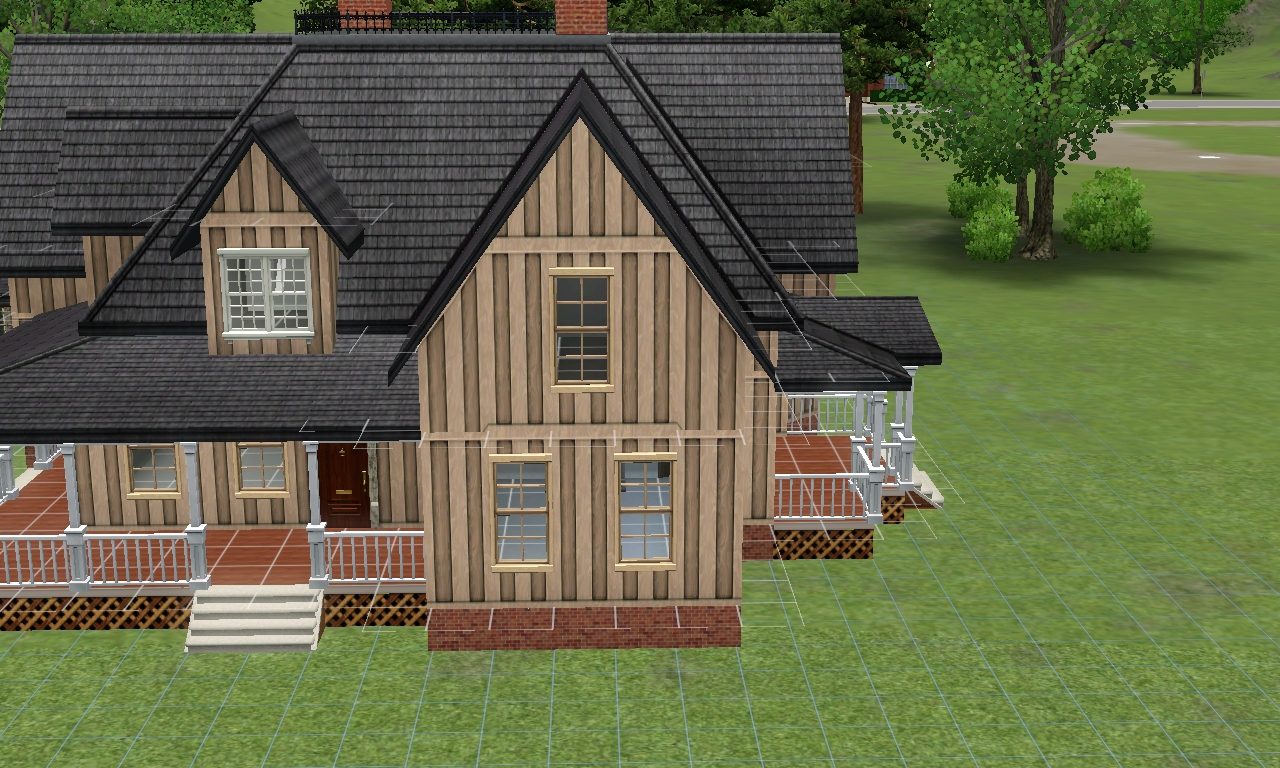
What you need to do is make sure you're wall coverage is vertically orientated instead of horizontally as the CFE use becomes less of an eyesore/visible, like so:
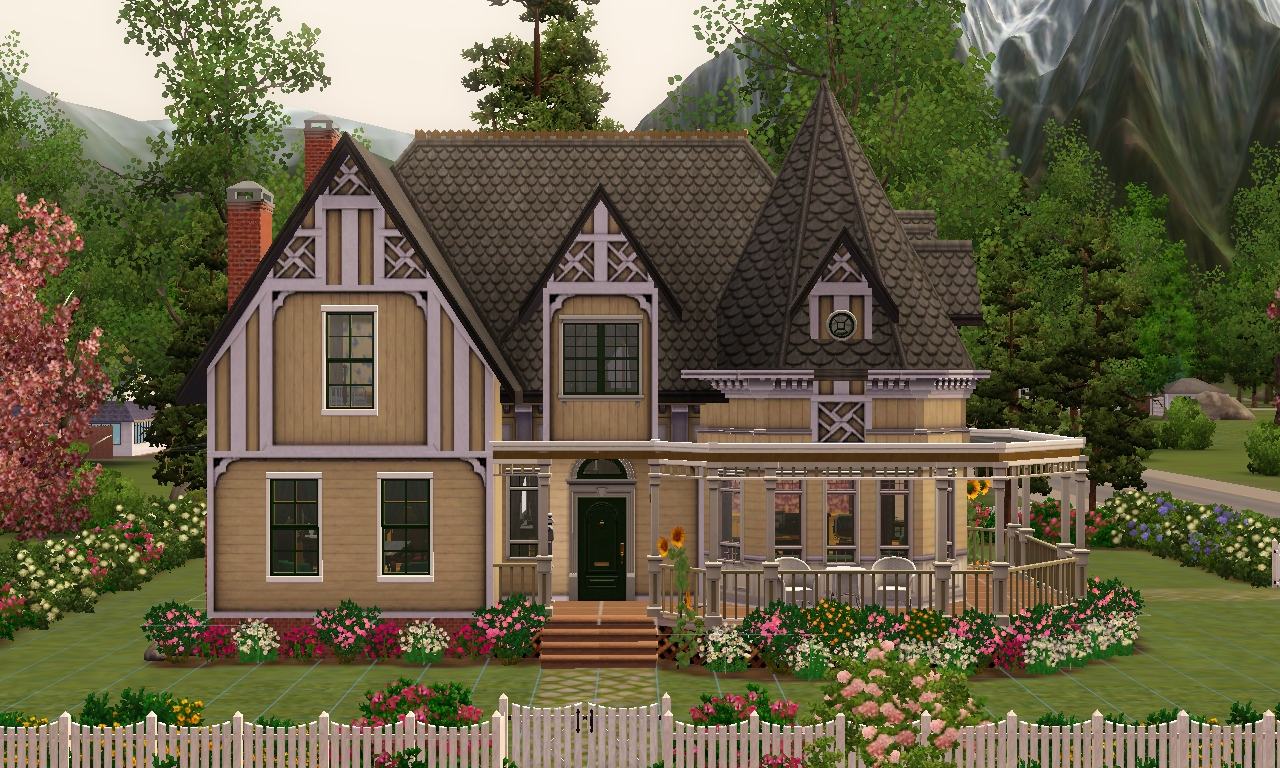
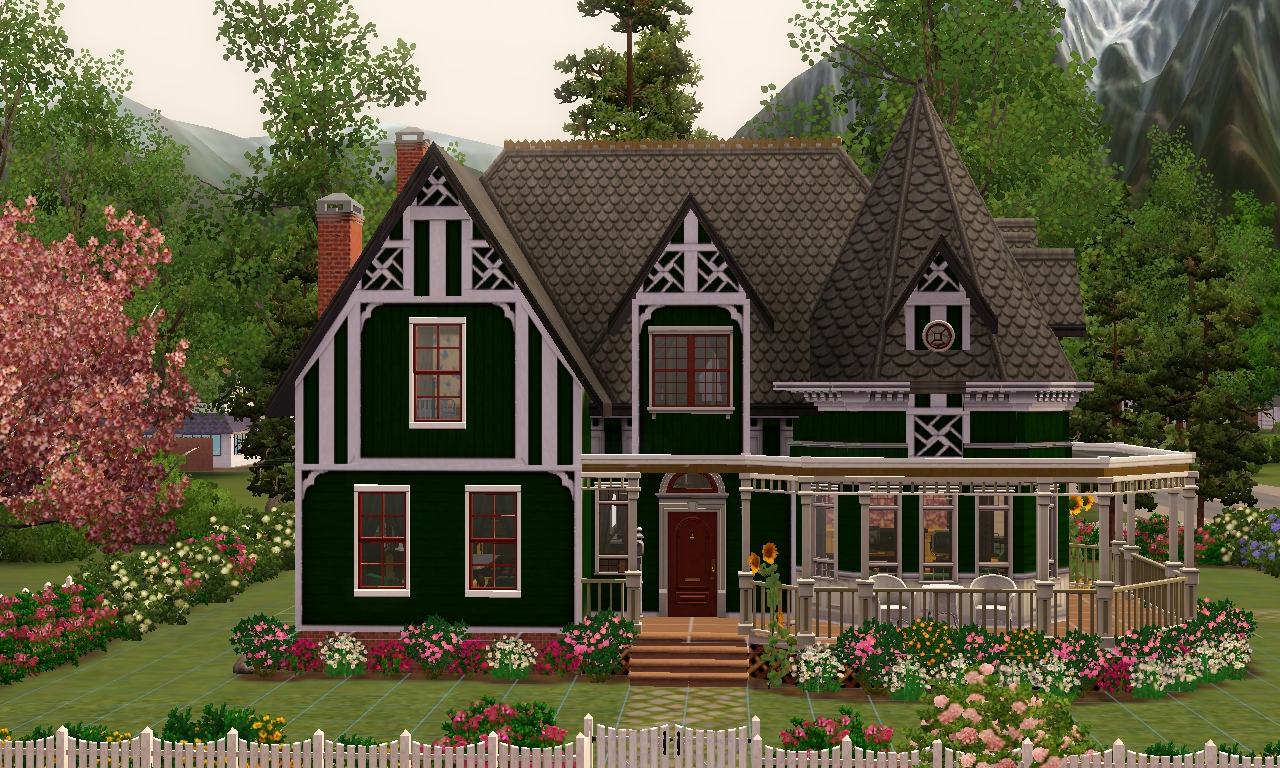
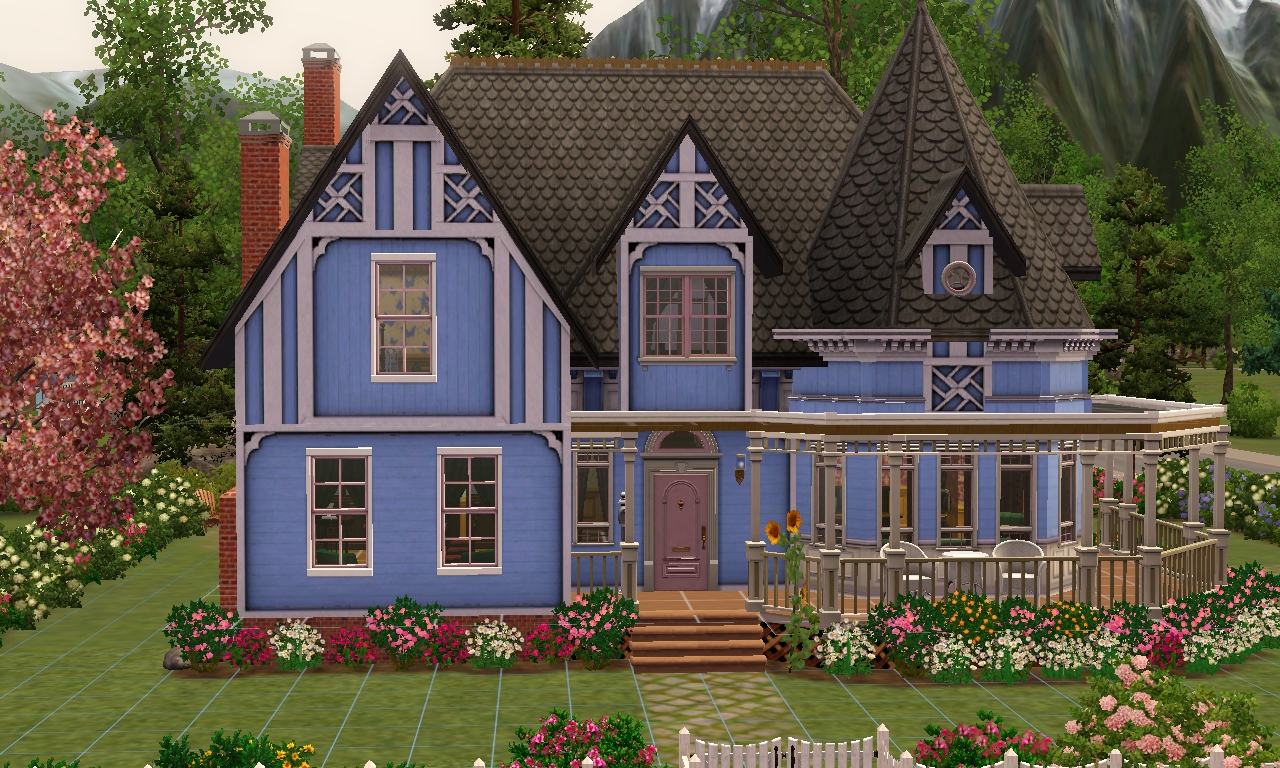
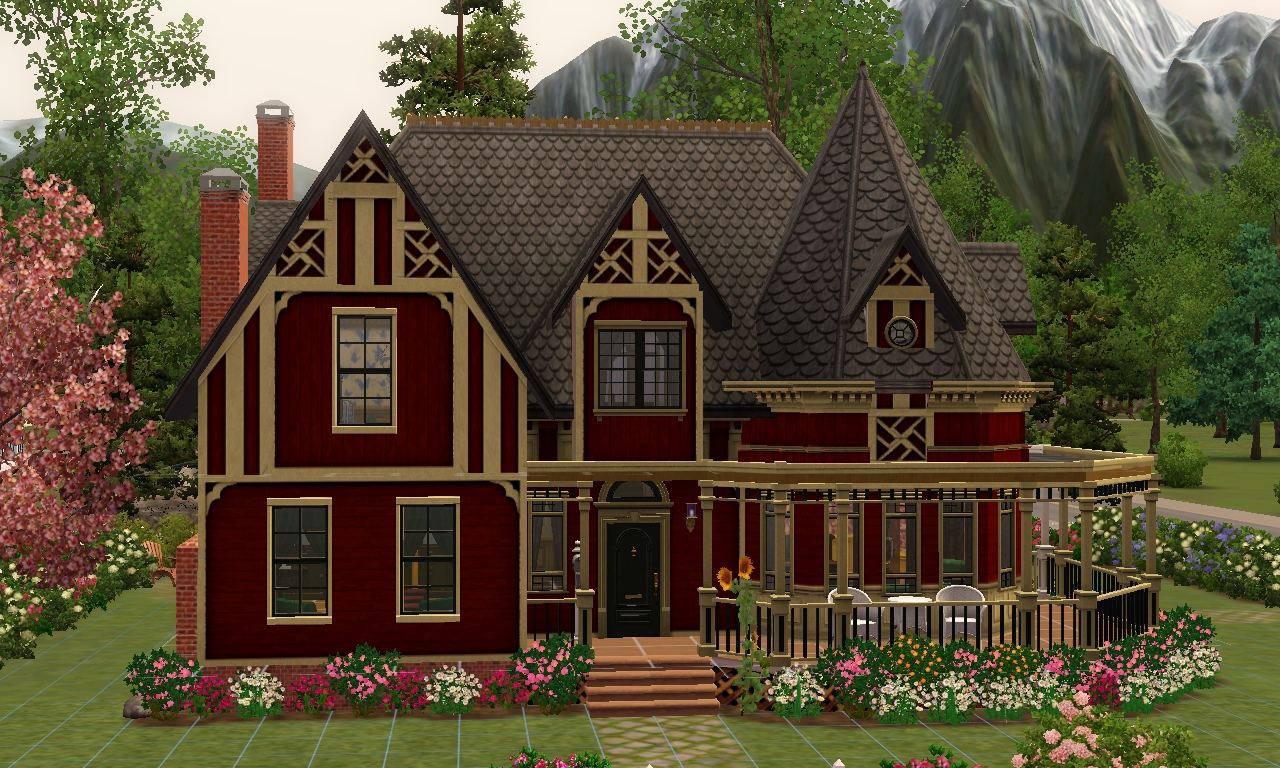
Now you are pretty much free to experiment and find the look that's best, here's the look I'm going for and it should look similar when it's finally uploaded to MTS, so there's no need to try and recreat this particular house.
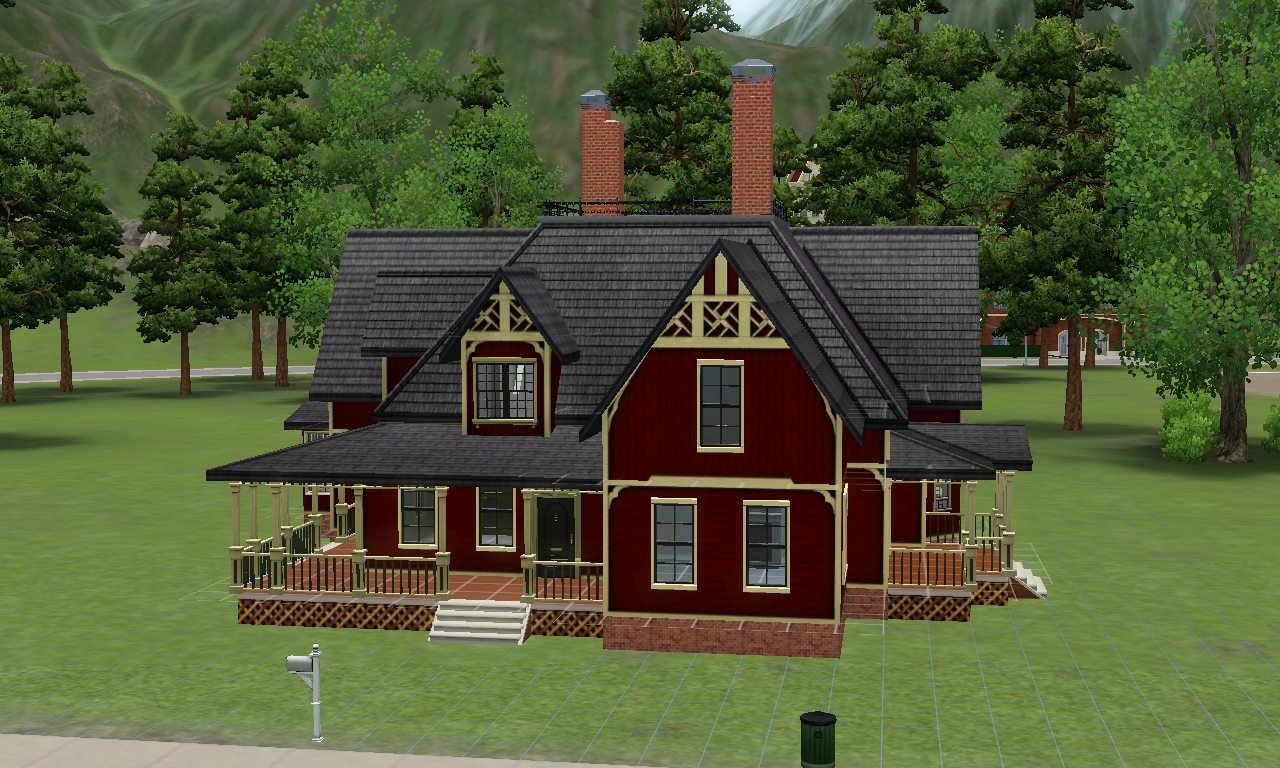
Here's some other possibilities/variations for exterior coverage from the finalisation of myMoonlight Bungalow:


The skills I have just tried to demonstrate in this tutorial are almost entirely transferable, even to the Sims 2, I hope you will all be inspired to go out and produce your own creations with the help of this tutorial, I know it would have been very helpful when I was building Moonlight Bungalow, which is why I have decided to share this little tutorial with you all
Forum Resident
#4 Old 25th Nov 2012 at 5:21 AM
Thanks very much for this tutorial Fergie! Its very simple to follow and I havent had any trouble following your instructions! I'll lett you know how everything works out and will post pics later on!
Thanks again and much apreciated!

C.T.HOLKO88
Scholar
#5 Old 6th Apr 2014 at 12:19 AM Last edited by tsyokawe : 6th Apr 2014 at 3:24 AM.
This was a great tutorial. You made a difficult concept easier to understand.

I like the results so much, I might even upload my new little place. I made a small tudor cottage, and because of your tutorial, it came out with much nicer gables than my last one.


eta p.s. There's a Sears catalogue house I've always wanted to reproduce, but it needed extra height between floors (sorta), and I couldn't use the foundation/frieze, because it would interfere with access to that second floor. I will now be able to give the illusion of that extra height thanks to your tutorial.
Screenshots
Forum Resident
#6 Old 8th May 2014 at 12:20 PM
Default Good tute
Just a couple of thoughts: when I get to the part for doing the dormers where you delete the short outer walls and replace then with cornice, I've found half walls work very well. Of course, they cost, but I think you end up with a nicer look overall, especially if you've only lowered the level to half (rather than 1/4 regular wall height).

Anyway, love your houses and this tute was quite helpful; just wish I'd seen it a couple of months ago when I did this. Would've saved me ripping out considerable amounts of my hair.
Back to top