 Tutorial: Creating a Mountain River Valley in Photoshop
This tutorial will show you how to use Photoshop to create a river valley, surrounded by lots and lots of mountains, no distant terrain needed.
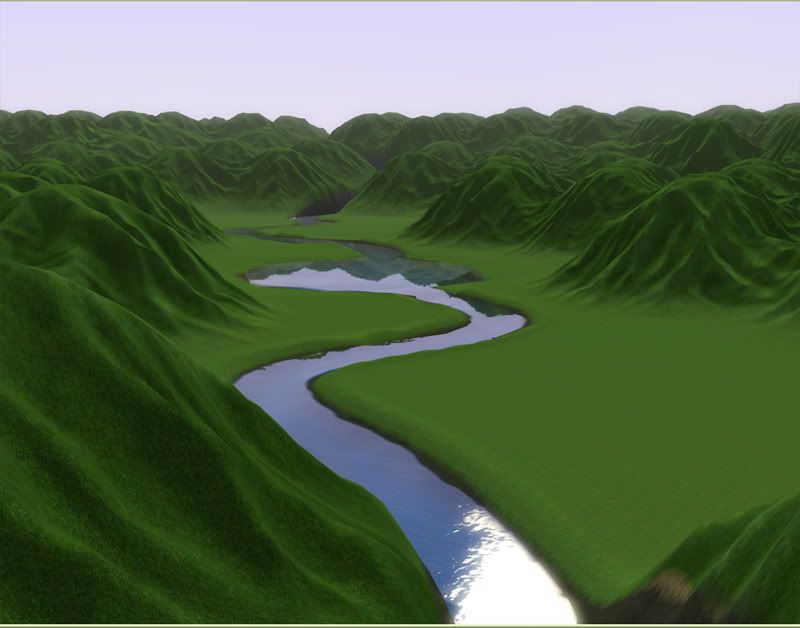
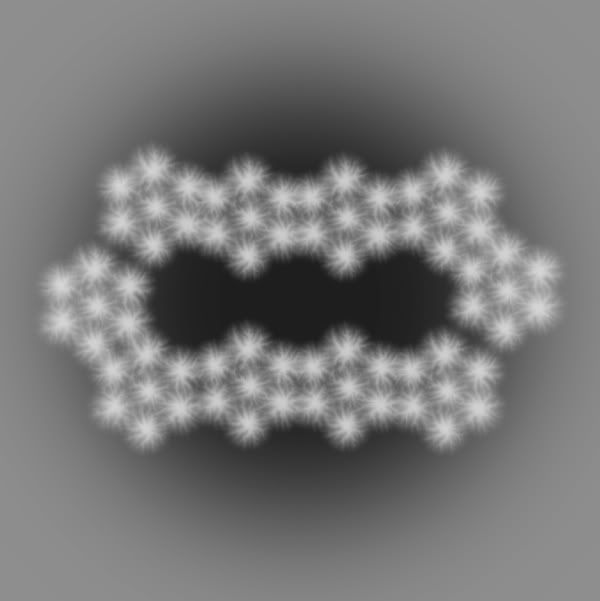
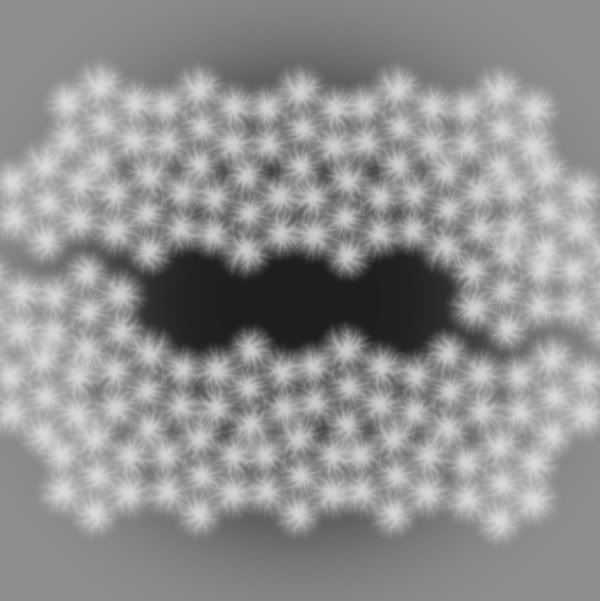
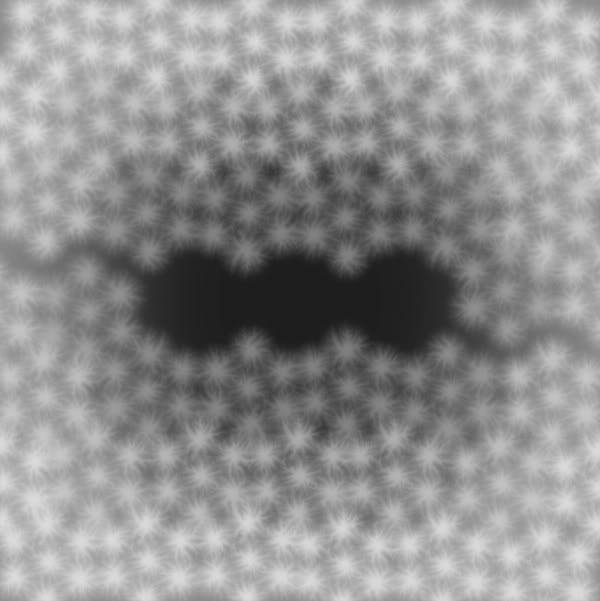
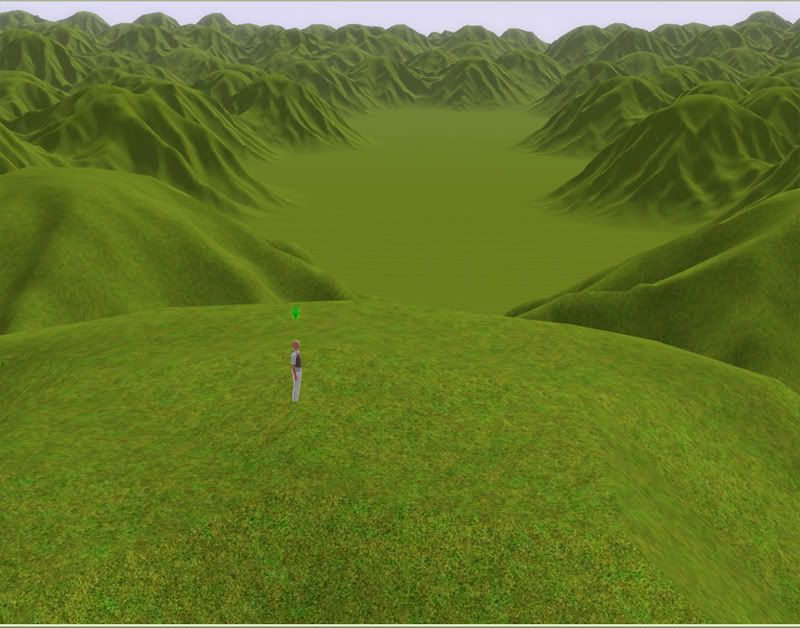
The finished product will look something like this:

Before you begin:
Tools Needed: CAW, Photoshop, the mountain brushes found here:
http://www.modthesims.info/showthread.php?t=432295
Skills Needed: Know how to use your tools! I'm not going to be covering the basics with these programs. I'm using an older version of Photoshop, they may have changed some things in more recent versions.
Specific things you need to be able to do in Photoshop:
Create, rename, move, and change the opacity on layers.
Make and modify selections using the Elliptical Marquee and Magic Wand.
Fill a layer or selection with color.
Change the foreground and background colors using the Color Picker.
Apply filters to an image.
Use the Pen tool to create a curved path.
Time: This took me about four hours, but since I was making it up as I went along, and occasionally had to go back and redo things...might take you less.
START HERE:
Open LargeFlatMap200.png, you'll find it in ..\My Documents\Electronic Arts\The Sims 3 Create A World Tool\UserToolData\HeightMaps
Save the file as something else, but leave it in the same folder so that it will be easy to find.
Go under Edit > Preferences > Guides, Grid & Slices
Set: Guideline every: 25 percent and Subdivisions: 2
View > Show > Grid
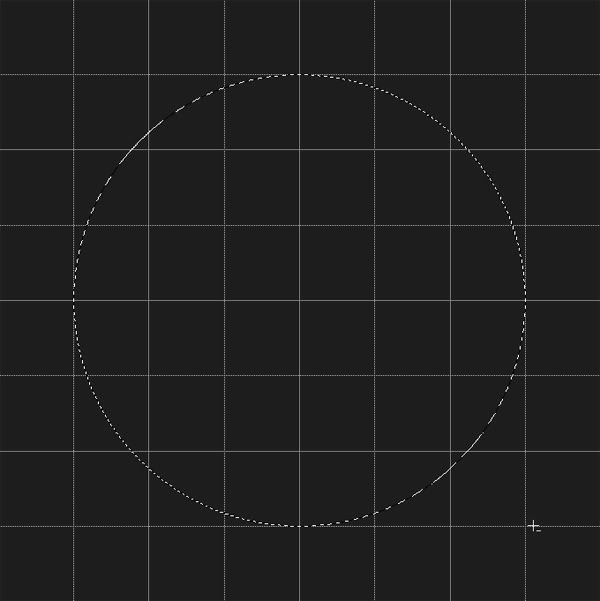
Using the Elliptical Marquee Tool, make a circle that just touches the outermost row of boxes on the grid.

Select > Feather > 200 pixels
Select > Inverse
Set the foreground color to 40% gray under Color Swatches or #acacac in the Color Picker.
Create a new layer, name it BASE, and fill the selection you made with the new foreground color.
Set the opacity of this layer to 75%.
Create seven more new layers, but don't worry about naming them yet.
Go back to the first of these seven new layers.
Set your foreground color to 10% gray/#ebebeb.
Load the brushes, if you haven't already. Right click anywhere in the canvas with the Brush Tool, click on the little arrow in the upper right corner of the popup, halfway down the list, Load Brushes.
Set Brush Opacity to 80%.
Select the first brush, set the size to around 200 pixels. Click once in the very center of the map. There's your first mountain.
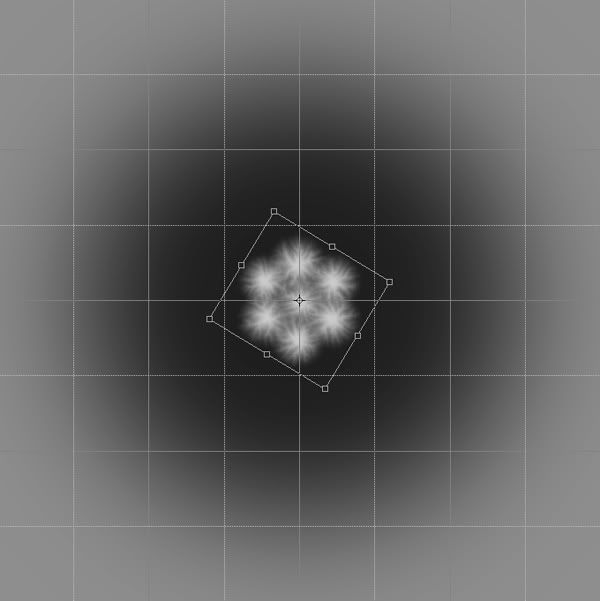
Make six more mountains around the first one, putting each in it OWN layer. (The seven you made earlier.) Don't make all the mountains the same exact size, vary from around 190 to 210. Move them around until the edges are overlapping, and they form a hexagon.

Go back through the layers, and adjust the Brightness by -6 to +6 points. Try to make it random. This will give the mountains some variety in height. You probably won't see any effect in Photoshop, but it will make a difference in the final map.
Select the top layer, and press Ctrl+E six times to merge the seven layers together. Name the resulting layer HEX.
Rotate the layer until the flat sides of the hexagon are facing left and right, and the pointy sides are up and down.

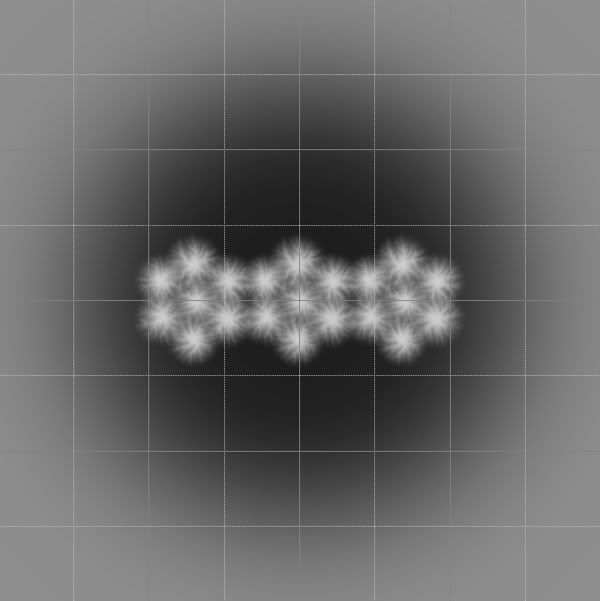
Duplicate HEX three times, then hide it. Move 'HEX copy 2' to the right, until it just overlaps with the edges of 'HEX copy'. Do the same with 'HEX copy 3' to the left.

Now merge those three layers together, and rename them VALLEY.
You may want to darken VALLEY up a bit, so it stands out when the map starts filling up.
This layer will be deleted before we're through, so don't worry about it too much. It's just a placeholder. You can move it down below BASE to get it out of the way.
Now start duplicating HEX and using it to fill up all the space around VALLEY. Do one row to start. Don't spend too long on exact placement, just get them in the right spot.
Turn off the Grid now, it'll just get in the way.
Try to leave a gap between two hexes on each end of the valley, so we can have a river running through later. You might want to place those first, so you don't have to go back and move everything else to fit.

Now go back through these layers, you should have ten of them, and on each one use Edit > Transform > Flip Horizontal/Flip Vertical/Or Both
This will just mix things up a bit, and hopefully keep the mountains from looking too repeating. If you made nice symetrical hexagons with your mountains, flipping them shouldn't change things too much. If you didn't, then you'll have some rearranging to do.
This is the final move for these tiles, so make it look good. You can use your arrow keys with the move tool to nudge each one into place.
When you're done, merge the ten layers together, name it RING1.
Now go make RING2. This one will take sixteen copies of HEX. Leave space for the river, but don't bother flipping these, hopefully they'll be far enough back not to matter.

RING3 should fill up the rest of the space.
Turn off VALLEY and HEX, if they've visible. Set the Layer Opacity of RING2 to 75% and on RING1 50%.

Save your Photoshop file, if you haven't already.
Now, Layer > Flatten > Image, discard hidden layers.
Save as PNG, you should still be in greyscale, 16 bit.
Edit, Step Backwards will get your layers back.
Now load this up in CAW. Set the maximum height to 200.
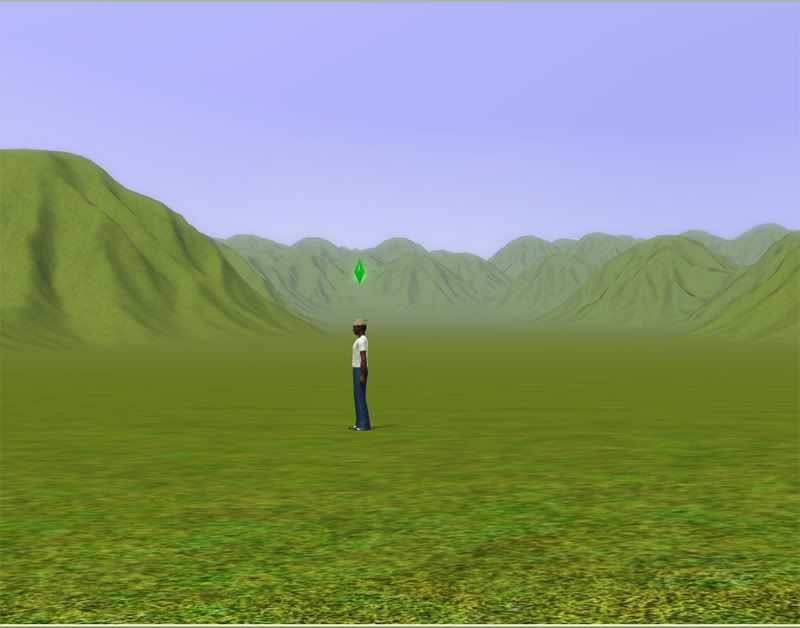
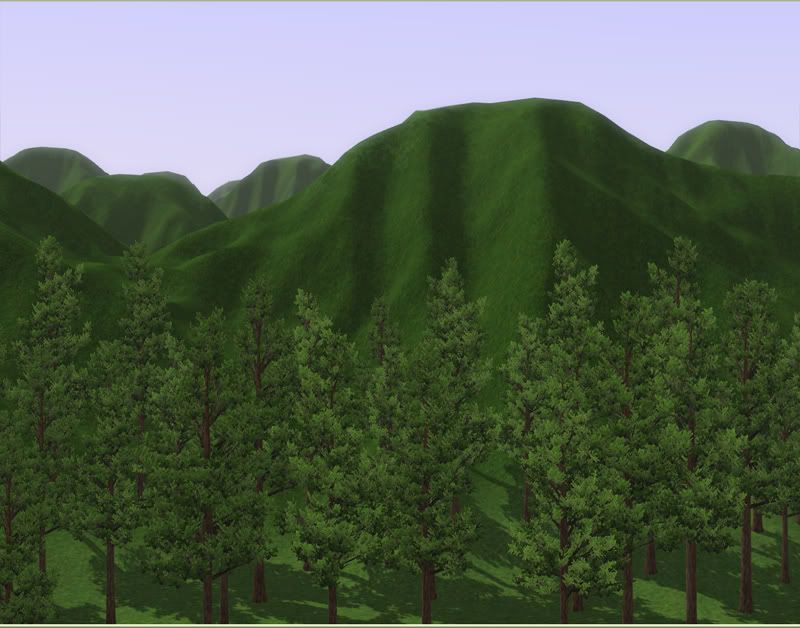
And, that looks pretty awesome right out of the box. The mountains look about the right height, and you have to scroll pretty far out in game to see the sea. Camera routing should take care of that.
The mountains need a good once over with Smooth Gentle, and a decent paint job, but that can wait. Back to Photoshop.


Turn the layer opacity for BASE back to 100.
Select RING1. Using the magic wand tool, set to Contiguous, click in the middle to select the valley area.
Select > Feather > 10
Select BASE, press delete.
Set the foreground color to black.
Create two new layers, RIVER and LAKE.
In LAKE, set one of the mountain brushes to size 220, and click in the very center.
Set your foreground color to #121212
Reset your brushes to the default ones, we're done with mountains now. Set your brush to the Hard Round 19 setting.
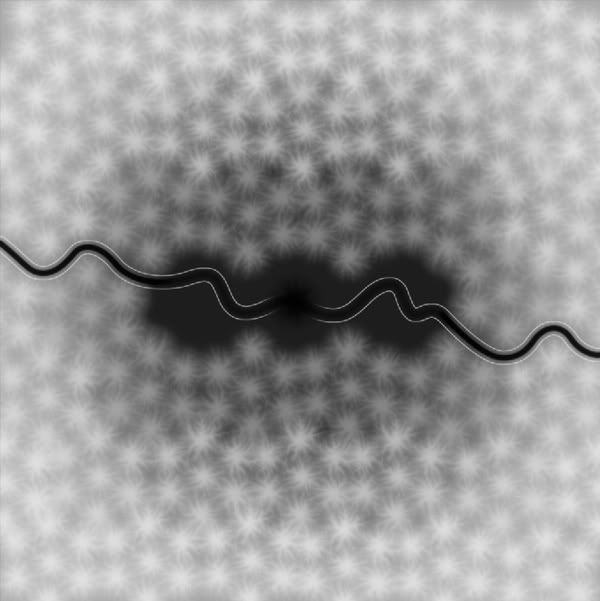
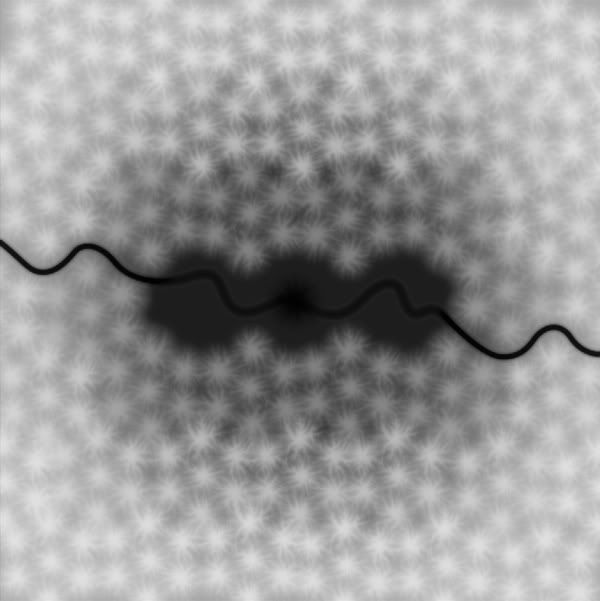
In RIVER, using the pen tool, draw in the path for your river. It should go from the gaps in the ends of the valley, to the very center of the lake. Do one side at a time. When you've got the path how you want it, right click, choose Stroke > Brush, don't simulate pressure.

When you've got both sides done, duplicate RIVER, name the copy RIVERBED, and move that layer below RIVER.
Ctrl+Click on RIVER in the layers window to select just the river.
Select > Modify > Expand > 5
Select > Feather > 4
In RIVERBED: Edit > Fill > Black
Set RIVERBED layer opacity to 40%.
One last step.
Create a new layer, above RIVER, but below LAKE. Name it BANK.
Ctrl+Click on RIVER.
Select > Modify > Expand > 13
In BANK fill the selection with white.
Ctrl+Click on RIVER.
Select > Modify > Expand > 10
In BANK press delete to clear the white and leave a line on either side of the river. You may need to press delete more than once.

Ctrl+Click on LAKE
Select > Modify > Expand > 20
Select > Feather > 5
In BANK: Delete.
In BANK: Filter > Blur > Gaussian Blur > 3 pixels
Set BANK layer opacity to 5%.
This will put a raised bank along the edge of the river. Trying to sculpt next to features like this river in CAW tends to make things very spiky/blocky, so try to get them perfect on the heightmap, so you won't even have to touch them in CAW.


There. Done. A basic heightmap. You'll need to do some smoothing in CAW, and of course paint, decorate, ect, ect. But this is a solid starting point for the actual CAW stuff.
I'll be posting a part two to this tutorial, which will cover making alpha maps to help with painting everything. (You don't want to paint the river bed by hand, trust me.) So save your PSD file, you'll need it for that.

Tweak the INI files so the sky's Carolina blue, and this will really start looking like home.
 26th Jan 2011 at 1:12 AM
 26th Jan 2011 at 1:53 AM
 26th Jan 2011 at 4:11 AM
 30th Jan 2011 at 2:27 PM
 1st Feb 2011 at 8:35 PM
 2nd Feb 2011 at 10:22 PM
 9th Sep 2011 at 10:46 AM
Last edited by fredmad : 21st Oct 2011 at 10:46 AM.
 25th Oct 2011 at 1:58 PM
 24th Mar 2014 at 12:00 PM

 Sign in to Mod The Sims