 Artist Studio and Gallery

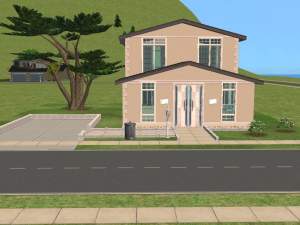
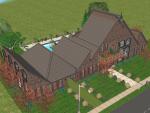
1.jpg - width=600 height=450

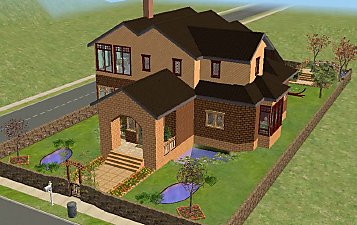
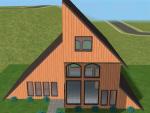
2.jpg - width=600 height=450

3 Studio -- Rear.jpg - width=600 height=450

4 First Floor Plan.jpg - width=600 height=450

5 Second Floor.jpg - width=600 height=450

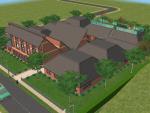
6 Side View.jpg - width=600 height=450

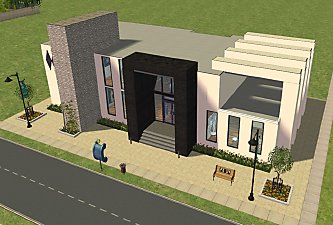
7 Gallery -- First Floor.jpg - width=600 height=450

8 Gallery -- Second Floor.jpg - width=600 height=450
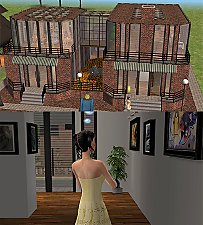
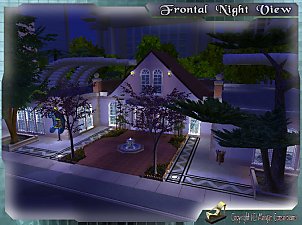
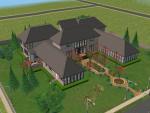
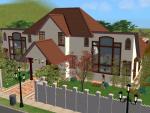
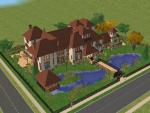
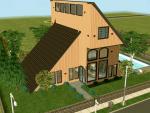
The lot is fully furnished and includes live-in and work space for one or two artists. Everything in the pictures is included, and there is no Custom Content. For illustrative purposes and so you won't start off with a gallery full of bare walls, I've installed game-provided art which you can gradually replace. Unfortunately, the only in-game lighting that adequately illuminates wall art happens to be a tacky kitchen-ceiling light; so you'll want to replace these with custom lighting specially designed for this purpose, such as that offered on this site by ailias.
This facility is especially suited for players who enjoy creating their own original pictures using the procedure that enables you to have a Sim artist create custom artwork of all types, including your own unique creations such as original art, personal photos -- literally any image that can be re-sized to be compatible with the game's easel. If you're interested in doing this and haven't yet tracked down the procedure, I'll detail it below.
If you want your Sim to recreate your favorite works of real-world artists, many ready-to-clone offerings can be downloaded, or you can create your own versions by collecting pictures from the Web and re-sizing them as described below. If you want to frame your custom pictures there are properly-sized downloadable frames available on this site, as well. Just hang the picture, then hang the frame over it.
How To Create Custom Artwork
This may seem complicated at first, but it will very quickly become second nature.
(1) Preparing Your Art for Custom Content. Though you can do this while the game is running, you'll be able to do it quicker and more efficiently if you prepare in advance more than one piece at a time for your Sim to paint.
Using a graphics program such as MS Paint, open one or more pictures from your files. All you need do is proportion each picture to fit the canvas that appears on the Sim easel. The proportion is 8:5; that is, if the height of the canvas were 8", the width would be 5". Unfortunately, this is the only shape picture you can reproduce; there's no landscape alternative. Use a combination of re-sizing and cropping to get each of your pictures reasonably close to this ratio and your paintings will look properly proportioned. For your convenience, here are some sample 8:5 proportions to help you ballpark your picture sizing:
HEIGHT WIDTH
11"------7"
10"------6.36"
9"-------5.72"
8"-------5"
7"-------4.45"
6"-------3.8"
5"-------3.2"
4"-------2.55"
The default resolution is 72ppi, but you can go up to 95 if your game's graphics settings are high; experiment and see if there's any noticeable improvement in quality.
(2) When you're ready to have your painter produce a custom picture, open the game and have your them go to an easel. A Sim painter must have a creativity level of at least 5 to accomplish this type of art.
(3) Click on the easel and elect to have your Sim paint a still-life picture. A frame will appear that you can center on anything nearby that you might want to paint. (Use the arrow keys or hold down the right mouse button and drag the frame to move it). Since your object is to paint something that's not yet in the game, however, it doesn't matter what you put in this frame, so just find something you can easily recognize in a photo later. When you have your frame set, press "C." This will both pause the game and snap a picture of whatever's in the frame.
(4) While the game is paused, press Alt + Tab to minimize it and return to the graphics program where your prepared art is waiting. Select one of your custom pictures and choose Save As; then navigate to the snapshot you just took. It will normally be found in C:\My Documents\EA\Sims2\Storytelling, and it will be named "Snapshot.bmp". (There will be a duplicate named "Screenshot.bmp", but it's of no concern here.)
NOTE: In NightLife, sometimes snapshots end up in the folder noted above, but often they appear in one of the Storytelling folders that can be found under Sims2/Neighborhoods. However, so far I've always found the easel snapshots in the folder cited.
(5) Save your custom picture as "Snapshot.bmp"; install it in the Storytelling folder and let it overwrite the one you took in the game. Your custom picture has now replaced the original snapshot and has the same proportions.
(6) Press Alt + Tab again to get back to your paused game and, as soon as you resume the action, your Sim will paint your custom picture. Way Kewel!
Here's hoping your artist wins a Simlitzer Prize!
Lot Size: 2x3
Lot Price: $198,844
|
ArtistStudioandGallery.zip
Download
Uploaded: 20th Mar 2008, 1.59 MB.
3,106 downloads.
|
||||||||
| For a detailed look at individual files, see the Information tab. | ||||||||
Install Instructions
1. Download: Click the download link to save the .rar or .zip file(s) to your computer.
2. Extract the zip, rar, or 7z file.
3. Install: Double-click on the .sims2pack file to install its contents to your game. The files will automatically be installed to the proper location(s).
- You may want to use the Sims2Pack Clean Installer instead of the game's installer, which will let you install sims and pets which may otherwise give errors about needing expansion packs. It also lets you choose what included content to install. Do NOT use Clean Installer to get around this error with lots and houses as that can cause your game to crash when attempting to use that lot. Get S2PCI here: Clean Installer Official Site.
- For a full, complete guide to downloading complete with pictures and more information, see: Game Help: Downloading for Fracking Idiots.
- Custom content not showing up in the game? See: Game Help: Getting Custom Content to Show Up.
Loading comments, please wait...
#art, #artist, #studio, #gallery, #painting custom pictures, #custom artwork
-
Ode to "Factory Living" - Art Gallery
by BrokenLit 2nd May 2006 at 9:50am
 +3 packs
14 17.6k 15
 University
 Nightlife
 Open for Business
-
by Lord_Morgan 25th Nov 2006 at 2:03am
 +2 packs
12 14.2k 12
 Nightlife
 Open for Business
-
by Vitor Joana 16th Feb 2007 at 4:47pm
 +6 packs
2 4k 2
 Family Fun
 University
 Glamour Life
 Nightlife
 Open for Business
 Pets
Pets
-
by ianbradley26 24th Jun 2008 at 9:29pm
 +7 packs
4 8.8k 5
 University
 Glamour Life
 Nightlife
 Open for Business
 Pets
Pets
 H&M Fashion
 Teen Style
-
The Starving Artist's Studio Apartment -Starter Home
by clw8 29th Nov 2008 at 11:07pm
 +4 packs
3 13k 4
 University
 Nightlife
 Celebration
 Pets
Pets
-
Artist's Manor--Traditional Version
by Ponderosa 16th Jul 2009 at 11:42pm
 +6 packs
3 11.4k 6
 University
 Nightlife
 Open for Business
 Pets
Pets
 Seasons
 Bon Voyage
-
Rousseau Villa - Artist's House, Furnished, 2 Bedrooms
by devagirl2 12th Mar 2010 at 6:02pm
 +17 packs
10 9.7k 13
 Happy Holiday
 Family Fun
 University
 Glamour Life
 Nightlife
 Celebration
 Open for Business
 Pets
Pets
 H&M Fashion
 Teen Style
 Seasons
 Kitchen & Bath
 Bon Voyage
 Free Time
 Ikea Home
 Apartment Life
 Mansion and Garden
-
Modern Art Gallery - only 1 CC
by yavannatw 9th May 2020 at 9:44pm
 +12 packs
5 6.1k 19
 University
 Glamour Life
 Nightlife
 Open for Business
 Pets
Pets
 H&M Fashion
 Seasons
 Kitchen & Bath
 Free Time
 Ikea Home
 Apartment Life
 Mansion and Garden
-
Helluva Hacienda -- Lavish Upgrade
by drshi 14th Feb 2008 at 5:51am
This is one of a series of luxury lots I'm offering. more...
 5
31.5k
32
-
113 Wright Way -- Lavish Upgrade Suitable for Seasons
by drshi 14th Feb 2008 at 6:11am
This is one of a series of luxury lots I'm offering. more...
 11
27.3k
29
-
Good Things Come in Small Packages
by drshi 23rd Feb 2008 at 12:25pm
This modern hybrid not only raises the roof -- it also lowers it. more...
 9
20.8k
24
-
Modern Masterpiece -- Lavish Upgrade
by drshi 14th Feb 2008 at 5:43am
This is one of a series of luxury lots I'm offering. more...
 7
14.5k
16
Packs Needed
| Base Game | |
|---|---|
 | Sims 2 |
| Expansion Pack | |
|---|---|
 | Nightlife |

 Sign in to Mod The Sims
 Artist Studio and Gallery


