 Sim Painting with GLASS frame

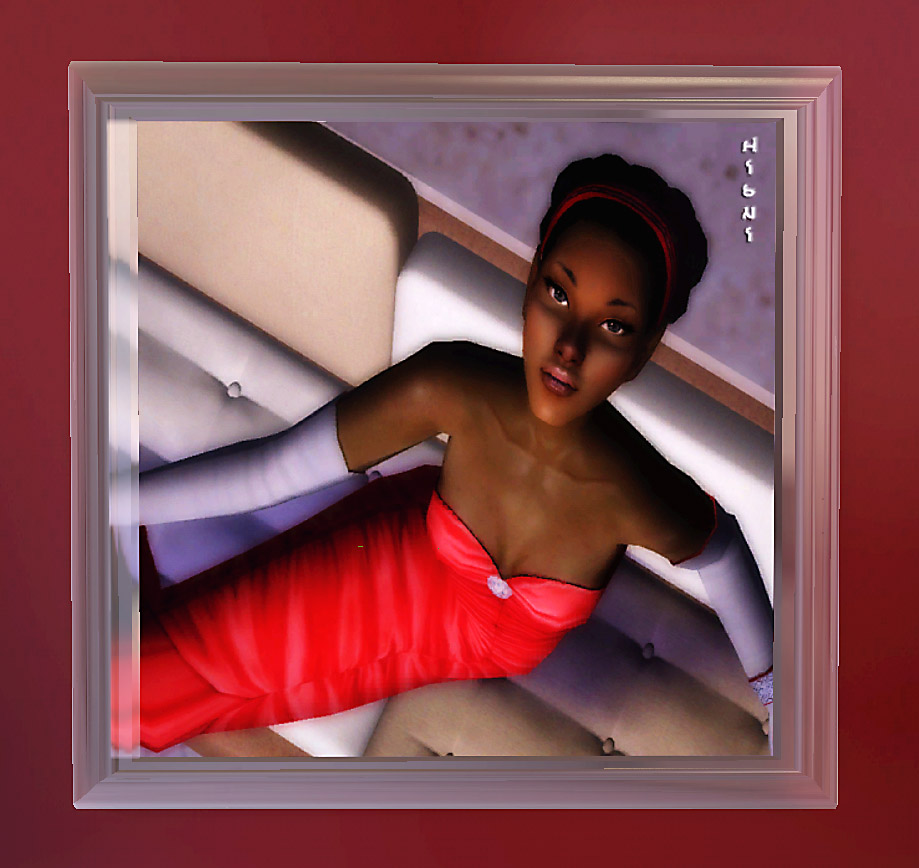
DandrigeMain.jpg - width=919 height=868
Main Picture

DandrigeComparision.jpg - width=1230 height=940
Size Comparison

DandrigeColorGlass.jpg - width=941 height=898
May be recolored

DandrigeJustHowClear.jpg - width=958 height=916
Just how Clear

EnterNJustHowClearBack.jpg - width=889 height=844
Back of Painting

DandrigeSettingComparision.jpg - width=1200 height=548
Game setting comparison
1. This objects is cloned from the medicine cabinet deco. So, your sim can not view it like a regular painting and it only has 1 room point (I haven't been able to make heads or tails out of the info to change this yet).
2. The frame only has a single foot print, but takes up two. Objects placed too close will pass through.
3. The first "color" option in the package has a sheen, the other two do not. Take your pick of styles.
4. Technically there are no recolor options.
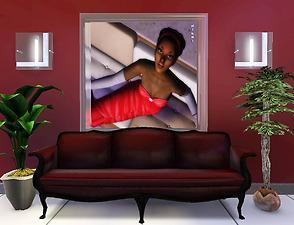
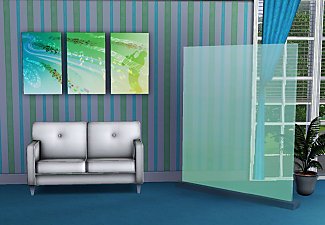
Here is the finished project:
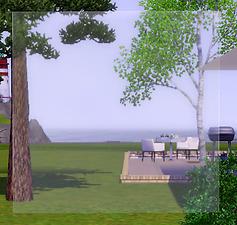
Here's a shot so you can see the relative size:

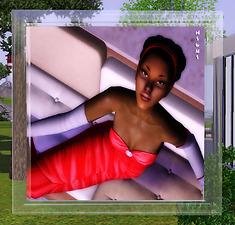
Want to see just how clear the glass is?


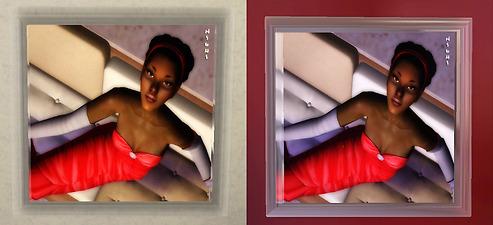
A few more things. On my monitor, you get a reflection of the picture in the frame on the left side of the frame. OM kindly took a screenshot for me, and she doesn't have that reflection. So, It appears that this has something to do game settings. My screenshot is on the right, OM's is on the left.

AND, while there are no recolors, the glass can be changed using Orangemittens tutorial (linked above) and modding the diffuse line code in mtlrsc 6 of the main MLOD. It's really not hard to do. Here is an example:

Bigger pictures in attachments. Anyway, have fun with it.
Polygon Counts:
86 polygons
128 vertices
Additional Credits:
Orangemittens- Tutorial and Problem solving help
Delphy- TS3 Install Helper Monkey
Inge & Peter- S3PE, S3OC Wes Howe- Object tools
This is a new mesh, and means that it's a brand new self contained object that usually does not require a specific Pack (although this is possible depending on the type). It may have Recolours hosted on MTS - check below for more information.
|
hisuihana_HisayoLondonAsDorothyDandrigeB_Painting.rar
| Painting Package
Download
Uploaded: 23rd Nov 2009, 577.2 KB.
1,955 downloads.
|
||||||||
| For a detailed look at individual files, see the Information tab. | ||||||||
Install Instructions
1. Click the file listed on the Files tab to download the file to your computer.
2. Extract the zip, rar, or 7z file. Now you will have either a .package or a .sims3pack file.
For Package files:
1. Cut and paste the file into your Documents\Electronic Arts\The Sims 3\Mods\Packages folder. If you do not already have this folder, you should read the full guide to Package files first: Sims 3:Installing Package Fileswiki, so you can make sure your game is fully patched and you have the correct Resource.cfg file.
2. Run the game, and find your content where the creator said it would be (build mode, buy mode, Create-a-Sim, etc.).
For Sims3Pack files:
1. Cut and paste it into your Documents\Electronic Arts\The Sims 3\Downloads folder. If you do not have this folder yet, it is recommended that you open the game and then close it again so that this folder will be automatically created. Then you can place the .sims3pack into your Downloads folder.
2. Load the game's Launcher, and click on the Downloads tab. Find the item in the list and tick the box beside it. Then press the Install button below the list.
3. Wait for the installer to load, and it will install the content to the game. You will get a message letting you know when it's done.
4. Run the game, and find your content where the creator said it would be (build mode, buy mode, Create-a-Sim, etc.).
Extracting from RAR, ZIP, or 7z: You will need a special program for this. For Windows, we recommend 7-Zip and for Mac OSX, we recommend Keka. Both are free and safe to use.
Need more help?
If you need more info, see:
- For package files: Sims 3:Installing Package Fileswiki
- For Sims3pack files: Game Help:Installing TS3 Packswiki
Loading comments, please wait...
Uploaded: 23rd Nov 2009 at 8:12 PM
Updated: 24th Nov 2009 at 4:06 PM - Hosting problem fixed
#painting, #modern, #retro, #contemporary, #glass, #frame, #Model, #picture, #simlish art, #custom mesh, #sims 3, #wall hangins, #decor
-
by hisui_hana 17th Sep 2009 at 7:09am
 2
12.4k
13
-
by hisui_hana 18th Sep 2009 at 10:14pm
 7
20.6k
13
-
by Rakime 1st Oct 2009 at 9:19pm
 30
59.3k
108
-
by orangemittens 18th Oct 2009 at 11:57pm
 26
37.3k
47
-
by armiel 4th Oct 2010 at 7:14pm
 59
53.1k
151
-
by PharaohHound 25th Feb 2019 at 10:17pm
 6
7.9k
24
-
by hisui_hana 18th Sep 2009 at 10:14pm
I didn't have enough good size horizontal 2 tile sim paintings without frames. more...
 7
20.6k
13
-
Glass and Wood Desk Mat: For that empty desk space.
by hisui_hana 14th Dec 2009 at 12:31am
I just can't take empty space. I'm one of those people that just has to fill it up. more...
 10
25.8k
49
-
Truth-2 Painting Set in Simlish and English
by hisui_hana 17th Oct 2009 at 2:58pm
Introducing the "Truth" painting set. The paintings come in Simlish format and English. more...
 9
18k
20
-
by hisui_hana 17th Sep 2009 at 7:09am
Here is a painting I did for my game using the Tryptic Music painting mesh. more...
 2
12.4k
13
-
Senior Pictures for Teenage Sims
by hisui_hana 2nd Dec 2009 at 7:33pm
Seeing as I forgot to include a lot of information the last time, let's see if I can get this more...
 11
24.2k
20

 Sign in to Mod The Sims
 Sim Painting with GLASS frame
