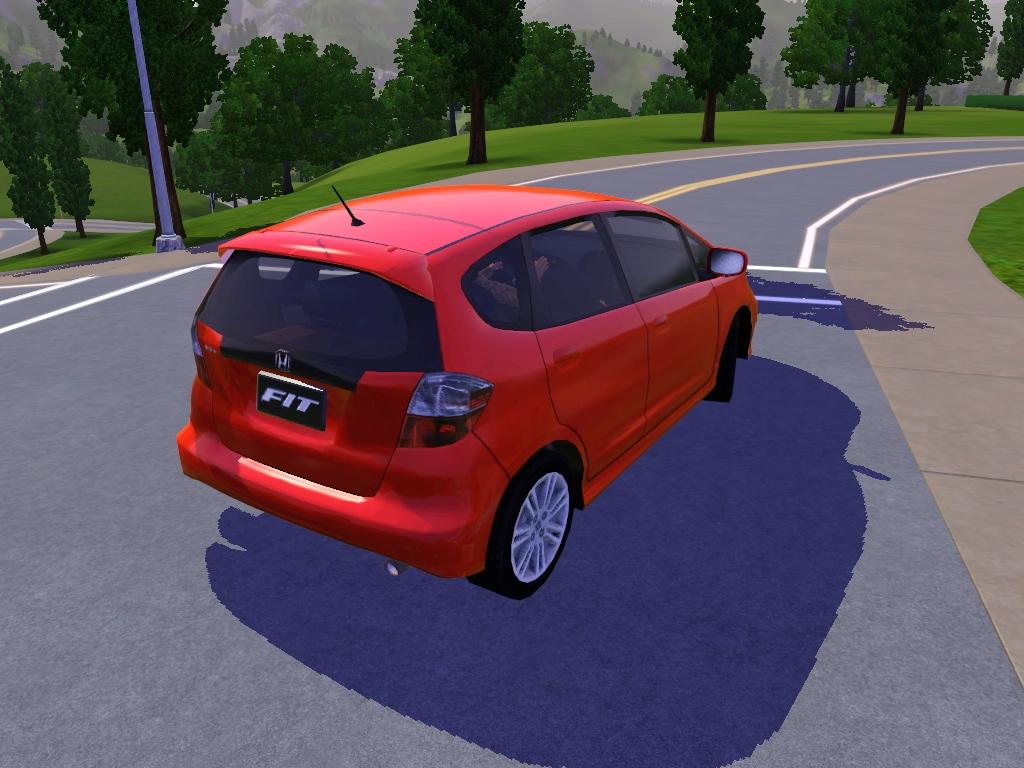
 2009 Honda Fit (Jazz)

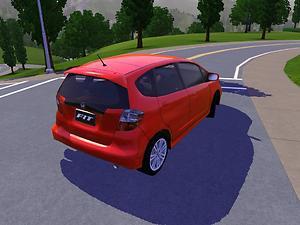
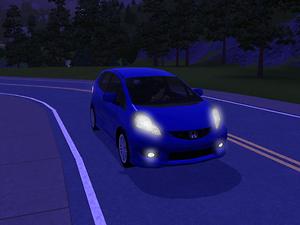
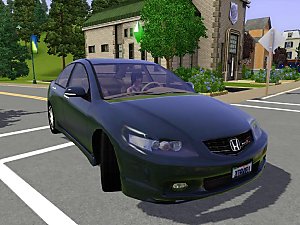
CarHondaFit09_Screenshot-293.jpg - width=1024 height=768

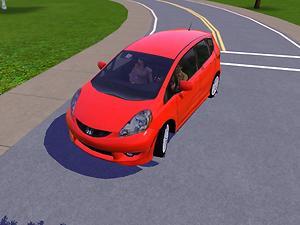
CarHondaFit09_Screenshot-294.jpg - width=1024 height=768

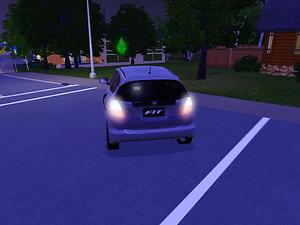
CarHondaFit09_Screenshot-295.jpg - width=1024 height=768

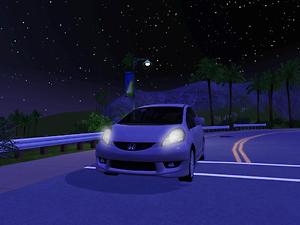
CarHondaFit09_Screenshot-299.jpg - width=1024 height=768

CarHondaFit09_Screenshot-301.jpg - width=1024 height=768

CarHondaFit09_Screenshot-302.jpg - width=1024 height=768
Lightz ON!™ ^^
I saw this car bypassing me more than a dozen times, and I think it's quite cool, so I decided to make it.
After googling around to find free 3d model, the only ones available is too highpoly (around 400k)
Since using directx mesh tool / blender's poly reduce doesn't produce nice results, I had no choice but to retopo/remodel it.
After the remodeling is done, there's the wheelbase problem.
Of course I won't be doing such a time consuming process of remodeling if I haven't got any solution to mod the skeletons/rig to match the car's wheelbase.
so, as a follow-up to my thread regarding object skeletons mod,
and as a tribute to Wes Howe and ChaosMageX who helped me,
I present you :
The all new 2009 Honda Fit (it's called Honda Jazz here in Indonesia)
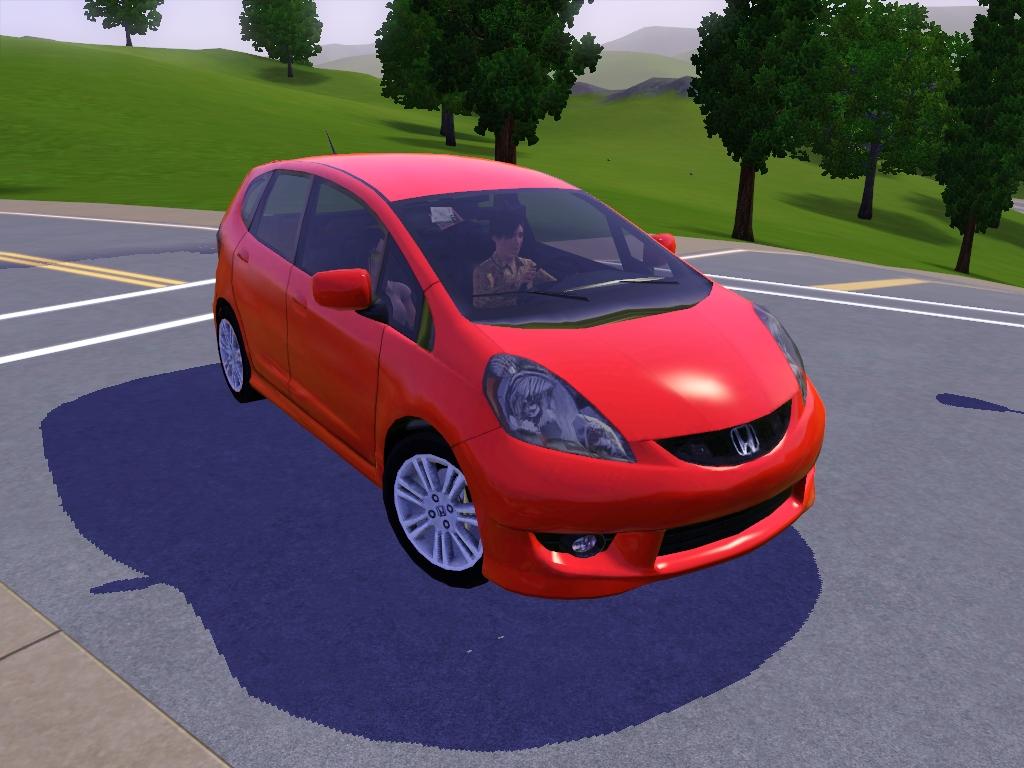
Object Properties :
Cloned from : CarHatchback (Wornado Triage)
CAST parts : Body, Rims, Spoiler (rear-wing)
Buy mode category : Vehicles
In-game Name : 2009 Honda Fit
Price : § 5,200
Speed : 4
That's all, enjoy the best selling compact city car from the country of the rising sun !!
Polygon Counts:
8313 vertices / 8258 faces
Additional Credits:
honda.co.jp, blender.org,
Aziza Zadeh (archibase.net), for the reference model
tazpn from NeverwinterNights2 community, for NWN2 MDB utilities which includes a 3DS max granny 3d importer plugin.
obsidianent.com, for the granny exporter.
WesHowe, Thank you soo much for S3ObjTool v1.00, it's now easier to see the results after HexEditing the joints !
ChaosMageX, Thanks for pointing out the orders of the twelve floats (Who would've thought I had to learn matrix math to do this mod)
Peter & Inge for their great tools,
MTS for hosting it !!
Update 08 oct 2009 :
- fixed the shadows
- fixed visible seam on CAST part #2 (spoiler)
- foglamp turned on
This is a new mesh, and means that it's a brand new self contained object that usually does not require a specific Pack (although this is possible depending on the type). It may have Recolours hosted on MTS - check below for more information.
|
battousan_CarHondaFit09r1.rar
| revised version
Download
Uploaded: 7th Oct 2009, 625.0 KB.
33,684 downloads.
|
||||||||
|
battousan_CarHondaFit09.rar
| old version
Download
Uploaded: 6th Oct 2009, 631.9 KB.
18,258 downloads.
|
||||||||
| For a detailed look at individual files, see the Information tab. | ||||||||
Install Instructions
1. Click the file listed on the Files tab to download the file to your computer.
2. Extract the zip, rar, or 7z file. Now you will have either a .package or a .sims3pack file.
For Package files:
1. Cut and paste the file into your Documents\Electronic Arts\The Sims 3\Mods\Packages folder. If you do not already have this folder, you should read the full guide to Package files first: Sims 3:Installing Package Fileswiki, so you can make sure your game is fully patched and you have the correct Resource.cfg file.
2. Run the game, and find your content where the creator said it would be (build mode, buy mode, Create-a-Sim, etc.).
For Sims3Pack files:
1. Cut and paste it into your Documents\Electronic Arts\The Sims 3\Downloads folder. If you do not have this folder yet, it is recommended that you open the game and then close it again so that this folder will be automatically created. Then you can place the .sims3pack into your Downloads folder.
2. Load the game's Launcher, and click on the Downloads tab. Find the item in the list and tick the box beside it. Then press the Install button below the list.
3. Wait for the installer to load, and it will install the content to the game. You will get a message letting you know when it's done.
4. Run the game, and find your content where the creator said it would be (build mode, buy mode, Create-a-Sim, etc.).
Extracting from RAR, ZIP, or 7z: You will need a special program for this. For Windows, we recommend 7-Zip and for Mac OSX, we recommend Keka. Both are free and safe to use.
Need more help?
If you need more info, see:
- For package files: Sims 3:Installing Package Fileswiki
- For Sims3pack files: Game Help:Installing TS3 Packswiki
Loading comments, please wait...
Uploaded: 6th Oct 2009 at 3:32 PM
Updated: 7th Oct 2009 at 8:18 PM - update, wrong speed..
-
by corn! 17th Jul 2009 at 12:37am
 7
47.7k
56
-
by Fresh-Prince 23rd Aug 2009 at 1:43pm
 208
356.2k
359
-
by battousan 4th Sep 2009 at 7:11pm
 52
104.3k
67
-
by Fresh-Prince 11th Oct 2009 at 1:41am
 61
126.1k
119
-
by Fresh-Prince 14th Jan 2010 at 10:01am
 56
158.9k
221
-
by Fresh-Prince 18th Jan 2010 at 7:54pm
 54
174.2k
223
-
by Fresh-Prince 19th Jan 2010 at 7:36pm
 32
122.4k
139
-
by Fresh-Prince 19th Feb 2010 at 6:31pm
 49
133.8k
171
-
by Fresh-Prince 17th Jun 2010 at 3:31pm
 14
49.6k
57
-
by Fresh-Prince 12th Aug 2010 at 11:56pm
 96
228.9k
417
-
Nu Central Park - Now Open to Public !
by battousan updated 21st Jul 2009 at 11:08am
First of all, even though it's meant to be Sunset Valley's Central Park replacement, I made this on a 60x60 more...
 46
76.9k
90
-
The Yomoshoto Residence - A traditional Japanese House
by battousan 28th Jun 2009 at 10:01pm
It's a traditional japanese style house, although not entirely.. more...
 23
63.8k
97
-
Cool Panda - an attempt at modernism
by battousan 26th Jun 2009 at 7:48pm
Stupid name, cool house.. It was named after Panda because it consists of mostly Black and White colors. more...
 37
47.7k
30
-
Himeya Inn - Another Japanese House
by battousan 31st Jul 2009 at 7:05pm
Formerly used as a base for the patriots' hideout during edo era, Himeya Inn, originally located at simKyoto, was a more...
 25
97.1k
142
-
Lightz ON - Minimalist House on Maywood Lane
by battousan 23rd Jun 2009 at 5:17am
Hi, this is my first upload.. more...
 12
23.6k
11
-
Aquamarine - yet Another Modern House
by battousan 4th Jul 2009 at 10:47pm
It's just another modern minimalist house with concretes, box, steel fins, wide glasses, etc.. more...
 17
22.3k
19
About Me
And I'm terribly sorry, but I don't take requests.

 Sign in to Mod The Sims
 2009 Honda Fit (Jazz)
