 Sign in to Mod The Sims
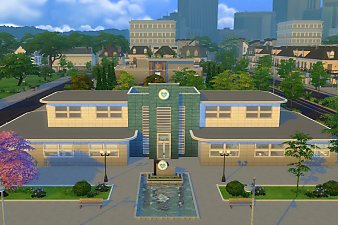
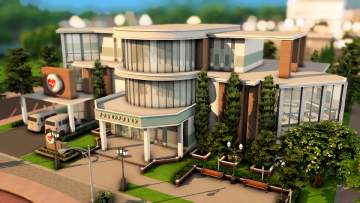
 Mondrosen's Edit - New Willow Creek Hospital (NO CC)
 Mondrosen's Edit - New Willow Creek Hospital (NO CC)


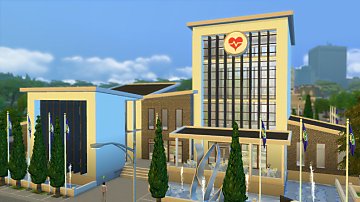
Mondrosen_Hospital_00_Main.jpg - width=1280 height=720
Main Image
Mondrosen_Hospital_03_Reception.jpg - width=1280 height=720
Reception Area
Mondrosen_Hospital_04_PatientRoom.jpg - width=1280 height=720
Patient Exam Room
Mondrosen_Hospital_05_Surgery1.jpg - width=1280 height=720
Surgery Room
Mondrosen_Hospital_06_Surgery2.jpg - width=1280 height=720
Surgery Room
Mondrosen_Hospital_07_Treadmill.jpg - width=1280 height=720
Treadmill Exam Room
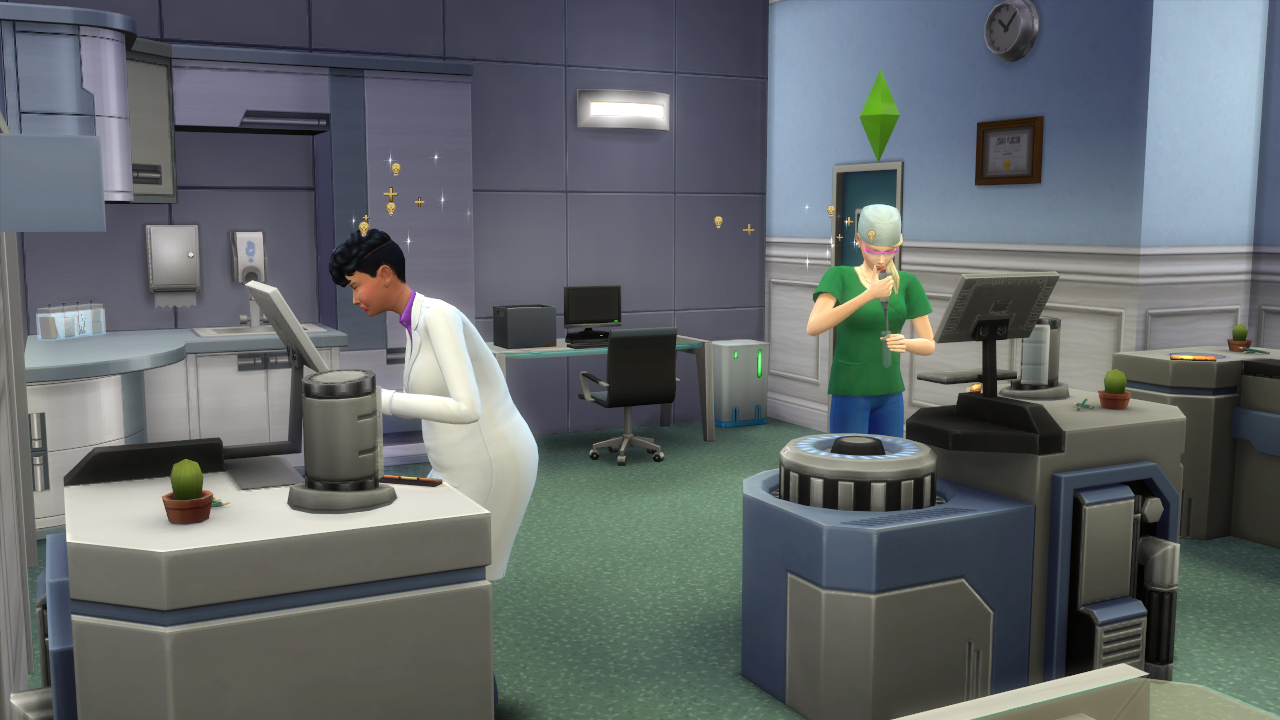
Mondrosen_Hospital_08_Bioanalysis.jpg - width=1280 height=720
Bioanalysis Room
Mondrosen_Hospital_09_Waiting.jpg - width=1280 height=720
2nd Floor Reception & Waiting Room
Mondrosen_Hospital_10_Maternity.jpg - width=1280 height=720
Maternity Ward
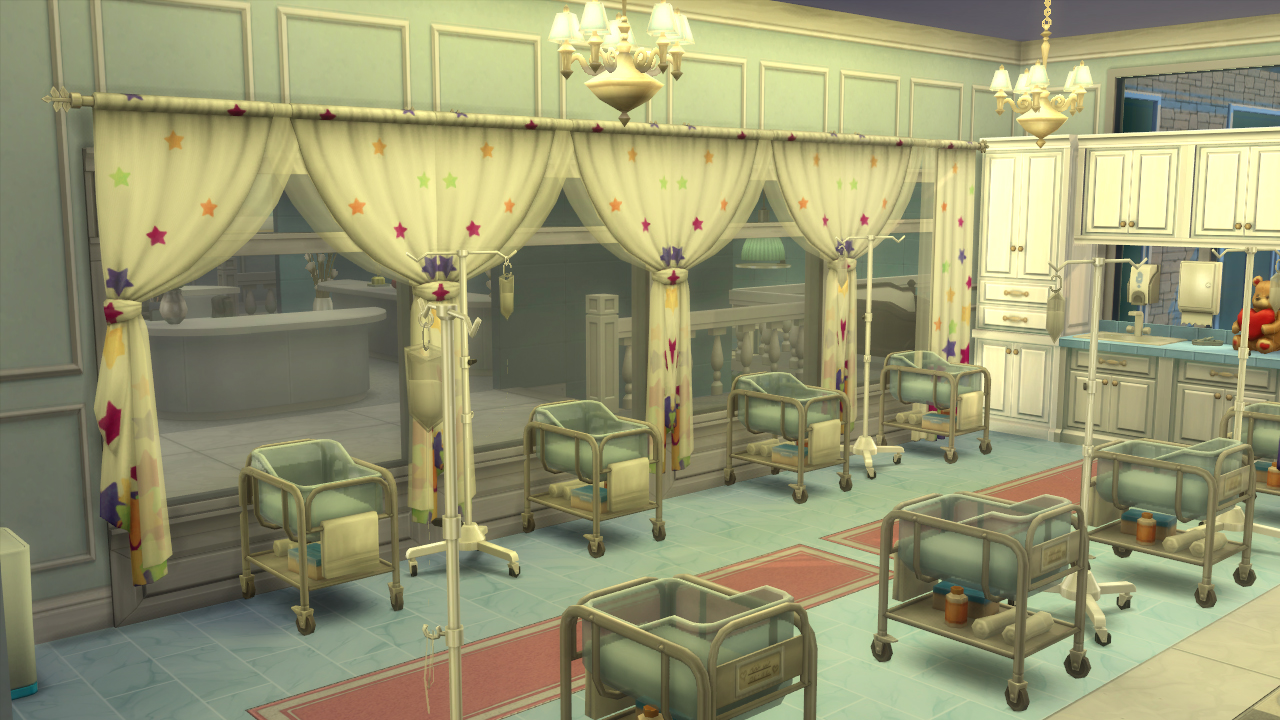
Mondrosen_Hospital_11_Neonatal.jpg - width=1280 height=720
Neonatal Ward
Mondrosen_Hospital_12_Cafeteria.jpg - width=1280 height=720
Cafeteria
Mondrosen_Hospital_13_StaffOffice.jpg - width=1280 height=720
Staff Office
Mondrosen_Hospital_14_DoctorsOffice.jpg - width=1280 height=720
Head Doctor's Office
Mondrosen_Hospital_01a_FrontBefore.jpg - width=1280 height=720
Front View Before
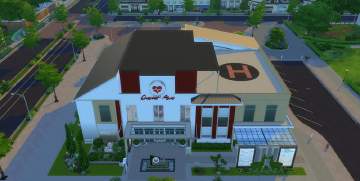
Mondrosen_Hospital_01b_FrontAfter.jpg - width=1280 height=720
Front View After
Mondrosen_Hospital_01C_Comp.jpg - width=1280 height=720
Front View Comparison
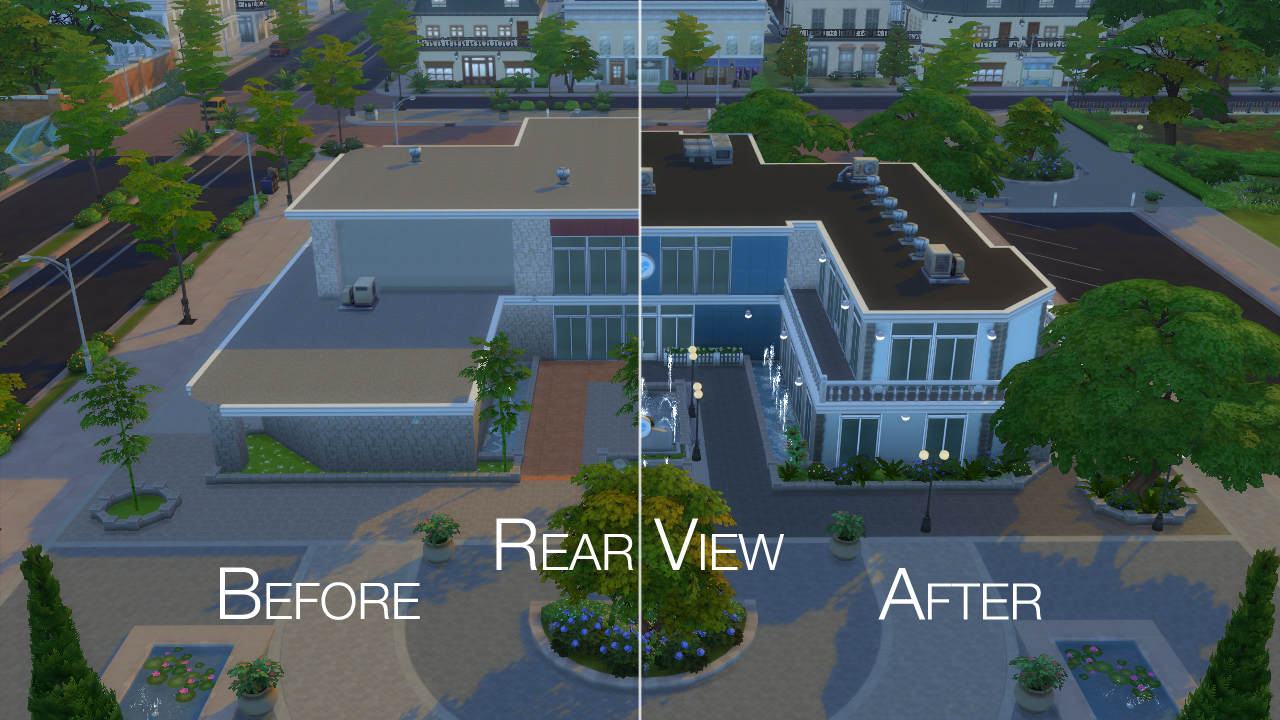
Mondrosen_Hospital_02a_BackBefore.jpg - width=1280 height=720
Rear View Before
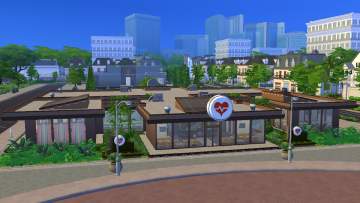
Mondrosen_Hospital_02b_BackAfter.jpg - width=1280 height=720
Rear View After
Mondrosen_Hospital_02c_BackComp.jpg - width=1280 height=720
Rear View Comparison
Mondrosen_Hospital_15a_1stFlBefore.jpg - width=1280 height=720
1st Floor Pan Before
Mondrosen_Hospital_15b_1stFlAfter.jpg - width=1280 height=720
1st Floor Plan After
Mondrosen_Hospital_16a_2ndFlBefore.jpg - width=1280 height=720
2nd Floor Plan Before
Mondrosen_Hospital_16b_2ndFlAfter.jpg - width=1280 height=720
2nd Floor Plan After
Mondrosen_Hospital_15c_1stFlPlan.jpg - width=1280 height=720
1st Floor Plan Map
Mondrosen_Hospital_16c_2ndFlPlan.jpg - width=1280 height=720
2nd Floor Plan Map


This is my edit of the Willow Creek Hospital workplace for "Get to Work" expansion. I extensively remodelled Maxis' default hospital with immersion, aesthetic, and functionality in mind. No CC was used in this lot, just the game's both regular and hidden objects.
The lot has been playtested and so far I've been able to use it normally as a workplace and advance in the Doctor career. However, just in case something goes wrong to your game, please backup your save file & save Maxis' default hospital lot into your library before making the changes. Read on and follow the installation instruction below.
FEATURES
- Nicely decorated exterior with fountains & landscaping
1st Floor
- Cozy reception & waiting area
- 6 Patient rooms with individual exam bed each
- 2 Surgery rooms
- Bioanalysis lab
- 2 X-Ray rooms
- Treadmill room
- Restrooms
2nd Floor
- Waiting & recreation areas
- Head Doctor's office
- Maternity ward
- Neonatal ward with viewing windows
- Breastfeeding room
- Cafeteria with fully-functioning kitchen
- Staff office
- Locker rooms
- Restrooms

INSTALLATION INSTRUCTION
 [IMPORTANT] Please keep a backup of your save file just in case!
 - Visit the hospital lot by going to work with a Sim in the Doctor career
- Immediately pause the game after the lot is loaded
- Press Ctrl+Shift+C and enter these cheats:
Code:bb.moveobjects bb.enablefreebuild
- Enter Build Mode and [IMPORTANT] save Maxis' default hospital lot to your gallery to create a backup
- Open the gallery and place the new hospital lot
- Once the lot is placed, every Sims in the lot will be reset & placed at the entrance. Don't be alarmed, this is the desired outcome
- Play the game & work as usual!
OTHER INFOS
- The lot is saved as Residential despite being a "Medical Clinic" lot. This is NOT an error, this is what hospital workplace lot is designated by the game's programming.
- Please note that while it's fully functional, the 2nd floor is mostly there for aesthetic & immersion. Sims other than yours won't go upstairs and use the facilities. This is because their AI is only programmed to use objects relevant for the Doctor career such as the exam bed, chemical analyzers, etc. To avoid glitch & congestion, I placed all the usable hospital objects on the 1st floor. So, the 2nd floor would almost always be empty and patients would wait by the reception desk forever until assigned to a bed. I don't know how to write a script mod to change this, if you do or know another mod to make the AI more immersive, please let me know!
- Sometimes, a Sim may become unable to move, use an object, or mop a puddle even though nothing is blocking them or the object. This is not the lot's fault and seems to be a general issue with the game. This & most other issues you may encounter are easily fixable by entering the cheat:
Code:testingcheats true
then clicking the problematic Sim or object while pressing Shift key and selecting "Reset Object (Debug)". - Computers placed on reception desks aren't usable except for ordering items. This is normal, just use any of the other computers not on the reception desks.
Enjoy and please let me know of any issues!
Lot Size: 50x50
Lot Price (furnished): 637,758
Lot Price (unfurnished): 206,018
|
Mondrosen_NewWillowCreekHospital_ver3.rar
Download
Uploaded: 25th Nov 2019, 300.6 KB.
6,946 downloads.
|
||||||||
| For a detailed look at individual files, see the Information tab. | ||||||||
Install Instructions
1. Download: Click the File tab to see the download link. Click the link to save the .rar or .zip file(s) to your computer.
2. Extract: Use WinRAR (Windows) to extract the .bpi .trayitem and .blueprint file(s) from the .rar or .zip file(s).
3. Place in Tray Folder: Cut and paste all files into your Tray folder:
- Windows XP: Documents and Settings\(Current User Account)\My Documents\Electronic Arts\The Sims 4\Tray\
- Windows Vista/7/8/8.1: Users\(Current User Account)\Documents\Electronic Arts\The Sims 4\Tray\
Loading comments, please wait...
Uploaded: 6th Jan 2019 at 4:04 AM
Updated: 25th Nov 2019 at 4:10 PM
#hospital, #get to work, #willow creek, #willow creek hospital, #maternity, #neonatal, #clinic, #doctor
-
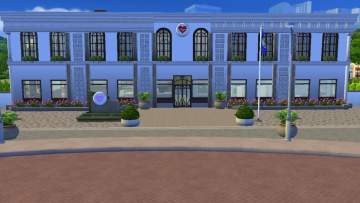
Sacred Heart National Hospital
by RayanStar 27th Apr 2015 at 11:45am
 +3 packs
27 49.6k 120
+3 packs
27 49.6k 120 Get to Work
 Outdoor Retreat
 Horse Ranch
-
-
-
by alexpilgrim 11th Jul 2016 at 1:49am
+10 packs
9 19.9k 28 Get to Work
Outdoor Retreat
 Get Together
 Luxury Stuff
 Perfect Patio Stuff
 Spa Day
 Cool Kitchen Stuff
 Spooky Stuff
 Growing Together
Horse Ranch
Growing Together
Horse Ranch
-
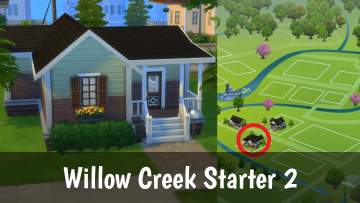
Willow Creek Starter 2 (No CC)
by PepeLover69 9th Oct 2017 at 3:46pm
+7 packs
9.3k 13 Get to Work
Get Together
 City Living
Spa Day
City Living
Spa Day
 Kids Room Stuff
 Backyard Stuff
 Parenthood
-
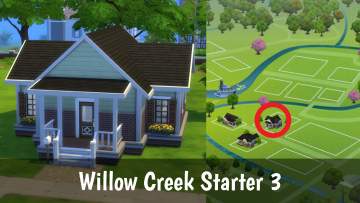
Willow Creek Starter 3 (No CC)
by PepeLover69 13th Oct 2017 at 5:01pm
+5 packs
1 9.3k 14 Get to Work
Get Together
City Living
Backyard Stuff
Parenthood
-
-
-
by plumbobkingdom 23rd Jun 2021 at 8:35am
+29 packs
1 10k 19 Outdoor Retreat
Get Together
Luxury Stuff
City Living
Perfect Patio Stuff
Spa Day
 Cats and Dogs
Cool Kitchen Stuff
Cats and Dogs
Cool Kitchen Stuff
 Seasons
 Get Famous
 Island Living
 Movie Hangout Stuff
 Discover University
 Dine Out
 Eco Lifestyle
 Romantic Garden Stuff
 Snowy Escape
 Vintage Glamour Stuff
 Vampires
Horse Ranch
Parenthood
Vampires
Horse Ranch
Parenthood
 Laundry Day Stuff
 Jungle Adventure
 Strangerville
 Moschino Stuff
 Realm of Magic
 Tiny Living Stuff
 My First Pet Stuff
 Dream Home Decorator
-
by plumbobkingdom 22nd Jul 2022 at 9:56pm
+15 packs
1 38.2k 35 Get to Work
Get Together
City Living
Perfect Patio Stuff
Spa Day
Cats and Dogs
Seasons
Get Famous
Discover University
Dine Out
Eco Lifestyle
Snowy Escape
 Fitness Stuff
Strangerville
Dream Home Decorator
Fitness Stuff
Strangerville
Dream Home Decorator


-

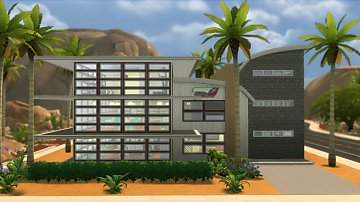
Greenhill Sports Center | 50x40 All-In-One Gym/Sports Center
by Mondrosen 26th Nov 2019 at 8:57pm
All-in-one sport complex featuring a basketball court, roller blade rink, swimming pool, yoga studio, gym, sauna, ice skating rink, bowling arena, and a bar. more...
+20 packs
5 12.4k 21 Get to Work
Get Together
Luxury Stuff
City Living
Perfect Patio Stuff
Spa Day
Cats and Dogs
Cool Kitchen Stuff
Seasons
Get Famous
Movie Hangout Stuff
Dine Out
Kids Room Stuff
Backyard Stuff
Vintage Glamour Stuff
Vampires
 Bowling Night Stuff
Parenthood
Fitness Stuff
Laundry Day Stuff
Bowling Night Stuff
Parenthood
Fitness Stuff
Laundry Day Stuff
-

St Pupper Animal Hospital - 30x20 Vet Clinic NO CC
by Mondrosen 11th Dec 2018 at 3:45pm
Features: 1st Floor Check-in/Reception Area Waiting Area 2 Exam Rooms 1 Surgery Room Outdoor more...
+9 packs
8 41.9k 88 Spa Day
Cats and Dogs
Cool Kitchen Stuff
Dine Out
Kids Room Stuff
Vintage Glamour Stuff
Parenthood
Fitness Stuff
Jungle Adventure


Packs Needed
| Expansion Pack | |
|---|---|
 | Get to Work |
 | Get Together |
 | City Living |
 | Cats and Dogs |
 | Seasons |
 | Get Famous |
 | Horse Ranch |
| Game Pack | |
|---|---|
 | Outdoor Retreat |
 | Spa Day |
 | Dine Out |
 | Vampires |
 | Parenthood |
 | Jungle Adventure |
| Stuff Pack | |
|---|---|
 | Perfect Patio Stuff |
 | Romantic Garden Stuff |
 | Kids Room Stuff |
 | Backyard Stuff |
 | Vintage Glamour Stuff |
 | Toddler Stuff |
 | Laundry Day Stuff |