 Sign in to Mod The Sims
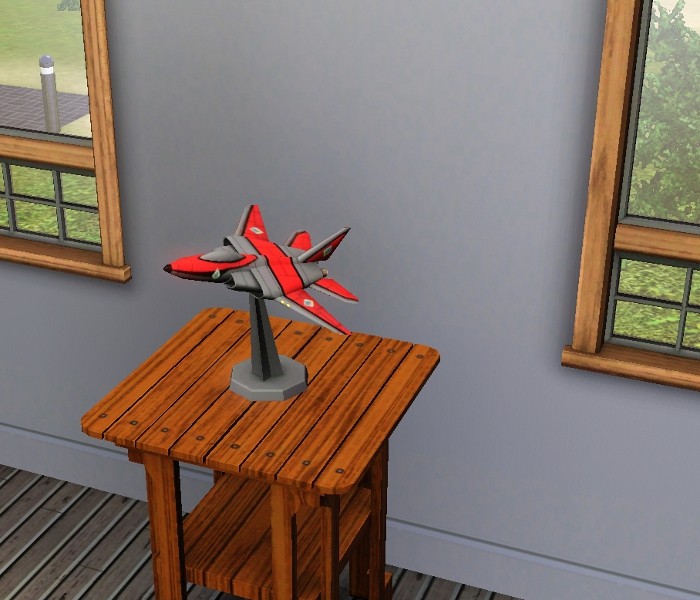
 EA Model Plane for Surfaces
 EA Model Plane for Surfaces


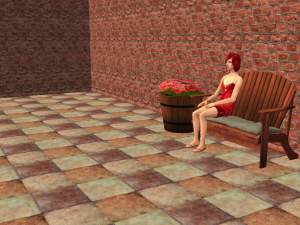
ModelPlane.jpg - width=700 height=600
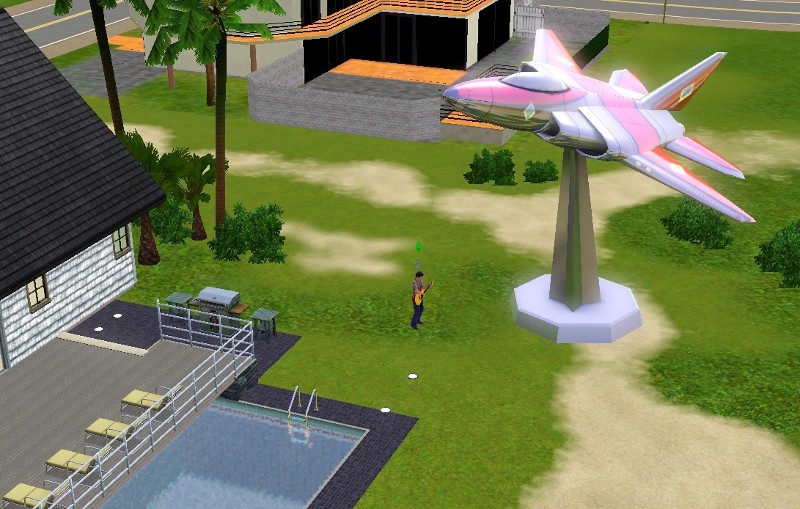
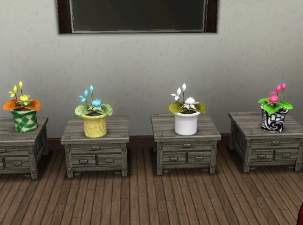
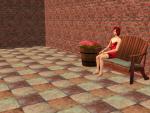
Various Colors.jpg - width=691 height=600
EA version.jpg - width=800 height=509
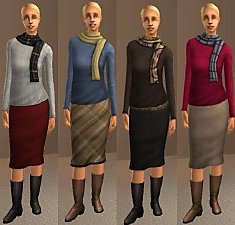
Another color choice can be seen in the thumbnail.
Mesh Details:
LOD 1:
Poly Count:
870
Vertex Count:
1,002
LOD 2:
Poly Count:
644
Vertex Count:
801
LOD 3:
Poly Count:
552
Vertex Count:
531
LOD 4:
Poly Count:
401
Vertex Count:
420
My sculpture:
EA's version:
Polygon Counts:
870
This is a new mesh, and means that it's a brand new self contained object that usually does not require a specific Pack (although this is possible depending on the type). It may have Recolours hosted on MTS - check below for more information.
|
ModelPlane_jimTNW.zip
Download
Uploaded: 26th Jun 2010, 567.0 KB.
3,933 downloads.
|
||||||||
| For a detailed look at individual files, see the Information tab. | ||||||||
Install Instructions
1. Click the download button, or the filename, to download the file to your computer.
2. Extract the zip, rar, or 7z file. Now you will have either a .package or a .sims3pack file.
For Package files:
1. Cut and paste the file into your Documents\Electronic Arts\The Sims 3\Mods\Packages folder. If you do not already have this folder, you should read the full guide to Package files first: Sims 3:Installing Package Fileswiki, so you can make sure your game is fully patched and you have the correct Resource.cfg file.
2. Run the game, and find your content where the creator said it would be (build mode, buy mode, Create-a-Sim, etc.).
For Sims3Pack files:
1. Cut and paste it into your Documents\Electronic Arts\The Sims 3\Downloads folder. If you do not have this folder yet, it is recommended that you open the game and then close it again so that this folder will be automatically created. Then you can place the .sims3pack into your Downloads folder.
2. Load the game's Launcher, and click on the Downloads tab. Find the item in the list and tick the box beside it. Then press the Install button below the list.
3. Wait for the installer to load, and it will install the content to the game. You will get a message letting you know when it's done.
4. Run the game, and find your content where the creator said it would be (build mode, buy mode, Create-a-Sim, etc.).
Extracting from RAR, ZIP, or 7z: You will need a special program for this. For Windows, we recommend 7-Zip and for Mac OSX, we recommend Keka. Both are free and safe to use.
Need more help?
If you need more info, see:
- For package files: Sims 3:Installing Package Fileswiki
- For Sims3pack files: Game Help:Installing TS3 Packswiki
Loading comments, please wait...
Uploaded: 26th Jun 2010 at 2:40 PM
-
-
by HugeLunatic 15th Oct 2009 at 9:35pm
 30
72.5k
209
30
72.5k
209
-
Scaled Down Lotus From World Adventures with More Options
by joninmobile 5th Mar 2010 at 6:02pm
+1 packs
13 18.4k 45 World Adventures
-
by rainbowtwilight updated 17th Apr 2010 at 5:11pm
21
51.7k
72
-

-
by Lisen801 7th Jan 2011 at 2:46pm
26
43.2k
97
-
by Lisen801 21st Jan 2011 at 6:02pm
27
58.7k
129
-
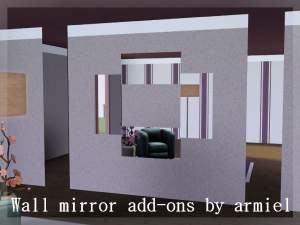
by armiel 29th Jan 2011 at 6:08pm
21
38.9k
91
-

by daluved1 28th Jul 2011 at 6:29pm
38
46.2k
145
-
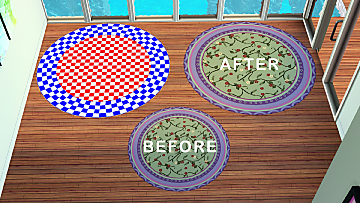
A More Purrrfect Rug (3x3 Version of Purrrfect Rug)
by MMAA updated 26th Mar 2024 at 6:36pm
13
4.9k
22


-
Regal One Tile Desks a Maxis Match
by joninmobile 1st May 2010 at 9:15pm
I've made two Maxis matches. They are fully functional one tile desks. more...
 4
17.1k
14
4
17.1k
14
By Function » Surfaces » Desks
-


by joninmobile 5th Mar 2010 at 12:07am
Now, as some of you may know I have shared this on a few sites that allow game mods a more...
33
67.7k
127
Miscellaneous » Neighborhoods & CAS Screens » Neighbourhood Deco
-
4 female elder outerwear outfits for adults
by joninmobile 13th Dec 2007 at 5:36pm
Here is a conversion of four elder outerwear outfits for adults.They are the outfits with the boots, skirt, and scarf.Someone more...
-

Little Cigar Recolors of Rosesims' Cigarette Mesh
by joninmobile 23rd Apr 2009 at 4:08am
Little cigars range in price from extremely cheap to more...
27
72.6k
36
-

Elixir of Life Makeover Pretty Blue Liquid!
by joninmobile 3rd Apr 2009 at 9:05pm
I've changed the elixir of life to make this default replacement. more...
19
31.7k
37
-
by joninmobile 2nd Oct 2007 at 6:44pm
Here is a reddish stone.All of the custom content seen on the model is available for download on MTS2.I hope more...
3.8k
2
-

Cracked Colored Stone Flooring in 10 colors
by joninmobile 25th Feb 2008 at 3:57am
Here is a set of stone floors called "Cracked Colored Stone Flooring".This set comes in 10 colors.I hope y'all enjoy more...
5
7.7k
12
-

Airline Painting Fix (Default Repalcement)
by joninmobile 2nd Oct 2009 at 2:25pm
I've made a fix for the airline painting from the base game. more...
13
18.2k
30
-
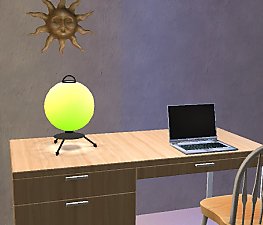

Retro Lamp with Recolors and Repositoried
by joninmobile 5th Mar 2010 at 6:29pm
I've made a new mesh of a nice little retro table lamp for you to enjoy. more...
8
17k
19
-
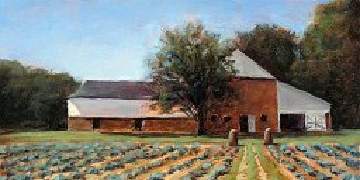
10 recolors of "A home for all seasons"
by joninmobile 12th Dec 2007 at 7:18pm
Here are ten farmy recolors of the "A home for all seasons" set of paintings found in the seasons expansion more...
+1 packs
5 17.2k 7 Seasons


About Me
I hope you enjoy all the downloads I've brought to you over the years. It's been fun. Being a part of The Sims community has had it's ups and downs for me, but I keep on truckin' nonetheless. Lots and lots of drama, lots of pain and sorrow, but lots of laughs, and good times too. Made so many new friends over the years, and it all started by uploading to MTS way back in 2006. Have fun with my creations, that's what they're here for!
~ Jon