 Children's two skin tone types

皮肤.JPG - width=1125 height=696

截图.jpg - width=1271 height=1024

体.jpg - width=811 height=922

颜色.jpg - width=1164 height=1024
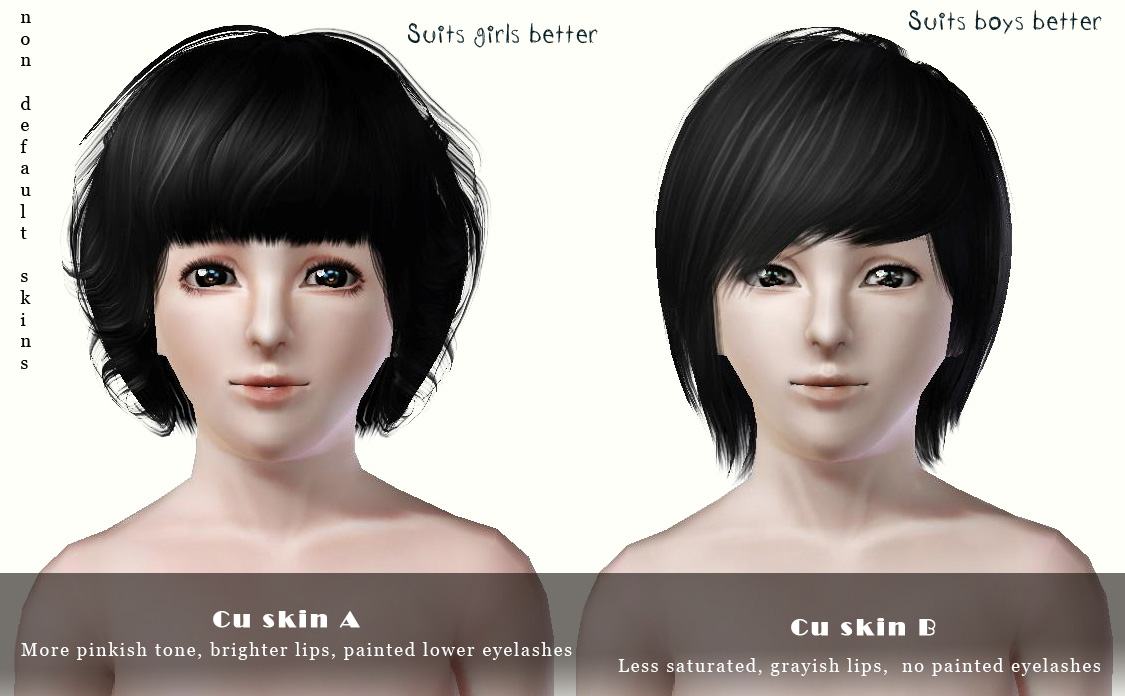
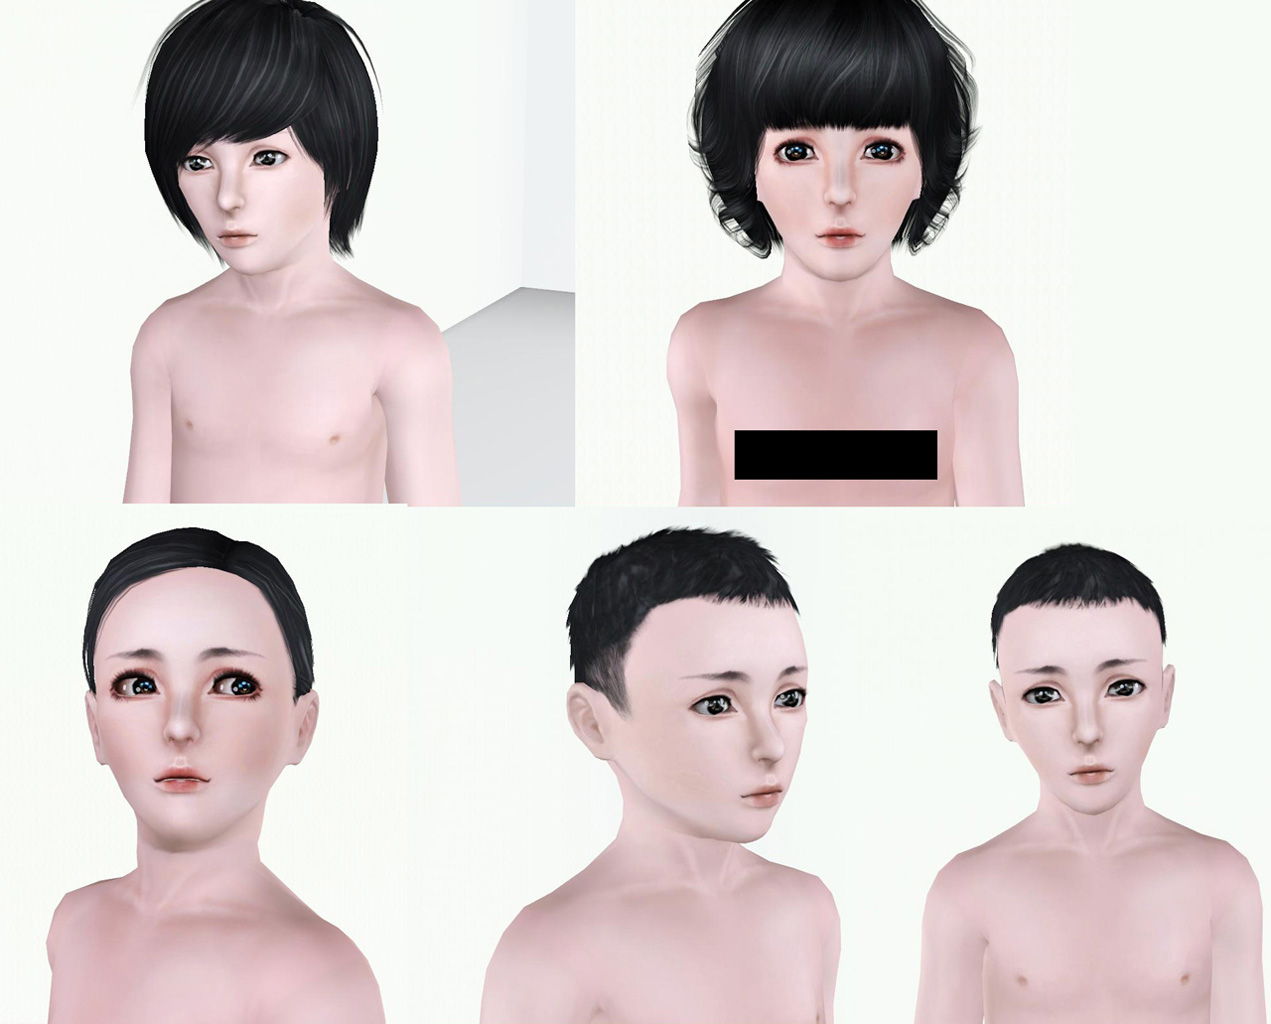
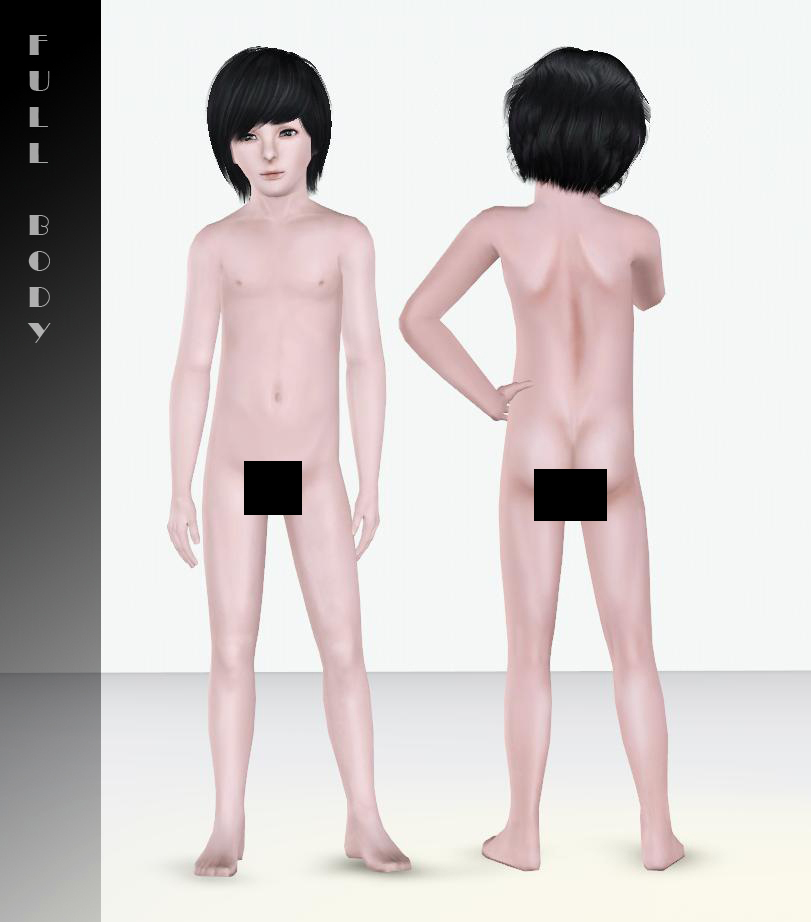
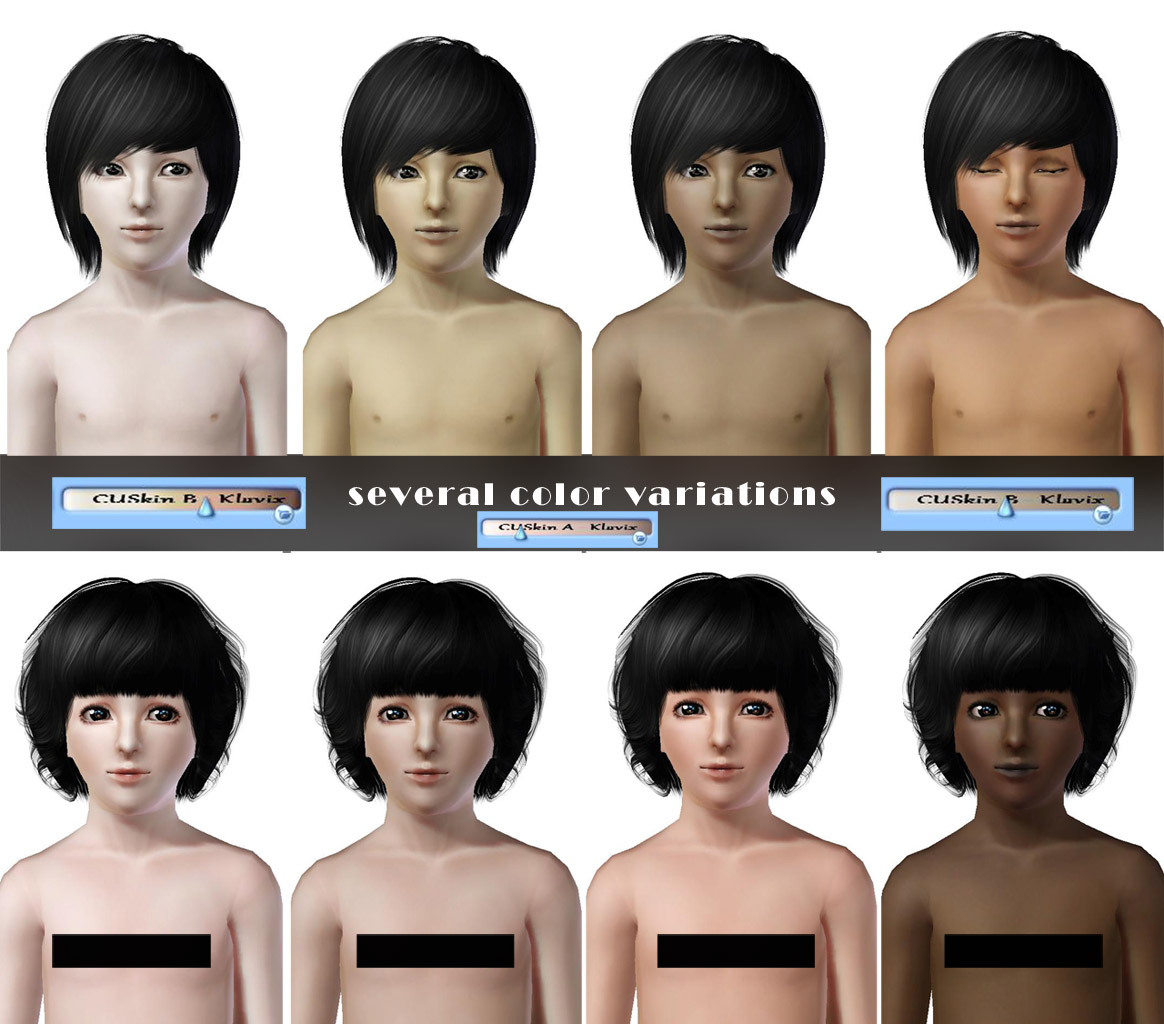
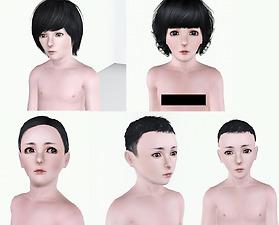
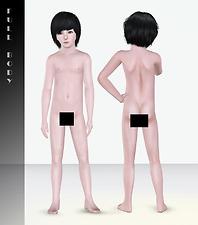
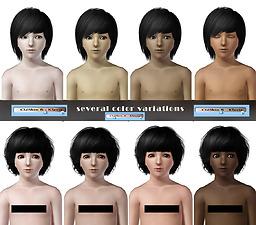
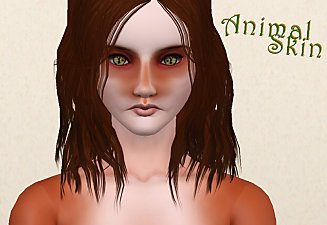
A few months ago, I made these non-default skin tones since I needed skin types for kids that would provide them some beauty. Today I thought to share these, thinking that perhaps there may be others that would like to have this creation. There are two types of skins to choose from, but you may have both of them if you like.
If you’re wondering why the skin slider has the word "Klavix," it's not a word, it's just my name.
Well, I hope you will like this and enjoy having less ugly kids by instead have them be as beautiful as the adults are.
Installation:
Put the skin files into your My documents/Electronic Arts/Mods/packages folder.
Notes:
These skins do not conflict each other so you can have both.
They are only for Child, not for toddler unfortunately. (I'll fix that later.)
As any other skins these show for all ages, but work only for Children.
Additional Credits:
Credits of the free hairs to Peggyzone, the contacts to Tifa and Eyebrows to Subaxi. Biggest grattitude/credits goes to skininator of CmarNYC.
|
CuSkinB.rar
Download
Uploaded: 2nd Feb 2011, 1.62 MB.
14,118 downloads.
|
||||||||
|
CuSkinA.rar
Download
Uploaded: 2nd Feb 2011, 1.66 MB.
17,888 downloads.
|
||||||||
| For a detailed look at individual files, see the Information tab. | ||||||||
Install Instructions
1. Click the file listed on the Files tab to download the file to your computer.
2. Extract the zip, rar, or 7z file. Now you will have either a .package or a .sims3pack file.
For Package files:
1. Cut and paste the file into your Documents\Electronic Arts\The Sims 3\Mods\Packages folder. If you do not already have this folder, you should read the full guide to Package files first: Sims 3:Installing Package Fileswiki, so you can make sure your game is fully patched and you have the correct Resource.cfg file.
2. Run the game, and find your content where the creator said it would be (build mode, buy mode, Create-a-Sim, etc.).
For Sims3Pack files:
1. Cut and paste it into your Documents\Electronic Arts\The Sims 3\Downloads folder. If you do not have this folder yet, it is recommended that you open the game and then close it again so that this folder will be automatically created. Then you can place the .sims3pack into your Downloads folder.
2. Load the game's Launcher, and click on the Downloads tab. Find the item in the list and tick the box beside it. Then press the Install button below the list.
3. Wait for the installer to load, and it will install the content to the game. You will get a message letting you know when it's done.
4. Run the game, and find your content where the creator said it would be (build mode, buy mode, Create-a-Sim, etc.).
Extracting from RAR, ZIP, or 7z: You will need a special program for this. For Windows, we recommend 7-Zip and for Mac OSX, we recommend Keka. Both are free and safe to use.
Need more help?
If you need more info, see:
- For package files: Sims 3:Installing Package Fileswiki
- For Sims3pack files: Game Help:Installing TS3 Packswiki
Loading comments, please wait...
-
Children's face skin remake by subaxi
by subaxi 11th Sep 2009 at 3:52pm
-
Duo Tones, Olive & Umber - Replacement Skin Tone Slider
by missy harries 23rd Dec 2009 at 10:33pm
-
UPDATED--- FFDW-skintone (Non-Default+Default)
by -Mallow- updated 7th Oct 2011 at 6:03am
-
Face- In revised default & non default natural realistic style skin
by Navetsea updated 23rd Jun 2012 at 10:24am
-
by Strappys updated 4th Dec 2014 at 1:28pm
-
Face- In TS3 revised non default Wild Edition V2
by Navetsea 30th Jul 2012 at 3:17pm
-
F-IN 01 TSI/ asian edition revised TS3 nondefault
by Navetsea 1st Oct 2012 at 4:00am
-
Face- In TS3 SEXY edition MTS version
by Navetsea 2nd Nov 2012 at 11:47pm
-
by Navetsea 29th Dec 2012 at 6:44am
-
UPDATED/Traditional Japanese clothing set
by -Mallow- updated 30th Dec 2011 at 12:56pm
A set including kimono and sandals more...
 138
304.7k
930
-
UPDATED--- FFDW-skintone (Non-Default+Default)
by -Mallow- updated 7th Oct 2011 at 6:03am
Full family doll white skin-tone (FFDW) more...

 Sign in to Mod The Sims
 Children's two skin tone types
