 Sign in to Mod The Sims
 'Procrastinators', 'Bonsai Mountains' and 'Discworld' Pictures
 'Procrastinators', 'Bonsai Mountains' and 'Discworld' Pictures


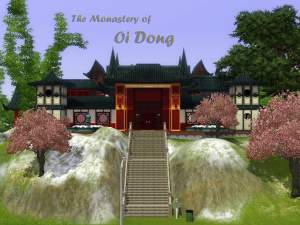
OiD_Procrastinators_Hall.jpg - width=1024 height=768
Procrastinators at Oi Dong Monastery
procrastinators.jpg - width=1280 height=1024
Procrastinators
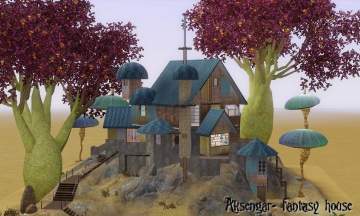
bonsai_mountains.jpg - width=1280 height=1024
Bonsai Mountains
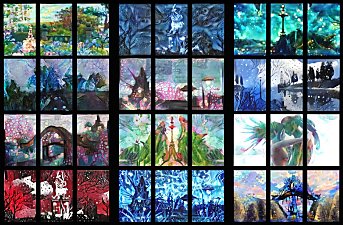
DiscWorldPictures.jpg - width=1280 height=1024
7 pictures for Oi Dong Monastery / Discworld
DWpictures.jpg - width=1280 height=1024
Well, it must be about seven years since I last did any meshing, nevertheless determination to complete Oi Dong made it imperative that I tackle the problem.
Many hours later, I made some basic items with which I decorated my monastery.
However, being fully aware that not everyone would want to download these items with the building, I have packaged them separately so that if anyone is interested, they are available.
I used Milkshape 3D 1.8.5
UV Mapper
TSR Workshop [sorry, but it was easier for a numpty like me to use this time]
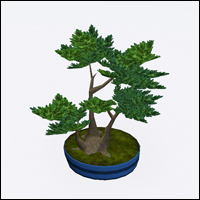
Procrastinators
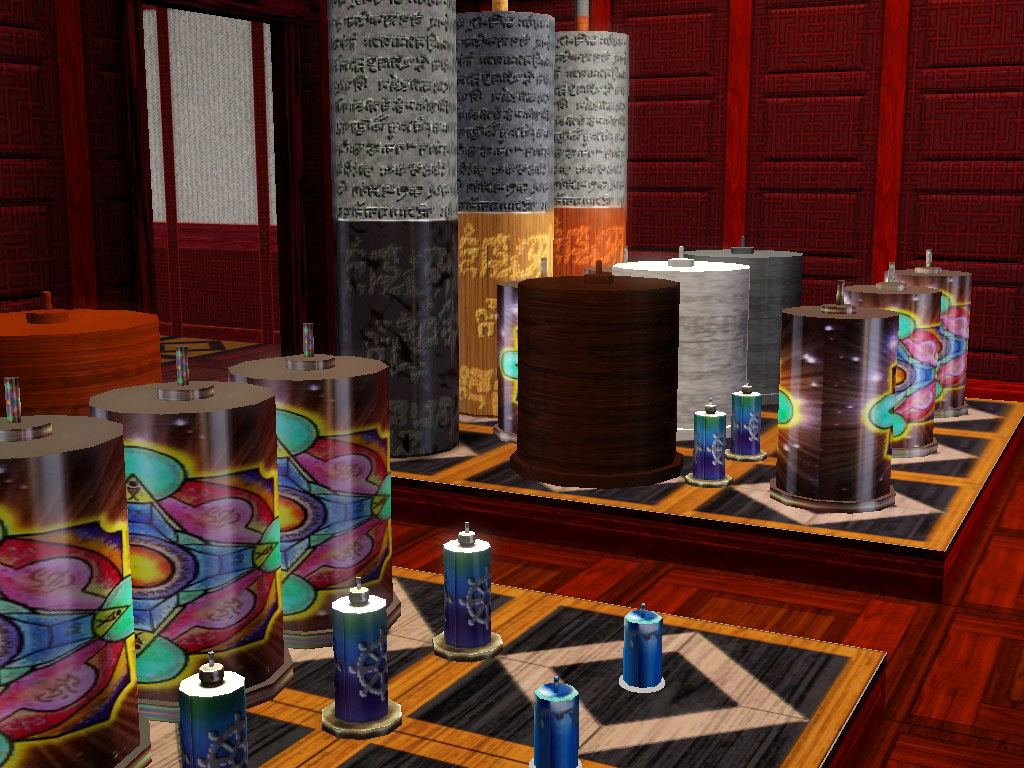
These can all be found in décor/miscellaneous, except for the large one which is in décor/statues.
The smaller ones cannot be recoloured, the medium-large and large ones can.
The two larger ones have script on them, the medium-large has ‘simlish’ the large one has sanscrit.
Cost:
Tiny - 65; Small - 20; Medium - 150; Medium-large - 255; Large -1,650.
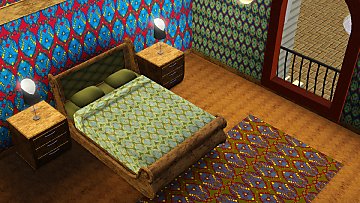
Bonsai Mountains
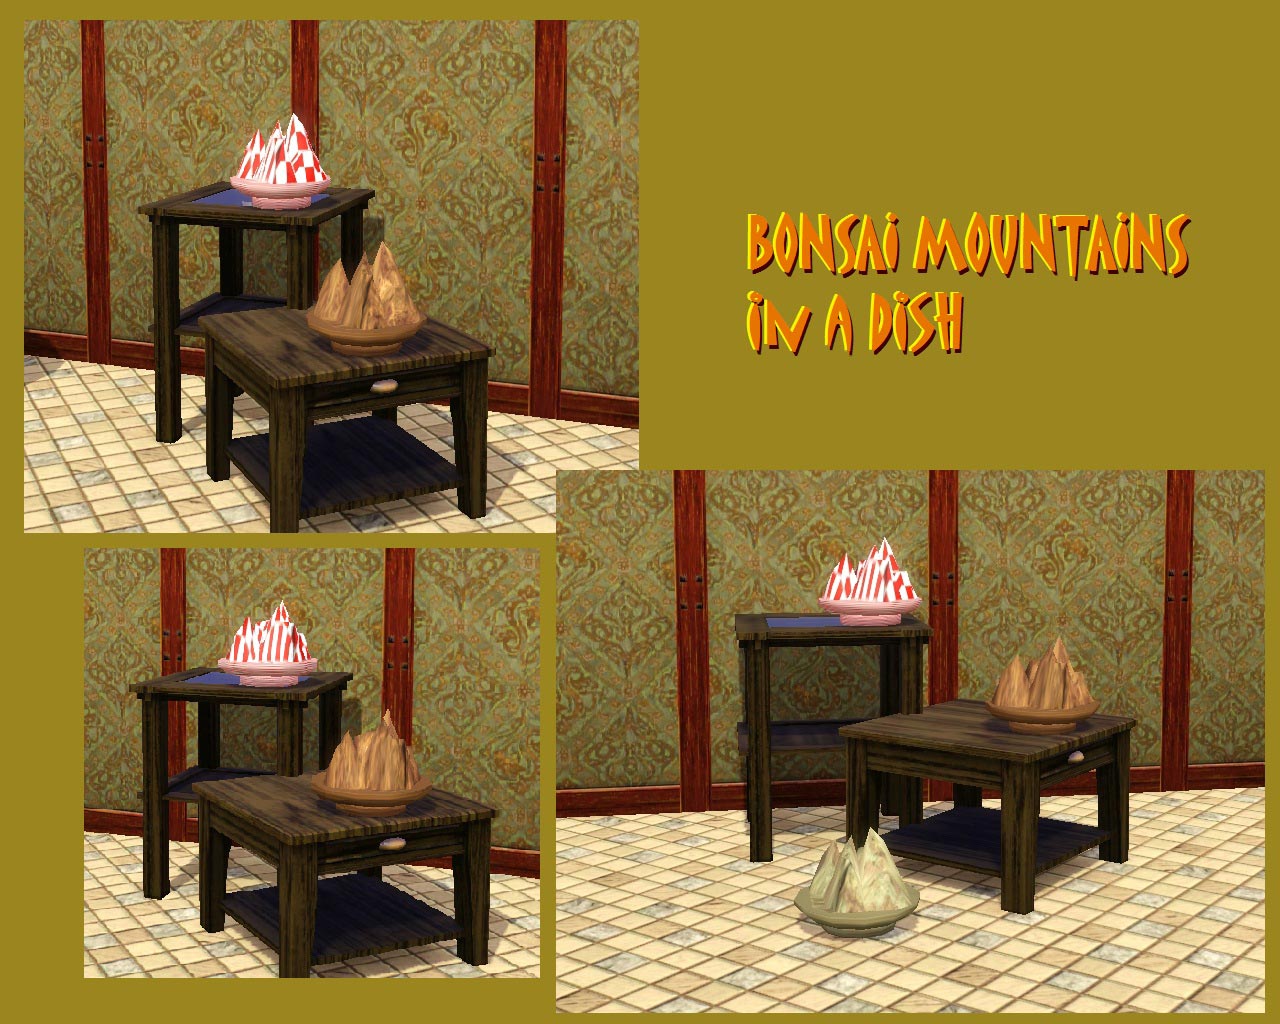
This is also in decor/miscellaneous.
I tried for ages to enable better colouring, but whatever I did the design seemed to just want to split itself over the mesh, so that the mountains and the dish always end up made out of the same material.
I experimented with different recolours, and imo patterns in darker colours with a pronounced texture or design work best.
Cost: 35
Discworld Picture Set
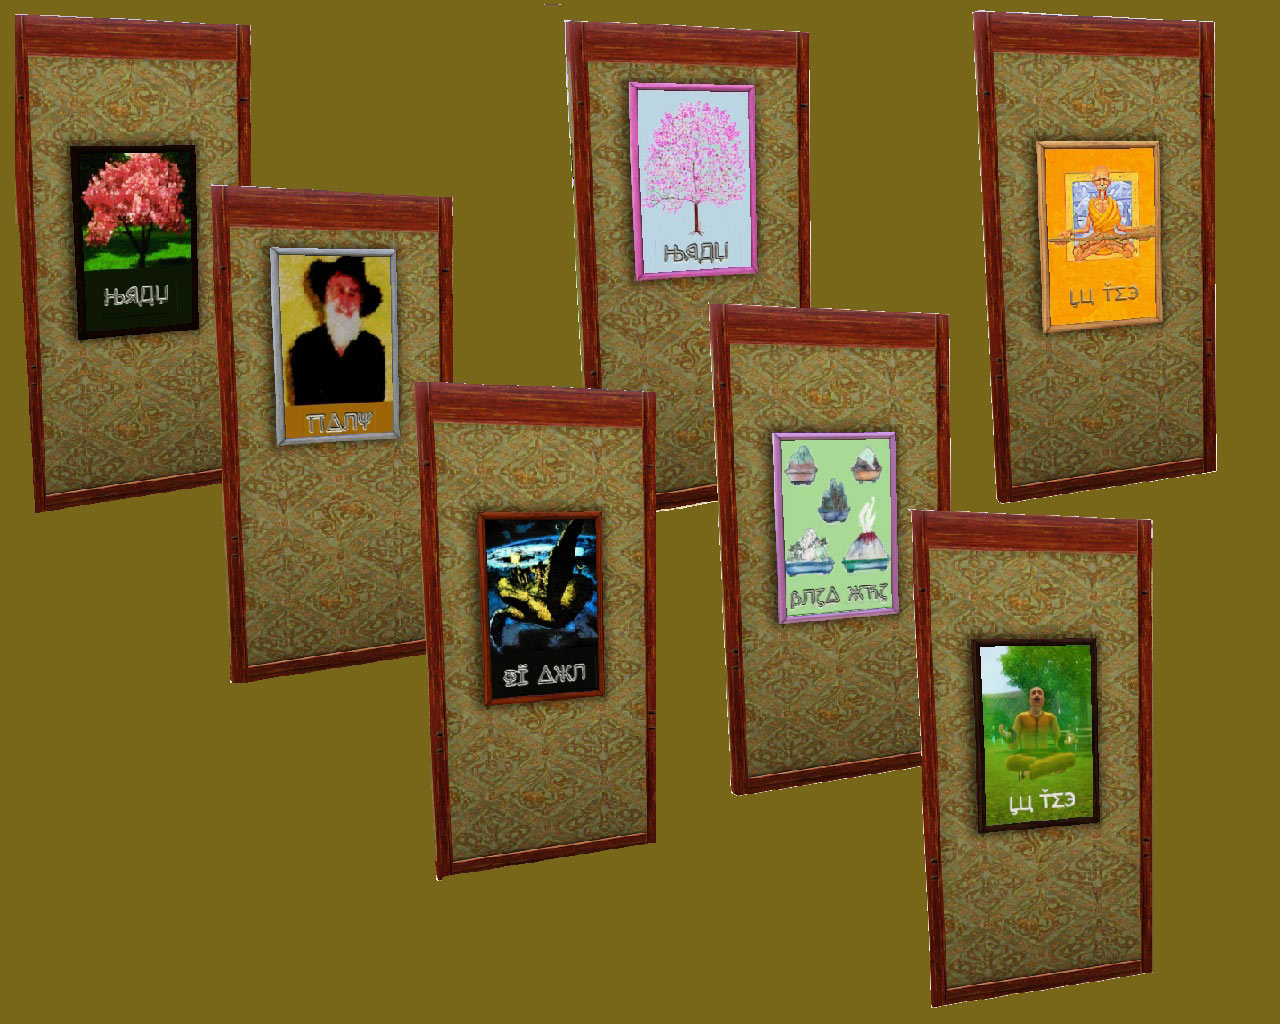
For fun, and a ‘finishing touch’ I decided to add some Disworld specific paintings. I found some nice pictures on the web, but just as I was about to upload them read the new requirements for wall decorations. So having decided to make some I was not to be put off! Hence, I have spent the last couple of weeks getting my sim to be a brilliant artist so she could paint some pictures for Oi Dong. Lol. I even made a Terry Pratchett sim for her to life draw. [I didn’t use those in the end though!]
All pictures have either been painted in the game or made by me.
Cost: 45
Polygon Counts:
Bonsai Mountains - 239 vertices; 322 faces
Procrastinator tiny - 256 vertices; 310 faces
Procrastinator small - 258 vertices; 290 faces
Procrastinator medium - 468 vertices; 672 faces
Procrastinator m-l - 496 vertices; 698 faces
Procrastinator large - 250 vertices; 354 faces
Additional Credits:
Enduring woo-hoo [not the maxis meaning!, more like 'yippee'] to Terry Pratchett for writing such wonderful books
Many thanks to:
Mete Ciragan for Milkshape
Stephen L Cox for UV Mapper classic
TSR for Workshop
Peter Jones for S3PE
This is a new mesh, and means that it's a brand new self contained object that usually does not require a specific Pack (although this is possible depending on the type). It may have Recolours hosted on MTS - check below for more information.
|
Bonsai_Mountains.rar
Download
Uploaded: 9th Nov 2011, 74.6 KB.
1,511 downloads.
|
||||||||
|
Discworld_Pictures.rar
Download
Uploaded: 9th Nov 2011, 282.9 KB.
1,430 downloads.
|
||||||||
|
procrastinators.rar
Download
Uploaded: 9th Nov 2011, 509.5 KB.
1,677 downloads.
|
||||||||
| For a detailed look at individual files, see the Information tab. | ||||||||
Install Instructions
1. Click the download button, or the filename, to download the file to your computer.
2. Extract the zip, rar, or 7z file. Now you will have either a .package or a .sims3pack file.
For Package files:
1. Cut and paste the file into your Documents\Electronic Arts\The Sims 3\Mods\Packages folder. If you do not already have this folder, you should read the full guide to Package files first: Sims 3:Installing Package Fileswiki, so you can make sure your game is fully patched and you have the correct Resource.cfg file.
2. Run the game, and find your content where the creator said it would be (build mode, buy mode, Create-a-Sim, etc.).
For Sims3Pack files:
1. Cut and paste it into your Documents\Electronic Arts\The Sims 3\Downloads folder. If you do not have this folder yet, it is recommended that you open the game and then close it again so that this folder will be automatically created. Then you can place the .sims3pack into your Downloads folder.
2. Load the game's Launcher, and click on the Downloads tab. Find the item in the list and tick the box beside it. Then press the Install button below the list.
3. Wait for the installer to load, and it will install the content to the game. You will get a message letting you know when it's done.
4. Run the game, and find your content where the creator said it would be (build mode, buy mode, Create-a-Sim, etc.).
Extracting from RAR, ZIP, or 7z: You will need a special program for this. For Windows, we recommend 7-Zip and for Mac OSX, we recommend Keka. Both are free and safe to use.
Need more help?
If you need more info, see:
- For package files: Sims 3:Installing Package Fileswiki
- For Sims3pack files: Game Help:Installing TS3 Packswiki
Loading comments, please wait...
Uploaded: 9th Nov 2011 at 9:15 PM
#Fantasy, #Oi Dong, #Procrastinators, #Bonsai Mountains, #Discworld, #Pratchett, #theme-fantasy, #Lu Tze
-
by lemoncandy 1st Oct 2009 at 8:20pm
 44
95k
204
44
95k
204
-
-
-
-
by Hekate999 17th Feb 2011 at 6:56pm
52
97.2k
318
-
-
-
by scorpiobabe 17th Nov 2011 at 6:15pm
+4 packs
9 14.7k 8 World Adventures
 Ambitions
 Late Night
 Generations
-
-


-
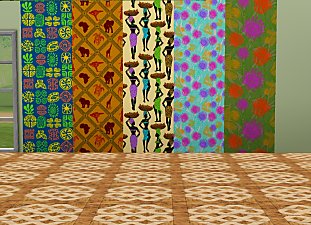
Africa Inspired Set of Patterns
by scorpiobabe 11th Nov 2014 at 7:19pm
Five exotic re-colourable patterns more...
2
10.1k
29
-

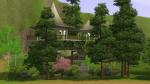
Namárië - Home for tree-loving folk
by scorpiobabe 22nd Oct 2014 at 9:29pm
[B]Does your Sim love the Great Outdoors? Do they want to live amongst the leaves and branches of their favourite trees and sleep and under the stars?[/B] more...
14
16.2k
131
-
Indian Inspired Patterns: Set 2
by scorpiobabe 8th Nov 2014 at 7:25pm
Two eye-catching patterns, each in two different sizes (a larger and smaller version is included). more...
1
8.1k
29
-
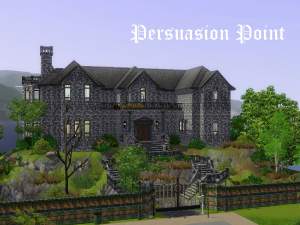

Persuasion Point - large cliff top residence
by scorpiobabe 6th Oct 2011 at 4:48am
Deceptively austere looking cliff-top house, built to withstand the rages of the elements, provides spacious and comfortable family living accommodation. more...
+4 packs
3 14.3k 11 World Adventures
Ambitions
Late Night
Generations
-

by scorpiobabe 17th Nov 2011 at 6:15pm
Permanently a perfect day, [blossom on the cherry trees, ice in the streams] History is controlled by the History Monks! more...
+4 packs
9 14.7k 8 World Adventures
Ambitions
Late Night
Generations
-
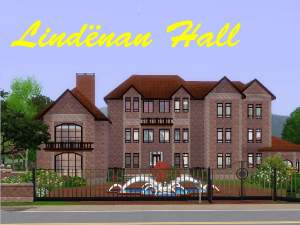

Lindenan Hall - 4 bedrooms, 3 bathrooms, no cc, no store items
by scorpiobabe 27th Sep 2011 at 12:39am
Substantial and imposing 4 bedroomed home. Retaining many original features including panelled Ballroom, minstrels’ gallery and first floor gallery. more...
+1 packs
5 24.8k 28 World Adventures
-
by scorpiobabe 18th Oct 2014 at 6:22pm
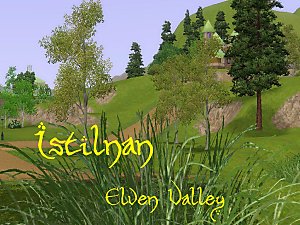
Title: ISTILNAN, ELVEN VALLEY OF STARLIGHT Istilnan Map Size: Large (2048x2048) Layers: 27 more...
70
110.4k
311
Miscellaneous » Neighborhoods & CAS Screens » Neighbourhoods and Worlds
-

Indian Inspired Patterns: Set 1
by scorpiobabe 8th Nov 2014 at 7:25pm
Four exotic re-colourable patterns. more...
4
8.1k
31


