 Luminous Island Counter

8.jpg - width=800 height=554
texture glitch

7.jpg - width=1100 height=699
presets

6.jpg - width=1100 height=700
channels

5.jpg - width=1100 height=699
all pieces

4.jpg - width=1100 height=699
full

3.jpg - width=1100 height=699

2.jpg - width=1100 height=699

1.jpg - width=1100 height=699

preview.jpg - width=1100 height=699
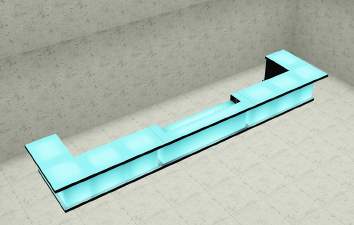
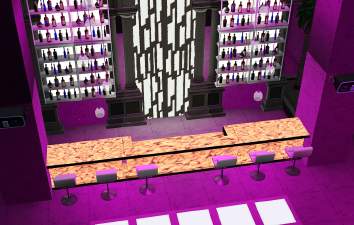
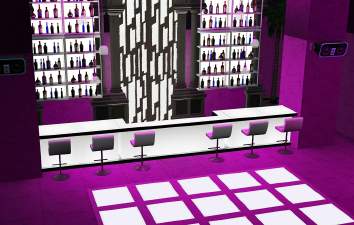
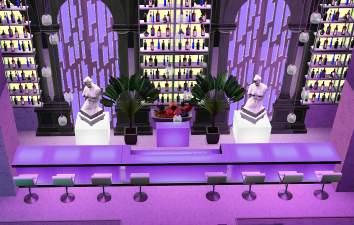
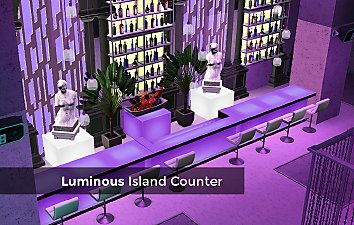
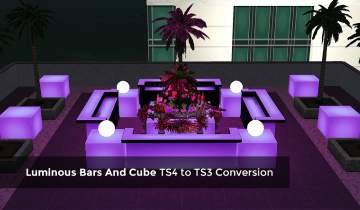
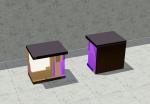
The Luminous Island Counter is - as it says on the tin - an island counter to match the aforementioned bar.
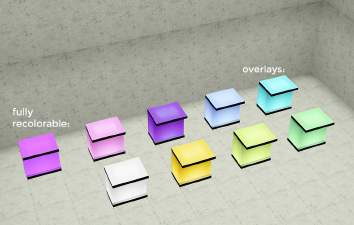
It has one fully recolorable preset and 8 others taken from the original TS4 recolors and made as an overlay.
2 channels; first preset fully recolorable, other 8 have the color/light up part non-recolorable and the black/dark part recolorable.
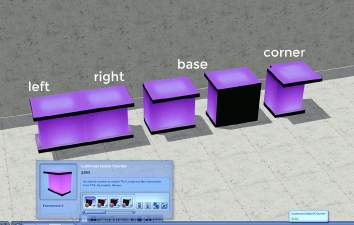
Has proper base, corner and different left and right pieces all in the same package.
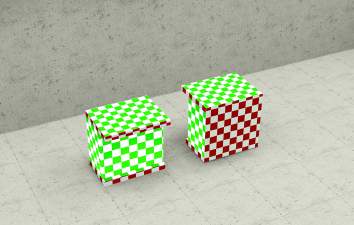
The package version does the texture thing as you can see in the pic below. All you need to do however is just re-cast it and it's as good as new. This is the one I'm using as 1) after compressing it myself it's nearly half in size compared to the s3pack and 2) the Launcher is the root of all evil. In the end both work so it's up to your personal preference.


Polygon Counts:
High:
111 v; 63f
Med:
95 v; 45f
Additional Credits:
S3PE, Blender, Milkshape, TSRW, Photoshop, TS4
This is a new mesh, and means that it's a brand new self contained object that usually does not require a specific Pack (although this is possible depending on the type). It may have Recolours hosted on MTS - check below for more information.
|
enablellamasLuminousCounterIslandS3Pack.rar
Download
Uploaded: 22nd Feb 2020, 2.27 MB.
1,893 downloads.
|
||||||||
|
enablellamasLuminousCounterIslandPackage.rar
Download
Uploaded: 22nd Feb 2020, 1.97 MB.
2,707 downloads.
|
||||||||
| For a detailed look at individual files, see the Information tab. | ||||||||
Install Instructions
1. Click the file listed on the Files tab to download the file to your computer.
2. Extract the zip, rar, or 7z file. Now you will have either a .package or a .sims3pack file.
For Package files:
1. Cut and paste the file into your Documents\Electronic Arts\The Sims 3\Mods\Packages folder. If you do not already have this folder, you should read the full guide to Package files first: Sims 3:Installing Package Fileswiki, so you can make sure your game is fully patched and you have the correct Resource.cfg file.
2. Run the game, and find your content where the creator said it would be (build mode, buy mode, Create-a-Sim, etc.).
For Sims3Pack files:
1. Cut and paste it into your Documents\Electronic Arts\The Sims 3\Downloads folder. If you do not have this folder yet, it is recommended that you open the game and then close it again so that this folder will be automatically created. Then you can place the .sims3pack into your Downloads folder.
2. Load the game's Launcher, and click on the Downloads tab. Find the item in the list and tick the box beside it. Then press the Install button below the list.
3. Wait for the installer to load, and it will install the content to the game. You will get a message letting you know when it's done.
4. Run the game, and find your content where the creator said it would be (build mode, buy mode, Create-a-Sim, etc.).
Extracting from RAR, ZIP, or 7z: You will need a special program for this. For Windows, we recommend 7-Zip and for Mac OSX, we recommend Keka. Both are free and safe to use.
Need more help?
If you need more info, see:
- For package files: Sims 3:Installing Package Fileswiki
- For Sims3pack files: Game Help:Installing TS3 Packswiki
Loading comments, please wait...
Uploaded: 22nd Feb 2020 at 8:16 PM
#ea, #maxis, #ts4, #conversion, #maxis match, #surface, #counter, #island counter, #bar, #bar counter, #light up, #modern, #minimal
-
by Ewelina20 12th Dec 2009 at 12:06pm
 18
45.8k
78
-
by armiel 18th Jul 2011 at 8:10pm
 34
52.6k
193
-
by Butterbot updated 18th Mar 2018 at 11:28pm
 25
45.3k
99
-
TS4 Luminous Bar, Pro Bar & Cube Conversion
by enable_llamas 7th Oct 2019 at 2:06am
 +1 packs
10 10.6k 36
 Late Night
-
by enable_llamas 5th May 2020 at 2:31pm
 4
8.2k
28
-
by enable_llamas 26th Jun 2020 at 10:28pm
-
Curve Kitchen Island Counter, Pro Bar & Shelves
by enable_llamas 29th Dec 2020 at 7:29pm
 +1 packs
7 9.7k 29
 Late Night
-
by enable_llamas 28th Aug 2021 at 1:00am
 5
6.7k
17
-
by enable_llamas 27th Jun 2022 at 9:21pm
A set of 8 decorative pots with slots in 4 sizes and 4 functional planters in 2 sizes, based on more...
 5
4.6k
16
-
SHT Floor Lamps Fully Recolorable - DR
by enable_llamas 22nd Jul 2021 at 7:06pm
Showtime comes with some pretty nice midcentury-modern lamps, except that the actual light part is blindingly white and non-recolorable. more...
-
LP Clearstory Store Window Add Ons
by enable_llamas 18th Sep 2019 at 8:37pm
Two additional heights for the store Clearstory Window more...
 3
9.5k
32
3
9.5k
32
-
Props BEGONE! SHT Recategorizer
by enable_llamas 10th Jun 2020 at 1:20pm
A recategorizer that moves all the Showtime stage props from the Decor/Sculptures category of the catalog. more...
 +1 packs
10 8.6k 44
 Showtime
-
AM SHT Jeans Separated - Bottoms
by enable_llamas 10th Dec 2019 at 5:12pm
YA/AM jeans separated from one of the hidden career SHT outfits more...
 12
27.4k
84
Male » Everyday » Young Adult
-
by enable_llamas 20th Aug 2020 at 12:19am
A collection of 3 modern, minimal bedframes with a stylized canopy. more...
 5
14.2k
38
-
Short Cheongsam Inspired Dress
by enable_llamas 31st Jul 2019 at 2:24pm
AF Short Cheongsam Inspired Dress, Fully Recolorable more...
 14
20.6k
58
-
Velvet Swivel Chair And Pouf Updated 18.06.20
by enable_llamas updated 18th Jun 2020 at 4:14pm
Velvet swivel living chair and a matching velvet swivel pouf (as a dining chair). more...
 11
13.2k
74
-
BG Altitute Quantizer Stairs Fix
by enable_llamas 29th Apr 2021 at 10:13pm
The base game "Altitude Quantizer" stairs are probably one of my top 2 favourite stairs in the game - they more...
 9
37.6k
84

 Sign in to Mod The Sims
 Luminous Island Counter
