Sign in to Mod The Sims
 Plain Mission Kitchen: No Stained Glass
 Plain Mission Kitchen: No Stained Glass


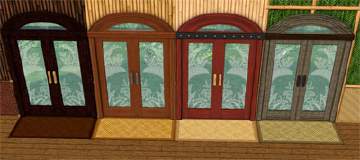
PlainMission.jpg - width=800 height=697
PlainMissionSample.jpg - width=326 height=267
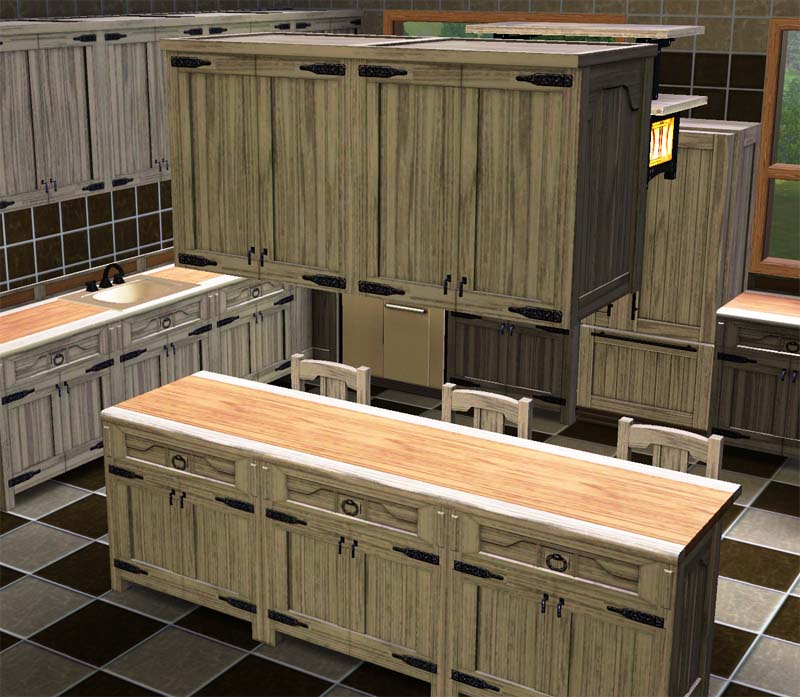
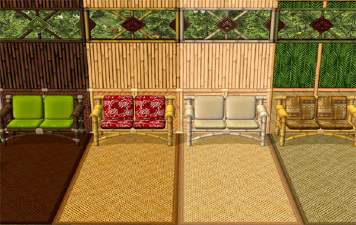
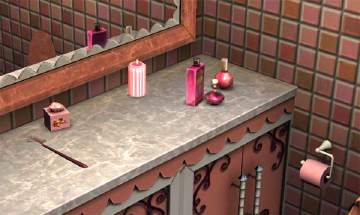
The Mission counter/cabinet set in Sims 3 is attractive and functional, but I rarely used it, because the stained glass inserts never matched my color schemes. This upload fixes all that, by removing the glass insets from the counters, counter islands, cabinets, and cabinet islands; you see only fully recolorable wooden cabinet doors.
The Plain Mission items are not default replacements; they're available as new catalog items, slightly cheaper than the fancy glass-fronted ones in the game. You can mix and match both styles in your kitchen.
Two caveats for this item:
1) The package files are large. That's partly because every counter and cabinet is actually two or three items, including corner versions and appliance versions. It was also necessary to bring in extra resources to the clone, to remove all four glass designs and to maintain the links between the various forms of counter. Attempts to remove various resources resulted in bad things happening when linking counters, so I've just gone with the full clone.
2) The corner versions of the two-sided "island" overhead cabinets have a sporadic texture mapping problem. I discovered this while testing, but unfortunately it's also a feature of the original mission overhead cabinets, and fixing it is beyond the scope of this mod.
Additional Credits:
Inge Jones for technical assistance

|
PlainMission.rar
Download
Uploaded: 11th Aug 2009, 6.00 MB.
19,702 downloads.
|
||||||||
| For a detailed look at individual files, see the Information tab. | ||||||||
Install Instructions
1. Click the file listed on the Files tab to download the file to your computer.
2. Extract the zip, rar, or 7z file. Now you will have either a .package or a .sims3pack file.
For Package files:
1. Cut and paste the file into your Documents\Electronic Arts\The Sims 3\Mods\Packages folder. If you do not already have this folder, you should read the full guide to Package files first: Sims 3:Installing Package Fileswiki, so you can make sure your game is fully patched and you have the correct Resource.cfg file.
2. Run the game, and find your content where the creator said it would be (build mode, buy mode, Create-a-Sim, etc.).
For Sims3Pack files:
1. Cut and paste it into your Documents\Electronic Arts\The Sims 3\Downloads folder. If you do not have this folder yet, it is recommended that you open the game and then close it again so that this folder will be automatically created. Then you can place the .sims3pack into your Downloads folder.
2. Load the game's Launcher, and click on the Downloads tab. Find the item in the list and tick the box beside it. Then press the Install button below the list.
3. Wait for the installer to load, and it will install the content to the game. You will get a message letting you know when it's done.
4. Run the game, and find your content where the creator said it would be (build mode, buy mode, Create-a-Sim, etc.).
Extracting from RAR, ZIP, or 7z: You will need a special program for this. For Windows, we recommend 7-Zip and for Mac OSX, we recommend Keka. Both are free and safe to use.
Need more help?
If you need more info, see:
- For package files: Sims 3:Installing Package Fileswiki
- For Sims3pack files: Game Help:Installing TS3 Packswiki
Loading comments, please wait...
Uploaded: 11th Aug 2009 at 6:19 PM
Updated: 15th Jul 2012 at 5:13 AM
-

Simple Kitchen – Counters, Islands, Cabinets
by plasticbox 1st Mar 2010 at 12:04am
-
by Lisen801 updated 20th Jan 2011 at 10:31am
-
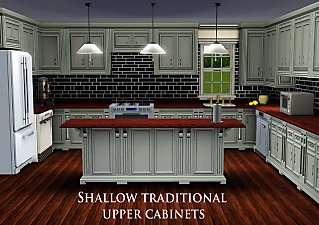
Shallow Traditional Wall Cabinet
by rolltocrit 20th May 2011 at 6:21pm
-
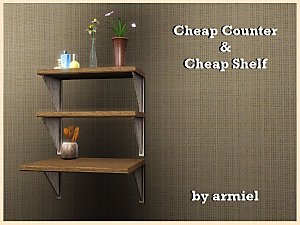
by armiel 18th Jul 2011 at 7:10pm
 34
52.3k
191
34
52.3k
191
-
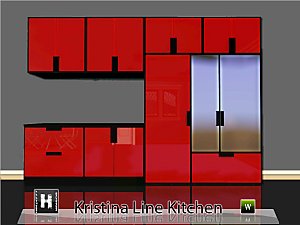
by hudy777DeSign 7th Jul 2012 at 3:24pm
-

-
by enable_llamas 22nd Feb 2020 at 7:16pm
4
8.2k
23
-
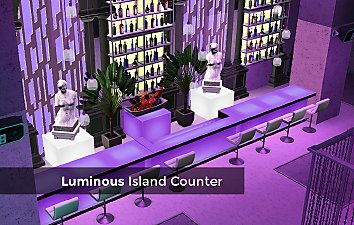
Curve Kitchen Island Counter, Pro Bar & Shelves
by enable_llamas 29th Dec 2020 at 6:29pm
+1 packs
7 9.2k 26 Late Night
-
by enable_llamas 28th Aug 2021 at 12:00am
5
6.3k
17
-


-
Marjoram pattern, with and without adjustable dirt!
by Srikandi 13th Jun 2009 at 11:56am
I've noticed lots of very large patterns being uploaded, so I thought I'd make a small one suitable for clothing more...
9
20.7k
11
-
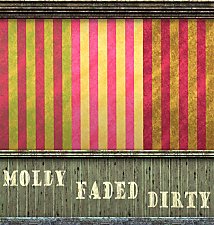
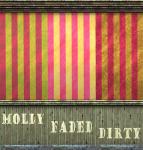
Dirty Stripes... with Adjustable Dirt!
by Srikandi 12th Jun 2009 at 11:45pm
I've always been a fan of faded, distressed, old stuff in the Sims, and had several aged wall and floor more...
21
34.2k
59
-

-
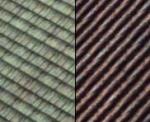
by Srikandi 7th Aug 2009 at 1:28pm
More aged and decaying building materials for your down-at-heel sims. more...
17
51.1k
46
Build Mode » Roofing » Other
-
-
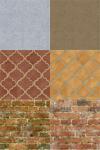
Kitchen and Bath Tile Match Set 1
by Srikandi 3rd May 2008 at 6:05am
I LOVE the new tile walls and floors in the Kitchen and Bath stuff pack. more...
 22
29.7k
68
22
29.7k
68
-

Kitchen and Bath Match Tiles, Set 3
by Srikandi 8th May 2008 at 9:06am
The third and probably last in a series of matching floor/wall tiles for tiles in the Kitchen and Bath Stuff more...
6
26.5k
50
-
-
-
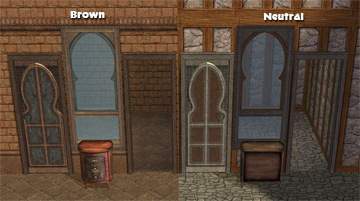
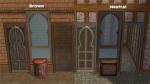
Stone and Metal Moroccan Doors and Windows
by Srikandi 26th Jun 2008 at 7:25pm
I've been building a lot in stone lately, and felt I needed a stone-framed single door with no glass (privacy, more...
6
22.3k
20