 Sign in to Mod The Sims
 Curtain height adjustment for Generations
 Curtain height adjustment for Generations

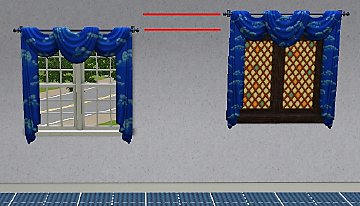
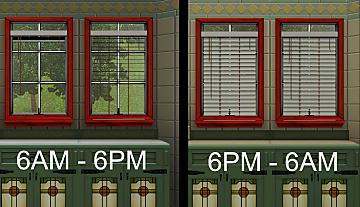
Screenshot-8.jpg - width=928 height=759

I had been waiting for him to update his original upload, but got bored on waiting. So I PM'd him asking if he was gonna, or could I? So he said I could, and here we are.
What does it do?
This tiny little mod makes Generations curtains shiftable - they can now be moved up and down on the wall.
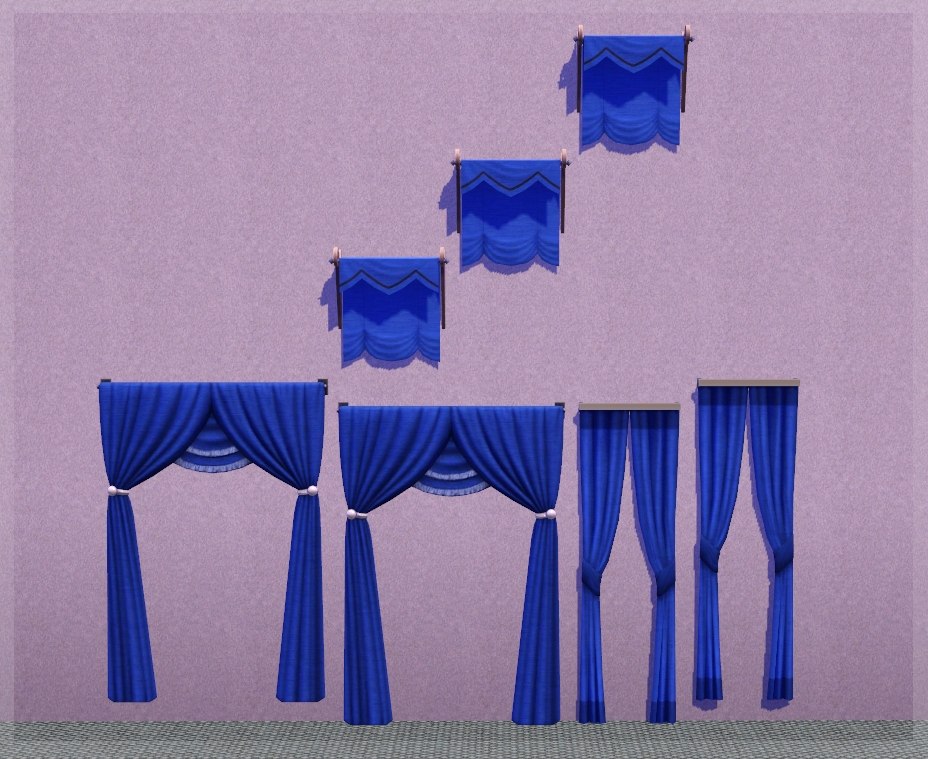
This is a default replacement - it will over-ride the Generations curtains in game!
What do you need to use this?
You will need Generations installed, with patch 8.0.152 or higher.
Possible conflicts:
It may conflict with anything that changes the OBJD of the Generations curtains, or all in-game curtains at once.
Additional Credits:
Granthes for the original upload, and for his blessing on me making this version

|
armiel_curtainsGen.rar
Download
Uploaded: 24th Jun 2011, 3.3 KB.
6,903 downloads.
|
||||||||
| For a detailed look at individual files, see the Information tab. | ||||||||
Install Instructions
1. Click the download button, or the filename, to download the file to your computer.
2. Extract the zip, rar, or 7z file. Now you will have either a .package or a .sims3pack file.
For Package files:
1. Cut and paste the file into your Documents\Electronic Arts\The Sims 3\Mods\Packages folder. If you do not already have this folder, you should read the full guide to Package files first: Sims 3:Installing Package Fileswiki, so you can make sure your game is fully patched and you have the correct Resource.cfg file.
2. Run the game, and find your content where the creator said it would be (build mode, buy mode, Create-a-Sim, etc.).
For Sims3Pack files:
1. Cut and paste it into your Documents\Electronic Arts\The Sims 3\Downloads folder. If you do not have this folder yet, it is recommended that you open the game and then close it again so that this folder will be automatically created. Then you can place the .sims3pack into your Downloads folder.
2. Load the game's Launcher, and click on the Downloads tab. Find the item in the list and tick the box beside it. Then press the Install button below the list.
3. Wait for the installer to load, and it will install the content to the game. You will get a message letting you know when it's done.
4. Run the game, and find your content where the creator said it would be (build mode, buy mode, Create-a-Sim, etc.).
Extracting from RAR, ZIP, or 7z: You will need a special program for this. For Windows, we recommend 7-Zip and for Mac OSX, we recommend Keka. Both are free and safe to use.
Need more help?
If you need more info, see:
- For package files: Sims 3:Installing Package Fileswiki
- For Sims3pack files: Game Help:Installing TS3 Packswiki
Loading comments, please wait...

Uploaded: 24th Jun 2011 at 5:52 AM
-
by cmomoney 16th Mar 2010 at 7:51am
 33
65.5k
207
33
65.5k
207
-
by cmomoney 20th Mar 2010 at 9:51pm
28
55.3k
200
-
-
by granthes 2nd Dec 2010 at 5:39pm
58
127.1k
387
-
3 New Shiftable Curtain Meshes for Single Windows: PETS compatible
by lhawk07 29th Oct 2011 at 9:52am
12
32.6k
74
-
by newshoes 4th Mar 2012 at 12:01am
66
163.8k
429
-

by TheJim07 2nd May 2016 at 7:27pm
12
26.2k
101
-
by TheJim07 30th Jul 2016 at 8:03pm
10
18.8k
86
-
Automatically Closing Blinds (Eyes Aside Curtains)
by Shadowsun252 28th Apr 2025 at 1:36pm
+1 packs
15 7.2k 32 Supernatural
-

Automatically Closing Curtains (Custom "Easy Breezy" Curtains)
by Shadowsun252 6th Apr 2026 at 2:49pm
+1 packs
1 4.7k 15 Supernatural


-

-

-
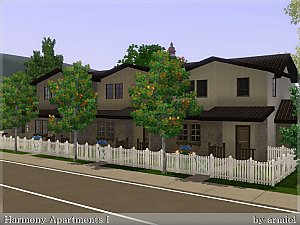
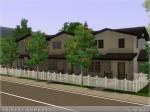
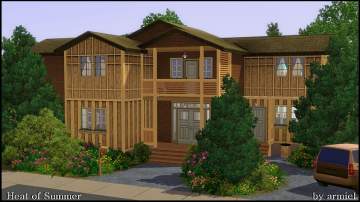
Finnington - Harmony Apartments
by armiel 5th Jun 2011 at 10:57pm
2 Apartment lots for my world Finnington. more...
+3 packs
7 36k 59 World Adventures
 Ambitions
 Late Night
-

-
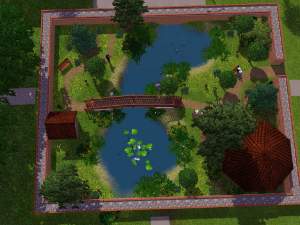

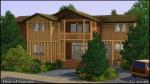
Garden of Eden-UPDATED (Still stubbornly calling it that)
by armiel 21st Jan 2010 at 1:37am
I have had so many complains about the bridge not working that I went and made it work. more...
+1 packs
7 17.9k 16 World Adventures
-

-

-
-


-


Packs Needed
| Expansion Pack | |
|---|---|
 | Generations |
About Me
I have retired from simming. This means I won't be supporting my uploads anymore.
Please take this into consideration:
My uploads have a date when they have been uploaded. If I have fixed something later, I have stated so in the post. If something is currently broken, it stays that way, unless you bother on fixing it yourself. :)
Policy regarding my uploads:
You may rip off, tear apart, re-use and destroy my content in any way you feel necessary. You have been given a permission right here and now.
Please do not however re-upload my content as is, and claim it as your own.
Please also notice, that my content is made to be free - do not include it in uploads that require submission, or paysites in general, thanks.
If you do use my work, a credit would be nice, but sure is not required. :)
Thanks for your time for reading this, for possibly using my creations, and for being generally awesome!
~armiel