 Something Borrowed: Heritage Bridal Collection Part 3

SB-engagement-plain.jpg - width=1091 height=768

SB-engagement-studded.jpg - width=1040 height=768

SB-stacked-detailed.jpg - width=944 height=768

SB-stacked-plain.jpg - width=968 height=768

SB-stacked-studded.jpg - width=897 height=768

SB-wedding-plain.jpg - width=1066 height=768

SB-wedding-studded.jpg - width=917 height=768
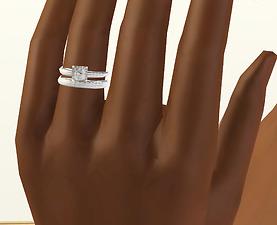
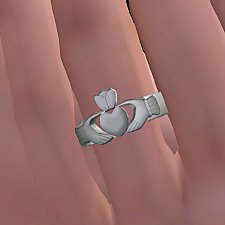
To finish my Heritage Bridal Collection, I picked back up on the family heirloom theme. Something "borrowed" was interpreted as the ring of a family matriarch, passed down to the new bride.
The Engagement Ring
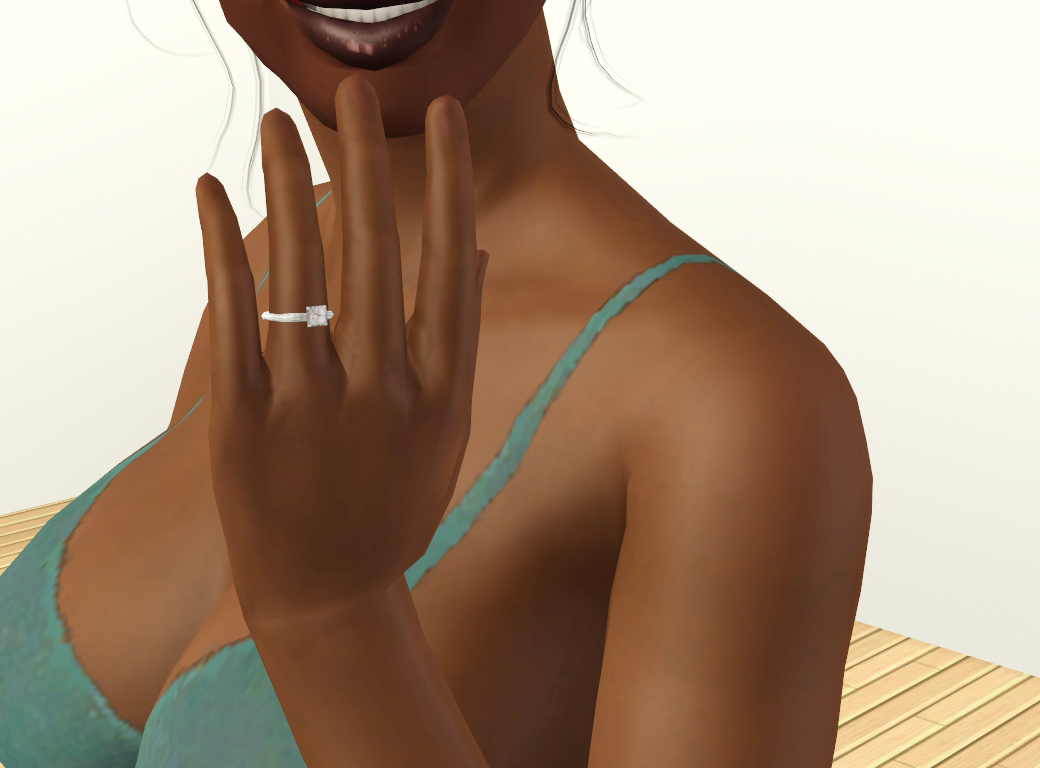
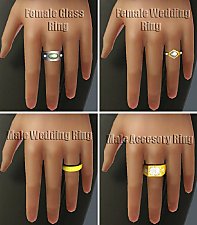
After much debate in chat, it was determined that the engagement ring is typically the one with the diamond. I don't much fancy the EA ring, because it's not sparkly enough for me. I wanted something simple (yet shiny) to grace my sims' finger.
The Wedding Band
For some reason EA decided that females couldn't wear wedding bands, which I think is kinda silly.
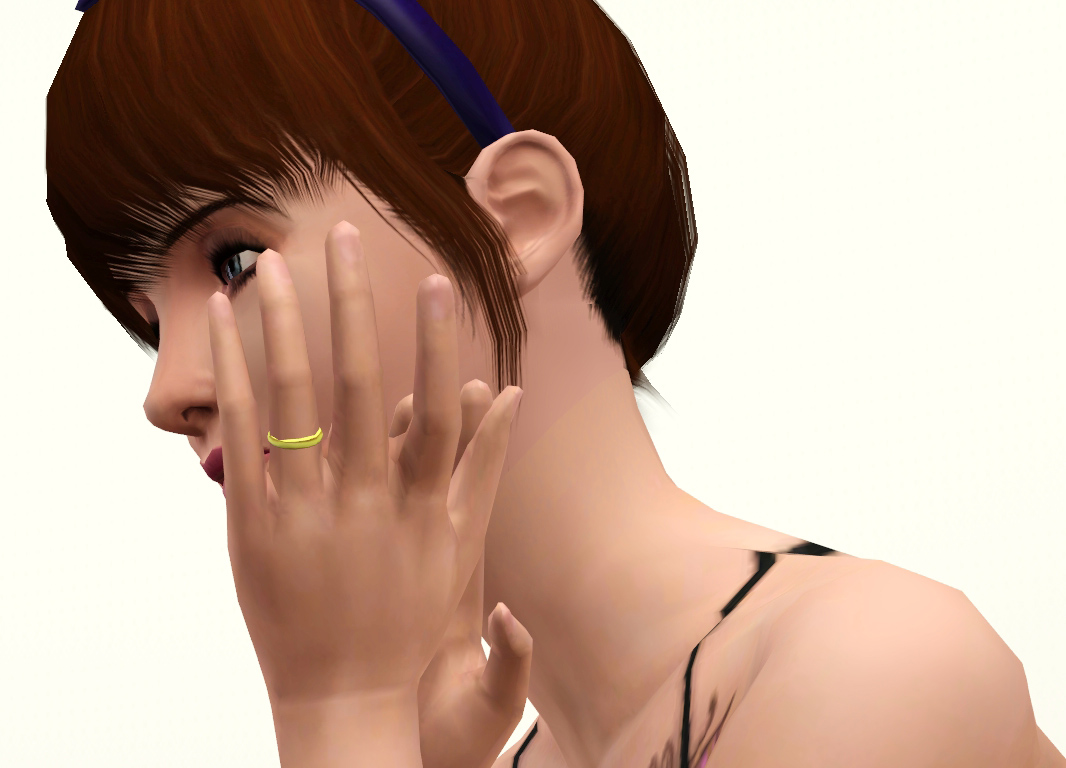
So, I converted the male wedding band over to females.
The Stacked Rings

Annnnddd, bringing it all home, we have the stacked rings. Your new bride can display both her wedding ring and her engagement ring at the same time.
All rings are available for YA through elder, and have two channels (with the exception of the band, which only has one). The stacked rings are slaved to one another, meaning that they share the same texture.
Each ring comes with two versions, a studded one and a "plain" one. Plain simply means that it does not have a studded diamond overlay.
Looking for something blue?
Use CASt, kthnxbai.
Polygon Counts:
Engagement - 240
Wedding Band - 226
Stacked - 466
Additional Credits:
The black model's hair is an Anto conversion by Robodl95.
The bow hair is from the EA Store
My graphics are being shitty again...I'll try to update with better pictures later.
This is a new mesh, and means that it's a brand new self contained object that usually does not require a specific Pack (although this is possible depending on the type). It may have Recolours hosted on MTS - check below for more information.
|
daluved1_SB-WeddingBand-ACCESSORY.rar
Download
Uploaded: 7th Jan 2012, 284.6 KB.
40,621 downloads.
|
||||||||
|
daluved1_SB-StackedRings-ACCESSORY.rar
Download
Uploaded: 7th Jan 2012, 252.3 KB.
47,541 downloads.
|
||||||||
|
daluved1_SB-EngagementRing-ACCESSORY.rar
Download
Uploaded: 7th Jan 2012, 264.7 KB.
46,178 downloads.
|
||||||||
| For a detailed look at individual files, see the Information tab. | ||||||||
Install Instructions
1. Click the file listed on the Files tab to download the file to your computer.
2. Extract the zip, rar, or 7z file. Now you will have either a .package or a .sims3pack file.
For Package files:
1. Cut and paste the file into your Documents\Electronic Arts\The Sims 3\Mods\Packages folder. If you do not already have this folder, you should read the full guide to Package files first: Sims 3:Installing Package Fileswiki, so you can make sure your game is fully patched and you have the correct Resource.cfg file.
2. Run the game, and find your content where the creator said it would be (build mode, buy mode, Create-a-Sim, etc.).
For Sims3Pack files:
1. Cut and paste it into your Documents\Electronic Arts\The Sims 3\Downloads folder. If you do not have this folder yet, it is recommended that you open the game and then close it again so that this folder will be automatically created. Then you can place the .sims3pack into your Downloads folder.
2. Load the game's Launcher, and click on the Downloads tab. Find the item in the list and tick the box beside it. Then press the Install button below the list.
3. Wait for the installer to load, and it will install the content to the game. You will get a message letting you know when it's done.
4. Run the game, and find your content where the creator said it would be (build mode, buy mode, Create-a-Sim, etc.).
Extracting from RAR, ZIP, or 7z: You will need a special program for this. For Windows, we recommend 7-Zip and for Mac OSX, we recommend Keka. Both are free and safe to use.
Need more help?
If you need more info, see:
- For package files: Sims 3:Installing Package Fileswiki
- For Sims3pack files: Game Help:Installing TS3 Packswiki
Loading comments, please wait...
Uploaded: 7th Jan 2012 at 11:15 PM
-
I'm Still Sexy! (Four Clothing Conversions for Elders)
by daluved1 2nd Jun 2011 at 3:39pm
They're not bringing sexy back, because it never left! more...
 32
53k
70
Female » Mixed Sets » Elder
-
I Wanna See Some Cash: Platform Heels
by Puss 'N Heels 9th Aug 2012 at 1:06am
Skrippin' aint easy. more...
-
Spotlight -- 6 Exotic Dance Poses
by Puss 'N Heels 4th Jan 2015 at 9:59pm
Another small set of pole dancing poses, with a focus on inversions and splits. more...
 2
37.9k
74
-
Rimmed Dinnerware: Default Replacement (Set 2 of 3)
by daluved1 27th Nov 2010 at 9:46pm
More plate designs for your sims! more...
 3
16.9k
26
-
REDUX: Longer Nails for the Ladies
by daluved1 7th Aug 2012 at 5:07pm
Give your ladies' nails a refill. more...
 46
110.3k
407
About Me
Because my policy is really inconsistent on my uploads, I've decided to make an official policy! So whatever you see here on my profile is my current policy. You may disregard any ''policy'' information you see on the actual upload itself.
-You may use my creations with sims
-You may use my objects with lots.
-You may retexture my meshes.
-You may include my meshes with retextures.
-You may NOT upload my creations with sims
-You may NOT upload my objects with lots.
-You may NOT upload my creations to paysites.
-You may NOT upload my creations to the exchange.
-Always credit me with a link
-I do NOT take requests!

 Sign in to Mod The Sims
 Something Borrowed: Heritage Bridal Collection Part 3


