 Indoor Plants 1 [Updated for WA]

small.jpg - width=200 height=200

all_on_white.jpg - width=820 height=523

all_in_room.jpg - width=820 height=519

outside.jpg - width=820 height=482

mantelpiece.jpg - width=820 height=548
These objects became broken with the patch 1.6.6 and the expansion and caused the "blue lot syndrome". I have fixed them now so if you still want to use them with World Adventures, please re-download.
I decided to start learning how to mesh objects for the game. With no meshing experience at all, this plan was exciting and frightening at the same time. I wanted to start with just modifying simple objects a little, I thought that would be easy.
I was so wrong.
A lot of struggling with shadows, glitches, texturemapping and error messages followed. Starting over from step 0 and over again.
Several days (or rather weeks) later... I'm here with a few plants I dare to share, because I always think we need a LOT more variety in decorative objects.
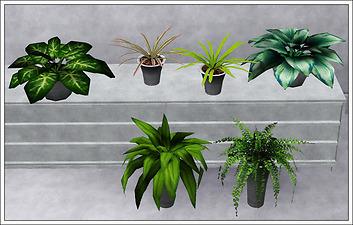
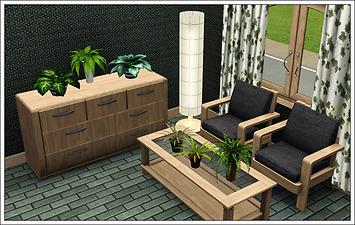
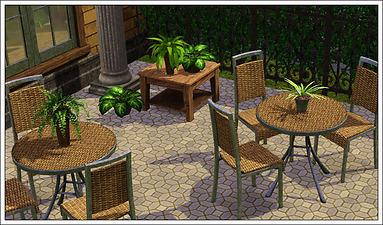
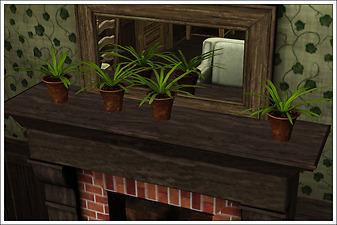
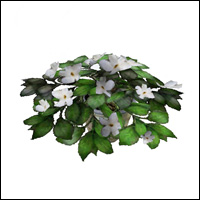
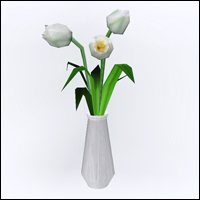
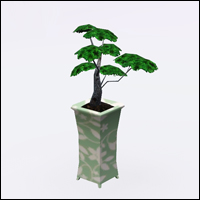
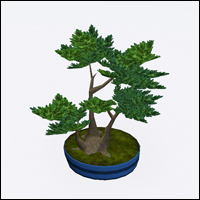
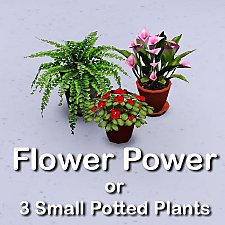
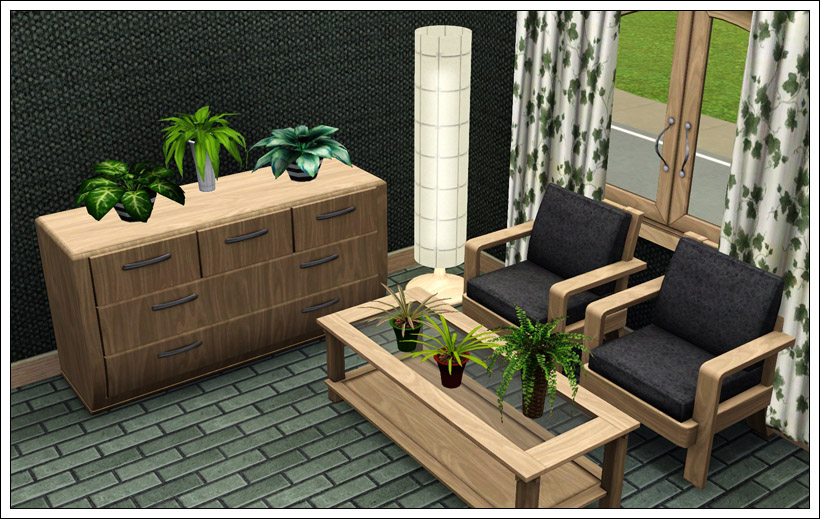
My goal was to increase the number of plants that are placeable on tabletops, counters, nightstands and dressers. So, I pulled the hosta from the ceiling, re-planted the fern, and modified the orchid into a dracaena. Then created a recolor for each, thus this upload is 6 new plants.
All cost 40§ and are found in Decorative/Plants, obviously.
They don't replace game objects and all the pots are recolorable as usual.
Polygon Counts:
Fern/Dracaena Long: 474 faces, 390 vertices
Hosta/Syngonium: 272 faces, 251 vertices
Dracaena Lime/tricolor: 456 faces, 491 vertices
Additional Credits:
Thanks to Inge and Peter Jones for S3PE and S3OC,
Wes Howe for the object tool and the help he keeps providing in the meshing forum,
DeluxeDesigns for the tutorial,
and MTS for hosting all of the above and my stuff

This is a new mesh, and means that it's a brand new self contained object that usually does not require a specific Pack (although this is possible depending on the type). It may have Recolours hosted on MTS - check below for more information.
|
IndoorPlants.rar
| Fixed version for EP01.
Download
Uploaded: 30th Aug 2009, 190.7 KB.
50,004 downloads.
|
||||||||
| For a detailed look at individual files, see the Information tab. | ||||||||
Install Instructions
1. Click the download button, or the filename, to download the file to your computer.
2. Extract the zip, rar, or 7z file. Now you will have either a .package or a .sims3pack file.
For Package files:
1. Cut and paste the file into your Documents\Electronic Arts\The Sims 3\Mods\Packages folder. If you do not already have this folder, you should read the full guide to Package files first: Sims 3:Installing Package Fileswiki, so you can make sure your game is fully patched and you have the correct Resource.cfg file.
2. Run the game, and find your content where the creator said it would be (build mode, buy mode, Create-a-Sim, etc.).
For Sims3Pack files:
1. Cut and paste it into your Documents\Electronic Arts\The Sims 3\Downloads folder. If you do not have this folder yet, it is recommended that you open the game and then close it again so that this folder will be automatically created. Then you can place the .sims3pack into your Downloads folder.
2. Load the game's Launcher, and click on the Downloads tab. Find the item in the list and tick the box beside it. Then press the Install button below the list.
3. Wait for the installer to load, and it will install the content to the game. You will get a message letting you know when it's done.
4. Run the game, and find your content where the creator said it would be (build mode, buy mode, Create-a-Sim, etc.).
Extracting from RAR, ZIP, or 7z: You will need a special program for this. For Windows, we recommend 7-Zip and for Mac OSX, we recommend Keka. Both are free and safe to use.
Need more help?
If you need more info, see:
- For package files: Sims 3:Installing Package Fileswiki
- For Sims3pack files: Game Help:Installing TS3 Packswiki
Loading comments, please wait...
Uploaded: 30th Aug 2009 at 11:57 PM
Updated: 29th Dec 2009 at 8:22 PM - update
-
by lemoncandy 3rd Aug 2009 at 3:36am
 56
92.2k
158
-
by lemoncandy 3rd Sep 2009 at 6:18pm
 43
82.6k
129
-
by lemoncandy 1st Oct 2009 at 9:20pm
 44
94.7k
202
-
by lemoncandy 26th Oct 2009 at 6:06pm
 64
128.6k
205
-
by lemoncandy 27th Oct 2009 at 6:25pm
 41
84.9k
88
-
by Lisen801 15th Jun 2012 at 3:43pm
 37
69k
259
-
by lemoncandy 13th Aug 2009 at 1:25am
A small cottage for sims who like old stuff. Two bedrooms and two bathrooms, fireplace, no television, small backyard. more...
 18
25.5k
49
-
by lemoncandy 15th Nov 2009 at 1:44pm
Do you usually decorate rooms with mismatched furniture? Do you like the "it's from a garage sale" look? Then this more...
-
by lemoncandy 6th Aug 2009 at 12:40am
This is a small pond with a wooden cabin on legs above it. more...
 3
10.7k
10
-
by lemoncandy updated 25th Jun 2009 at 11:25am
Ever wanted to live in a special place? Not sure if anyone ever did this, or it's some kind more...
 10
21.4k
14
-
Paint some stones into your yard [Updated for WA]
by lemoncandy 22nd Sep 2009 at 11:48pm
Six terrain paints. I have added fixed versions that will work with World Adventures or patch 1.6.6. more...
 85
78.1k
154
-
by lemoncandy 21st Sep 2009 at 6:50pm
Here's my next set of room-type-category clutter. This time it's for kids! more...
 75
120.7k
245
-
by lemoncandy 8th Oct 2009 at 2:12pm
This set of my clutter series contains 8 objects. more...
 81
170.6k
334
-
Don't leaf home - 6 more patterns
by lemoncandy 15th Jul 2009 at 1:39am
I wasn't all satisfied with my leaf patterns so I decided to make some more, traditional ones. more...
 14
17.9k
41
About Me
IMPORTANT
I haven't touched any of this work for over a year, so please consider it all as unsupported. I guess most of it won't be working with the game's new expansions and patches. Sorry.

 Sign in to Mod The Sims
 Indoor Plants 1 [Updated for WA]
