 [Outdated] Blender GEOM Tools v1.10 (Blender 2.8x-2.9x)
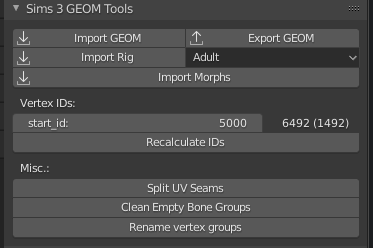
simgeom_panel_geom.png - width=373 height=248
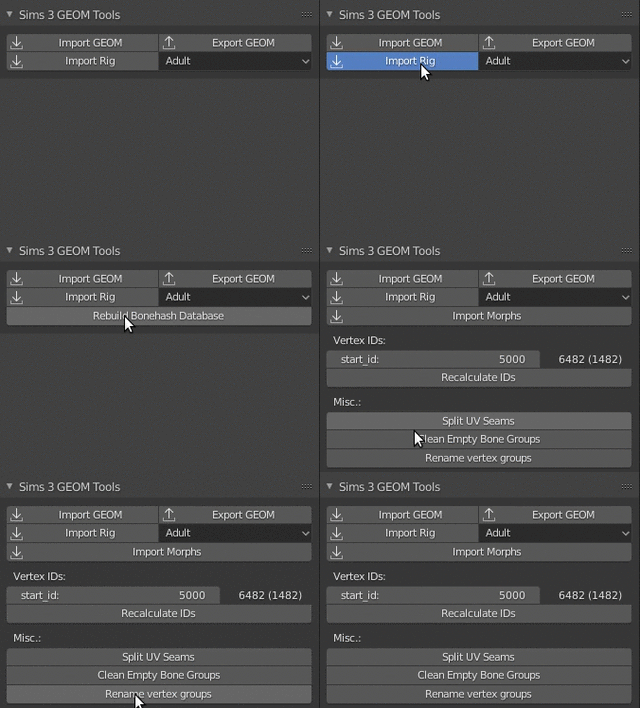
Tool Panel

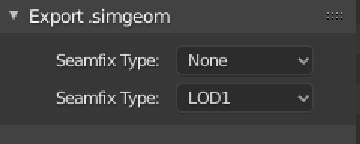
simgeom_export.png - width=240 height=96
Export Seamfix
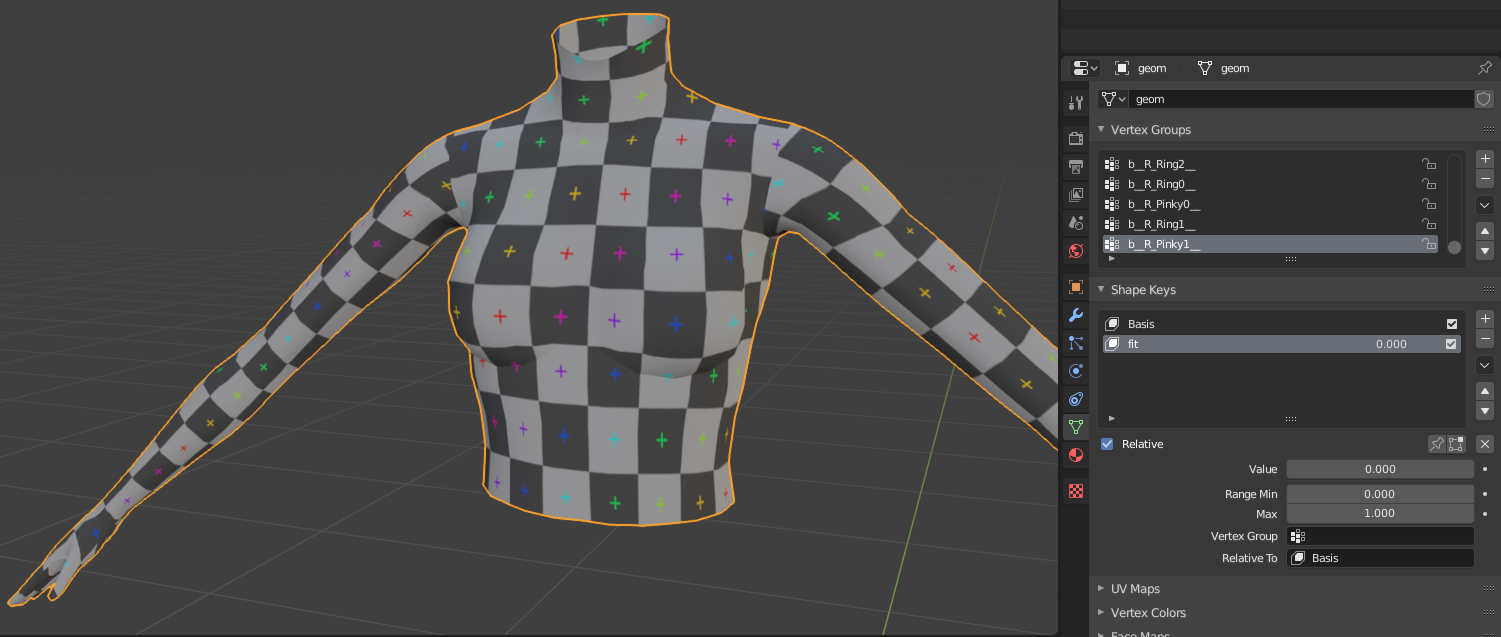
simgeom_morph_0.png - width=1501 height=637
Shapekeys 1
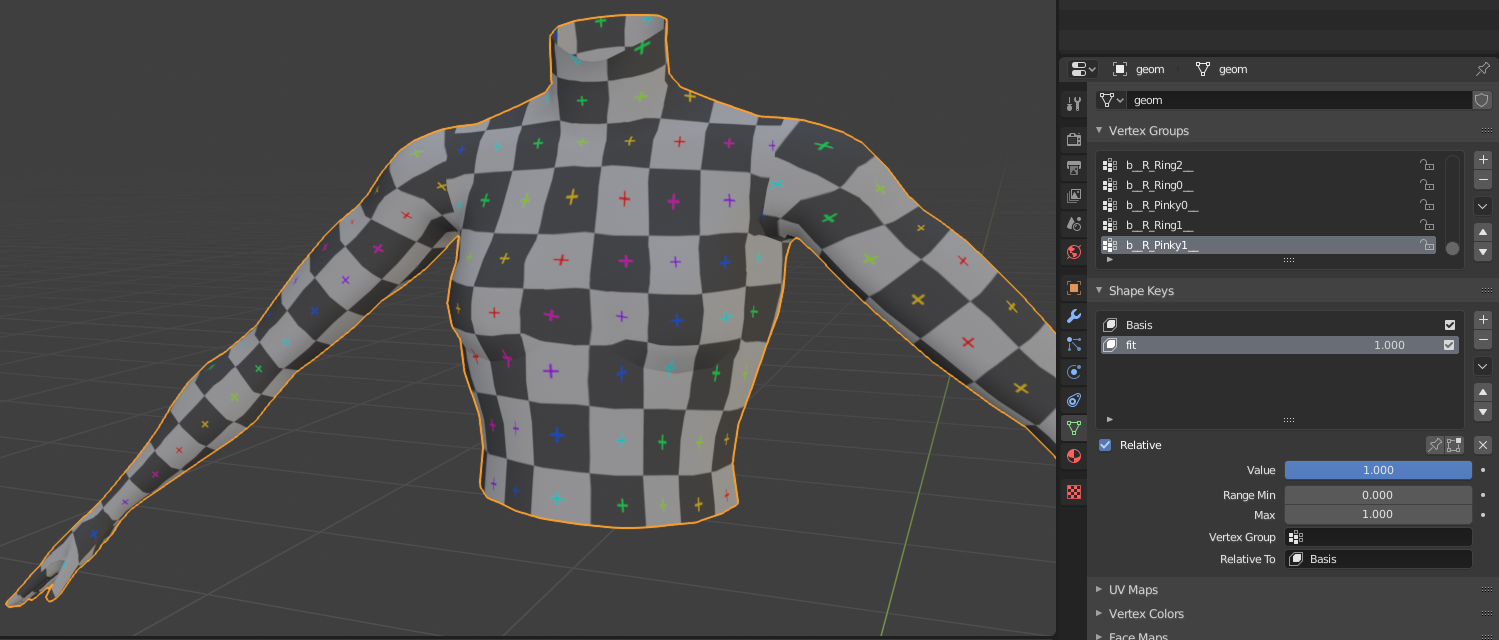
simgeom_morph_1.png - width=1499 height=640
Shapekeys 2

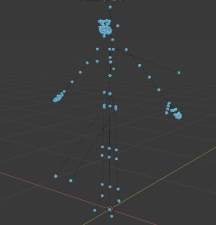
simgeom_rig.png - width=833 height=869
Rig

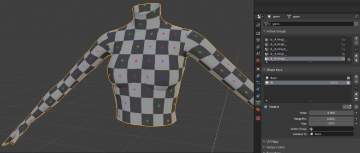
simgeom_neck_0.png - width=999 height=841
NoSeams 1

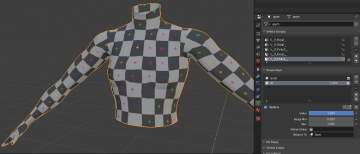
simgeom_neck_1.png - width=999 height=841
NoSeams 2

simgeom_fnv2.gif - width=320 height=236
Update FNV

This version is now outdated and will no longer be updated, download the one linked above instead if you want to use new features.
Update 25/04/2021 - Version 1.10
|
Update 14/12/2019 - Version 1.02
|
Update 30/5/2019 - Version 1.01
|
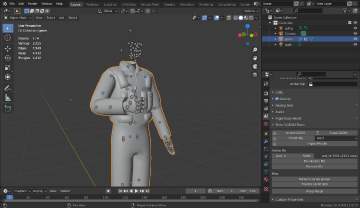
This tool aims to be a fully functional GEOM Import and export for Blender 2.8.
You should be able to work with any Sim/Pet mesh, for example; clothes, hair, accessories.
If something doesn't work please let me know and send me a private message with your blend file and traceback, without those I can't fix anything
This is an add-on for Blender 2.8 and will not work on older versions.
Blender 2.8 now has a stable release, get it at https://www.blender.org/
Add-on Installation
This add-on is installed like any other Blender add-on, to install it follow the menus as shown below.
Edit > Preferences > Add-ons > Install
Tools
Tool Panel
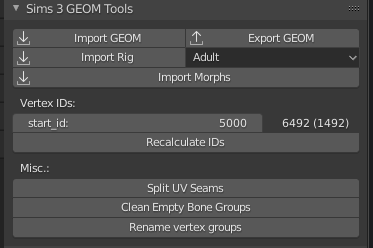
Morphs
Morphs can be imported from GEOM morph meshes, these can be extracted from BGEO files and the base GEOM file with Cmar's tool
Make sure you have your base mesh selected and import the morphs, you can select all morphs and import them all in one go, the morphs are imported as shape keys
Splitting UV seams
While Blender assigns UVs per polygon, GEOM files store them per vertex to save on performance. This means that every vertex can only have 1 UV coordinate. If the UV seams are not split you will probably find your exported UV maps all messed up.
Doing this changes the vertex order, make sure to renumber the vertices after this as described below.
Renumbering vertices
start_id tells the add-on the vertex ID to start renumbering at.
Displayed to the right of it is the highest vertex ID and the amount of unique vertex IDs, these are updated after the 'Recalculate IDs' button is pressed.
Don't touch these if you don't plan on adding/removing vertices, this way the original vertex IDs are preserved.
Cleaning empty groups
TS3 does not seem to like GEOM files having bones that have no vertices assigned to them, pressing this button will remove these pesky empty bones from your mesh.
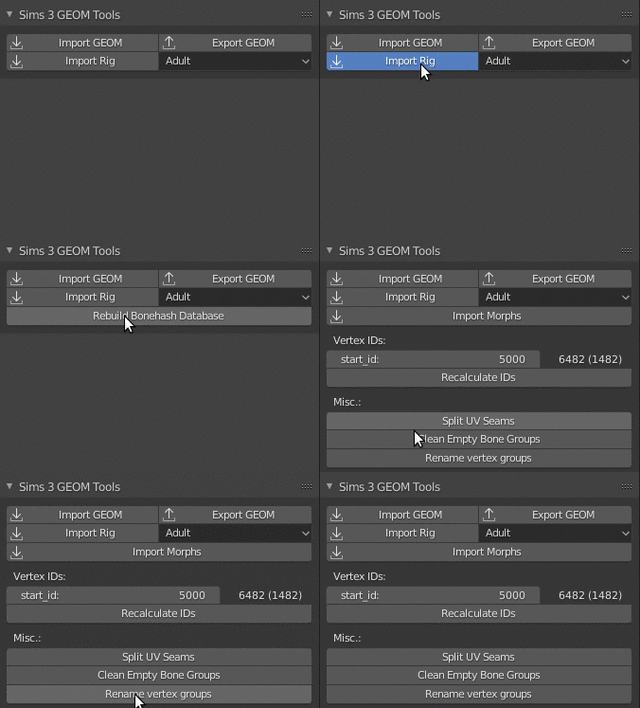
Rebuilding the FNV map
If you ever import something and vertex groups have names like 0xef89a3e3, you'll probably want to change those to their proper names.
To do this, you'll have to import the rig for the mesh in question, make sure the rig is selected and press the 'Rebuild Bonehash Database' button on the panel. After doing that select the mesh and press the 'Rename Vertex Groups' button on the same panel.
You will only have to do this once, as the bone names are added to a json file mapping the fnv32 hashes to names.
Export
To export a mesh along with all it's morphs simply press the export button, on the export panel you will be able to choose your seam fix type.
Pick your age/gender group and LOD group and your seams will be fixed.

Credits
cmomoney for the original rig importer that I adapted into this one, can be found here
|
BlenderGeom_1.10.zip
| Consider downloading new version instead
Download
Uploaded: 25th Apr 2021, 240.6 KB.
2,267 downloads.
|
||||||||
| For a detailed look at individual files, see the Information tab. | ||||||||
Install Instructions
1. Click the download button, or the filename, to download the file to your computer.
2. Extract the zip, rar, or 7z file. Now you will have either a .package or a .sims3pack file.
For Package files:
1. Cut and paste the file into your Documents\Electronic Arts\The Sims 3\Mods\Packages folder. If you do not already have this folder, you should read the full guide to Package files first: Sims 3:Installing Package Fileswiki, so you can make sure your game is fully patched and you have the correct Resource.cfg file.
2. Run the game, and find your content where the creator said it would be (build mode, buy mode, Create-a-Sim, etc.).
For Sims3Pack files:
1. Cut and paste it into your Documents\Electronic Arts\The Sims 3\Downloads folder. If you do not have this folder yet, it is recommended that you open the game and then close it again so that this folder will be automatically created. Then you can place the .sims3pack into your Downloads folder.
2. Load the game's Launcher, and click on the Downloads tab. Find the item in the list and tick the box beside it. Then press the Install button below the list.
3. Wait for the installer to load, and it will install the content to the game. You will get a message letting you know when it's done.
4. Run the game, and find your content where the creator said it would be (build mode, buy mode, Create-a-Sim, etc.).
Extracting from RAR, ZIP, or 7z: You will need a special program for this. For Windows, we recommend 7-Zip and for Mac OSX, we recommend Keka. Both are free and safe to use.
Need more help?
If you need more info, see:
- For package files: Sims 3:Installing Package Fileswiki
- For Sims3pack files: Game Help:Installing TS3 Packswiki
Loading comments, please wait...
Uploaded: 27th May 2019 at 10:09 PM
Updated: 23rd Dec 2021 at 4:09 PM - Link to v2.0 testing thread
-
Blender 2.65 TS3 Slot Editor Updated 6-23-17?!
by cmomoney updated 23rd Jun 2017 at 8:22am
 32
72.4k
58
-
Meshing Toolkit - version 1.4.9 uploaded 12/20/2018
by CmarNYC updated 20th Dec 2018 at 4:04pm
 297
307.8k
296
-
Blender GEOM Tools v2.1.4 (Blender 2.8x-3.x)
by SmugTomato updated 11th Apr 2023 at 11:24am
 28
16.3k
36
-
by Just Harry updated 15th Sep 2024 at 3:07am
 230
115.3k
185
-
by LazyDuchess updated 4th Apr 2025 at 5:08am
 60
113.1k
175
-
Body Shop - Clean UI & Widescreen
by SmugTomato updated 6th Feb 2025 at 8:28pm
Widescreen support for Body Shop and a completely redesigned UI based on Clean UI more...
 +1 packs
131 81.7k 250
 Mansion and Garden
-
[UPDATE] Sims 2 GMDC Import/Export for Blender 2.79
by SmugTomato updated 25th May 2018 at 11:49pm
A fully functional GMDC Importer and Exporter for Blender 2.79 more...
 65
50.3k
52
-
Blender GEOM Tools v2.1.4 (Blender 2.8x-3.x)
by SmugTomato updated 11th Apr 2023 at 11:24am
Blender GEOM Tools Version 2.0.0 It's been quite a while since I released the original version of my GEOM Tools for more...
 27
16.4k
38
-
Sims 3 Conversion - Freedom Fence
by SmugTomato 30th Mar 2021 at 4:44pm
A conversion of the Freedom Fence from The Sims 3 more...
 11
9.8k
68

 Sign in to Mod The Sims
 [Outdated] Blender GEOM Tools v1.10 (Blender 2.8x-2.9x)
