Sign in to Mod The Sims
 Small Editors: VPXY, BoneDelta, FacialBlend, BlendUnit, CASSliderTemplate, GEOM/MTNF - New May 2010: RSLT Editor
 Small Editors: VPXY, BoneDelta, FacialBlend, BlendUnit, CASSliderTemplate, GEOM/MTNF - New May 2010: RSLT Editor


vpxyeditor.jpg - width=793 height=377
facialblend.jpg - width=403 height=672
bonedelta.jpg - width=638 height=294
blendunit.jpg - width=428 height=369
casslidertemplate.jpg - width=289 height=268
simgeomeditor.jpg - width=893 height=606
rslteditor.png - width=706 height=420

This thread is basically a repository for some small tools that I wrote to help with various small tasks. They do ONE thing and one thing only.

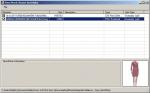
VPXY Editor
This tool allows you to edit the Visual Proxy (VPXY) resources contained in a package file, easily and quickly.
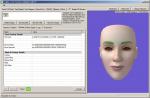
FacialBlend Editor
This tool allows you to edit the Facial Blend files that tell CAS which BGEO and VPXY to use for a specific blend. This is used in CAS sliders and so forth.
BoneDelta Editor
This tool allows you to edit and change the Bone Deltas associated with a specific slider, add your own, and basically make sliders linked to bones do stuff.
BlendUnit Editor
This tool basically allows you to edit the simple BlendUnit files, which tell CAS which FacialBlends to use for a particular direction of a slider.
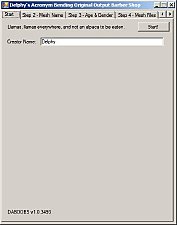
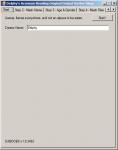
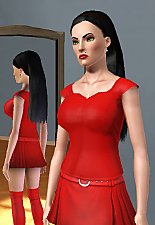
CAS Slider Template Creator
This tool sets up everything you need to create a custom CAS Slider using the tools above. It automatically links together the Blend Unit, Facial Blend, VPXY and Bone Delta to create a Slider that works for a Sim.
Please note that the strings generated by this tool are only English US - other languages aren't generated but can be copied easily enough using S3PE or any other STBL editor.
Also note that the "default" Slider WILL require changing and editing for it to work.
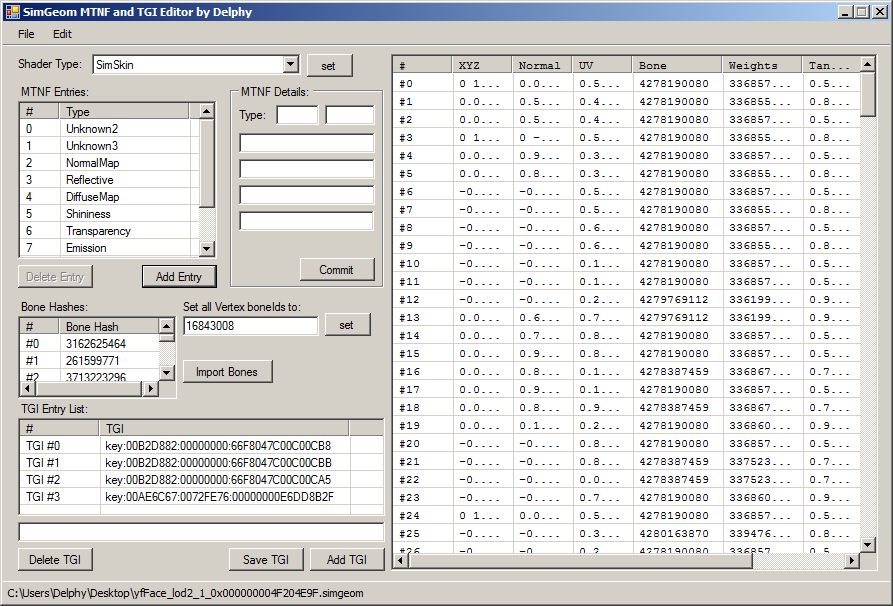
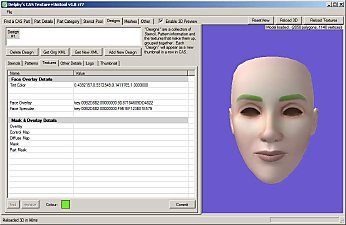
SimGeom MTNF and TGI Editor
This was previously in the Accessories thread, but basically it lets you alter the MTNF (Material) chunk of a SimGeom file and can "fix" meshes where the comments section was lost in Milkshape, and thus they dont work correctly. Currently only editing is allowed - no adding or deleting of MTNF entries.
However, you can change the TGIs, the Shader type, and Export/Import the bone references. Handy for the aforementioned comments loss.
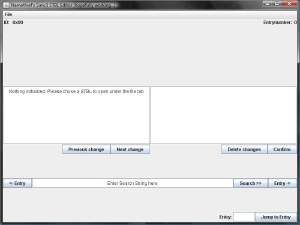
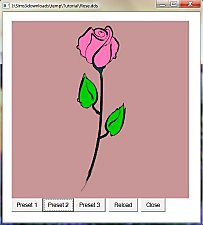
RSLT Editor
This allows you to edit the slots on objects, as part of changing animations, slots and the like. It can be used in conjunction with the RIG editor to do some cool stuff.
Requirements
All tools require .NET Framework 2.0 to be installed. These can be linked to S3PE if required using the helpers framework.
All of these should work on XP, Vista and Windows 7 - both 32bit and 64bit versions. Please let me know if I missed one.
Source code
Source code to all of these tools (and more) is available at http://code.google.com/p/madscienti...ce/browse/trunk
Enjoy the small utilities.
Regards
Delphy
|
RSLTEditor.rar
Download
Uploaded: 8th May 2010, 69.8 KB.
2,095 downloads.
|
||||||||
|
SimGeomEditor.rar
Download
Uploaded: 9th Nov 2009, 29.0 KB.
3,962 downloads.
|
||||||||
|
CASSliderTemplate.rar
Download
Uploaded: 9th Nov 2009, 63.6 KB.
3,996 downloads.
|
||||||||
|
BlendUnitEditor.rar
Download
Uploaded: 9th Nov 2009, 17.4 KB.
2,933 downloads.
|
||||||||
|
BoneDeltaEditor.rar
Download
Uploaded: 9th Nov 2009, 37.2 KB.
4,125 downloads.
|
||||||||
|
FacialBlendEditor.rar
Download
Uploaded: 9th Nov 2009, 28.8 KB.
2,793 downloads.
|
||||||||
|
VPXYEditor.rar
Download
Uploaded: 9th Nov 2009, 27.4 KB.
3,279 downloads.
|
||||||||
| For a detailed look at individual files, see the Information tab. | ||||||||
Install Instructions
1. Click the file listed on the Files tab to download the file to your computer.
2. Extract the zip, rar, or 7z file. Now you will have either a .package or a .sims3pack file.
For Package files:
1. Cut and paste the file into your Documents\Electronic Arts\The Sims 3\Mods\Packages folder. If you do not already have this folder, you should read the full guide to Package files first: Sims 3:Installing Package Fileswiki, so you can make sure your game is fully patched and you have the correct Resource.cfg file.
2. Run the game, and find your content where the creator said it would be (build mode, buy mode, Create-a-Sim, etc.).
For Sims3Pack files:
1. Cut and paste it into your Documents\Electronic Arts\The Sims 3\Downloads folder. If you do not have this folder yet, it is recommended that you open the game and then close it again so that this folder will be automatically created. Then you can place the .sims3pack into your Downloads folder.
2. Load the game's Launcher, and click on the Downloads tab. Find the item in the list and tick the box beside it. Then press the Install button below the list.
3. Wait for the installer to load, and it will install the content to the game. You will get a message letting you know when it's done.
4. Run the game, and find your content where the creator said it would be (build mode, buy mode, Create-a-Sim, etc.).
Extracting from RAR, ZIP, or 7z: You will need a special program for this. For Windows, we recommend 7-Zip and for Mac OSX, we recommend Keka. Both are free and safe to use.
Need more help?
If you need more info, see:
- For package files: Sims 3:Installing Package Fileswiki
- For Sims3pack files: Game Help:Installing TS3 Packswiki
Loading comments, please wait...

Updated: 27th Nov 2013 at 3:07 PM by Nysha
#geom, #vpxy, #mtnf, #editors, #cas slider
-
-
Core Mod Merger - (no IL or Hex-Editor required !) Udated to 0.1
by morgade updated 13th Jul 2009 at 1:42am
 47
66.3k
15
47
66.3k
15
-

-
Sims 3 - STBL Duplicator (updated to 1.2.0.13213)
by Digitalchaos updated 24th Jun 2010 at 11:25pm
27
52.2k
12
-
by Tashiketh updated 12th Sep 2010 at 10:52am
555
613.7k
590
-
Tattooinator, a tool for creation of custom tattoos - update 8/28/13
by CmarNYC updated 28th Aug 2013 at 3:46pm
193
238.9k
401
-
Tool to Package Custom Body Hair - update 9/8/12
by CmarNYC updated 11th Jun 2011 at 8:36pm
32
120.3k
69
-
Blender 2.65 TS3 Slot Editor Updated 6-23-17?!
by cmomoney updated 23rd Jun 2017 at 8:22am
32
71.9k
58
-

Easy STBL Manager - game strings translations utility
by CmarNYC 20th Oct 2012 at 3:40pm
34
70.5k
49
-

TS3Tools - Revolutionize Your Sims 3 Experience!
by dbrown1986 updated 13th Jul 2024 at 12:45pm
8
11.1k
33


-
Delphy's Acronym Bending Original Output Barber Shp (aka DABOOBS) v1.1 updated 6th August 3009
by Tashiketh 26th Jul 2009 at 2:48am
What does this program do? This program allows you to create non-replacement custom hair meshes for The Sims 3. more...
137
322.5k
105
-
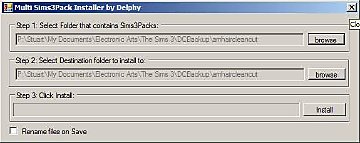
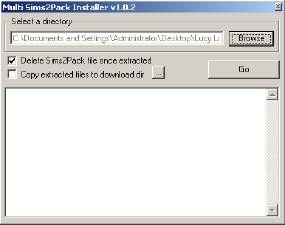
Delphy's Sims 3 Pack Multi-Extracter (Updated 5th Sept 2009)
by Tashiketh 15th Aug 2009 at 10:33am
What does this program do? This program (Similar to my Sims2Pack Multi-Installer) allows you to bulk extract multiple Sims more...
690
1.3m
1.6k
-
-
CAS Texture+Unitool v1.9.3569 r131 (Updated 9th October 2009 - Now works on OS X and Linux!)
by CTU Team 19th Aug 2009 at 12:31am
Introduction The CAS Texture Unitool (hereafter referred to as CTU), is a tool to basically allow you to edit more...
791
691.4k
454
-

Create-a-Sim: Adjustable Female Breast sliders
by Tashiketh 6th Oct 2009 at 7:57pm
Introduction This upload adds custom CAS sliders that basically adjust the bones of the skeletons. more...
-
-
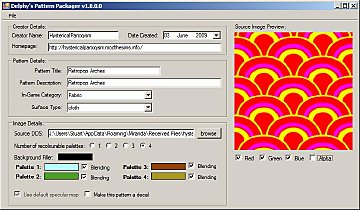
Delphy's Pattern Packager v1.4 (Updated 15th August 2009)
by Tashiketh 3rd Jun 2009 at 3:34pm
Introduction The Pattern Packager program allows you to add new Patterns (aka items that appear in Create a Style) more...
309
348k
206
-
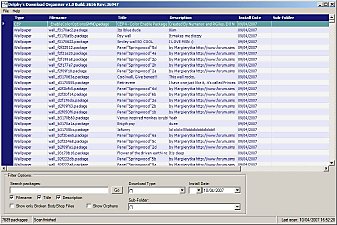

Delphy's Download Organiser - v1.2.6365 updated 6th June 2017
by Tashiketh updated 6th Jun 2017 at 7:10pm
Hi All, :here: Control of your downloads... more...
 1.6k
1m
1.4k
1.6k
1m
1.4k
-

-
.JPG)