 F-IN01 TS3 female default skin replacement MTS v2

F-IN01-female-default-replacement.jpg - width=1280 height=960
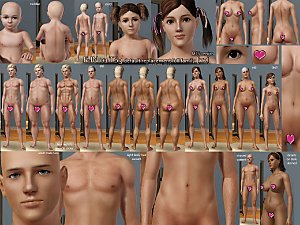
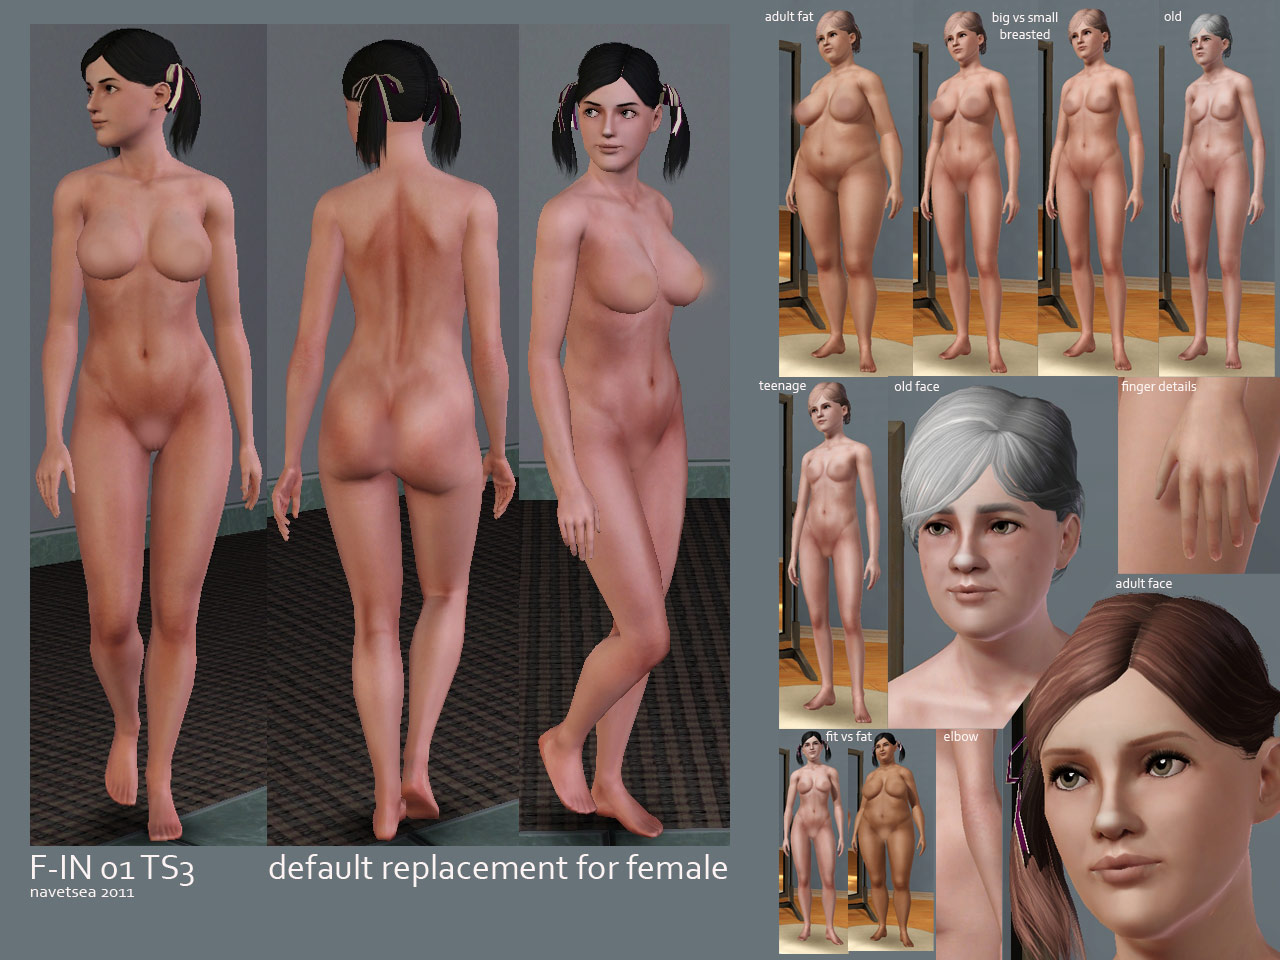
this is my first try on skin replacement for TS3, as it will replace female default skin.
WHAT IS IT?
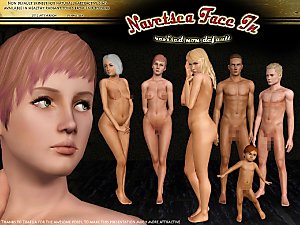
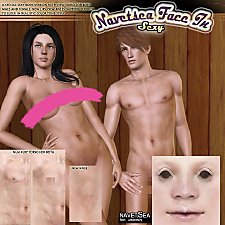
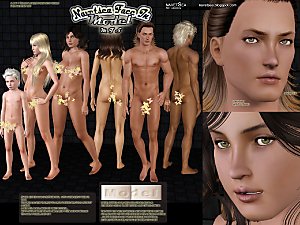
it has more realistic texture, and better details, less preshaded underboobs cleavage so it would look better in all breast sizes without fake shadows, more defined back, butt, and torso, better knees and elbows, paler lips, and cuter face, has skin imperfection to look less plastic
WHAT IT DOES
here are the files included/ will be replaced by the skinset:
-yfFace
-afFace
-efFace
-afBody
-afBodyDark
inside the extracted folder you'll find 2 files:
- navetsea F-IN01 TS3 female default - body MTS v2.package
- navetsea F-IN01 TS3 female default - face v2.package
WHAT'S UP WITH THE NAME?
about the naming system I use:
F-IN01 = my naming brought from earlier work in TS2 skins
body MTS = barbie crotch
body pubes = with pubic hair & detailed
body shaved = shaved & detailed
face = facial skin set
v1 = older uniform hue on the skin ( more or less same hue all over the body)
v2 = newer more lively hue on the skin (delicate parts get a warmer hue than the not so delicate parts)
later when I use the same hue to make alternate faces or body, I will use
v2a , v2b, v2c, and so on meaning the part would be compatible (hue/ skin color wise) with other v2 series to mix and match
when I would make different hue (more gray, more brown, whatever) I will use v3, v4, and so on, so "v" stands for "variant"
and not "version", so it doesn't mean v1 is obsolete when there is v2.
comparison between V1 & v2 skin (NSFW, for nudity)
http://navetsea.webng.com/navetsea/...-v2-compare.jpg
Finally when I do make considerably better skin in my opinion, I will make a new set named
F-IN02, F-IN03, F-IN04, and so on (until sometime I make it sounds more like a sport car naming than a skinset for simmies)
WHERE IS THE ANTI-BARBIE?
the adult/ waist down detailed version
with & without pubic hair in v1 and v2, can be found at ISA
http://www.insimadult.org/index.php/topic,40123.0.html
and would be also at SexySims2 (once it passed moderation queue)
cheers,
navetsea
Additional Credits:
thank you to:
-Aikea Guinea for the very helpful tutorial since I was just installed the game few days ago, and totally uninformed after my few years absent
-Peter & Inge Jones for S3PE
|
navetsea F-IN01 TS3 female default MTS v2.7z
| nipples & barbie crotch v2, compatible with my other v2 skins (non barbie versions elsewhere)
Download
Uploaded: 15th Feb 2011, 2.19 MB.
48,958 downloads.
|
||||||||
| For a detailed look at individual files, see the Information tab. | ||||||||
Install Instructions
1. Click the file listed on the Files tab to download the file to your computer.
2. Extract the zip, rar, or 7z file. Now you will have either a .package or a .sims3pack file.
For Package files:
1. Cut and paste the file into your Documents\Electronic Arts\The Sims 3\Mods\Packages folder. If you do not already have this folder, you should read the full guide to Package files first: Sims 3:Installing Package Fileswiki, so you can make sure your game is fully patched and you have the correct Resource.cfg file.
2. Run the game, and find your content where the creator said it would be (build mode, buy mode, Create-a-Sim, etc.).
For Sims3Pack files:
1. Cut and paste it into your Documents\Electronic Arts\The Sims 3\Downloads folder. If you do not have this folder yet, it is recommended that you open the game and then close it again so that this folder will be automatically created. Then you can place the .sims3pack into your Downloads folder.
2. Load the game's Launcher, and click on the Downloads tab. Find the item in the list and tick the box beside it. Then press the Install button below the list.
3. Wait for the installer to load, and it will install the content to the game. You will get a message letting you know when it's done.
4. Run the game, and find your content where the creator said it would be (build mode, buy mode, Create-a-Sim, etc.).
Extracting from RAR, ZIP, or 7z: You will need a special program for this. For Windows, we recommend 7-Zip and for Mac OSX, we recommend Keka. Both are free and safe to use.
Need more help?
If you need more info, see:
- For package files: Sims 3:Installing Package Fileswiki
- For Sims3pack files: Game Help:Installing TS3 Packswiki
Loading comments, please wait...
Uploaded: 15th Feb 2011 at 9:31 PM
Updated: 9th Mar 2011 at 9:08 AM - mts version lower barbie skin replaced, modular naming, separating face and body to individual packages
#default, #skin, #replacement, #female
-
Moonlight Skin - All Ages included
by kanno updated 12th Sep 2009 at 4:49pm
-
Naughty & Nice Male Skins (Muscular)
by LadyFrontbum 11th Jun 2010 at 3:43am
-
Satin Skin Default replacement by GE
by Goldeneyes updated 7th Feb 2011 at 4:33am
-
F-IN01 TS3 default replacement FULL FAMILY v2
by Navetsea 6th Mar 2011 at 6:36pm
-
Face- In revised default & non default natural realistic style skin
by Navetsea updated 23rd Jun 2012 at 10:24am
-
by Strappys updated 4th Dec 2014 at 1:28pm
-
Face- In TS3 revised non default Wild Edition V2
by Navetsea 30th Jul 2012 at 3:17pm
-
Face- In TS3 SEXY edition MTS version
by Navetsea 2nd Nov 2012 at 11:47pm
-
by Navetsea 29th Dec 2012 at 6:44am
-
Face- In TS3 revised Cute Edition default and non default
by Navetsea 27th Aug 2012 at 12:07pm
realistic skin asian young more...
-
KOF's Leona Heidern 2007 remake
by Navetsea 10th Jun 2007 at 8:39am
Hi, This is a remake of Leona Heidern, a character from The King of Fighters. more...
 +1 packs
14 40.8k 14
 University
-
F-INevolution4 default replacement for human, alien, zombie, vampire, lycan, plant
by Navetsea updated 13th Mar 2008 at 6:34am
Hi all ^__^ it's been quite a long time since my last upload, Anyway This is the latest evolution more...
About Me
My skin can be used/packed with sims anywhere on free sites
beyond that normal use, PM me first.

 Sign in to Mod The Sims
 F-IN01 TS3 female default skin replacement MTS v2


