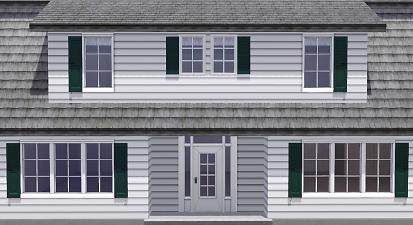
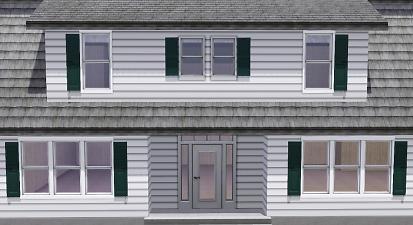
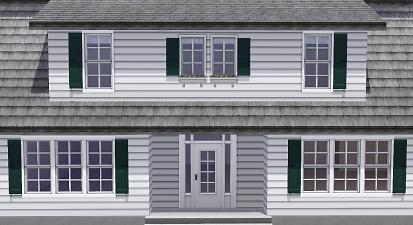
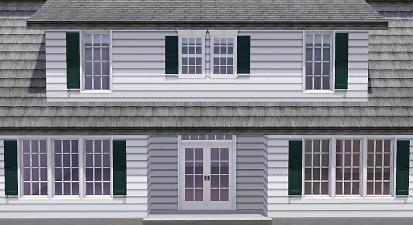
 Separated Shutters (Shiftable Left & Right Pieces)

1.jpg - width=1100 height=600

2.jpg - width=1100 height=600

3.jpg - width=1100 height=600

4.jpg - width=1100 height=600

5.jpg - width=1100 height=600

6.jpg - width=1100 height=650

7.jpg - width=1100 height=650

8.jpg - width=1100 height=600

9.jpg - width=1100 height=650
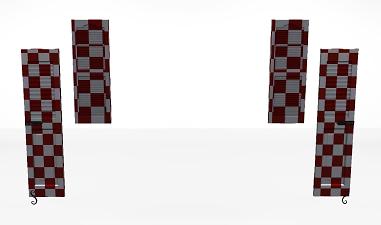
UV mapping, single channel.
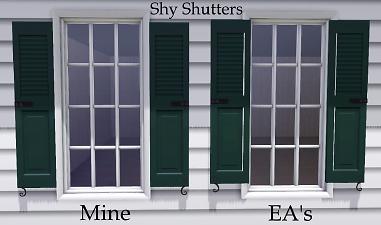
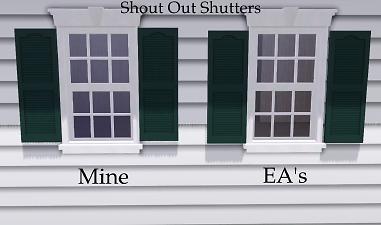
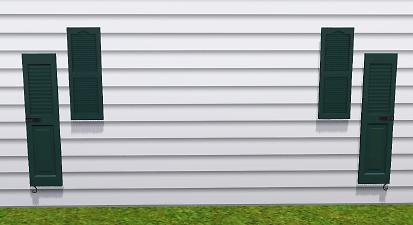
So here are the two base game shutters separated into left and right pieces for greater flexibility. They are shiftable so they can fit most windows and they automatically purchase another after placement.
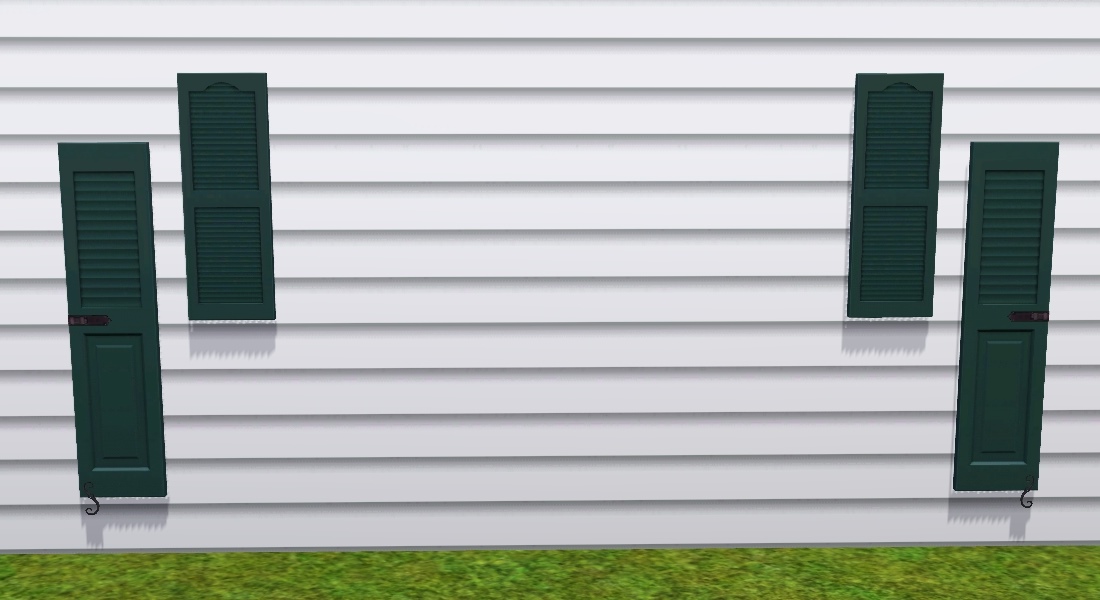
The meshes were also moved around just slighty so that now the tall ones don't cut through window frames and the short sit right up against the frame instead of having a gap exposing wall, so even using these separate pieces over a single tile window looks slightly better than the originals.
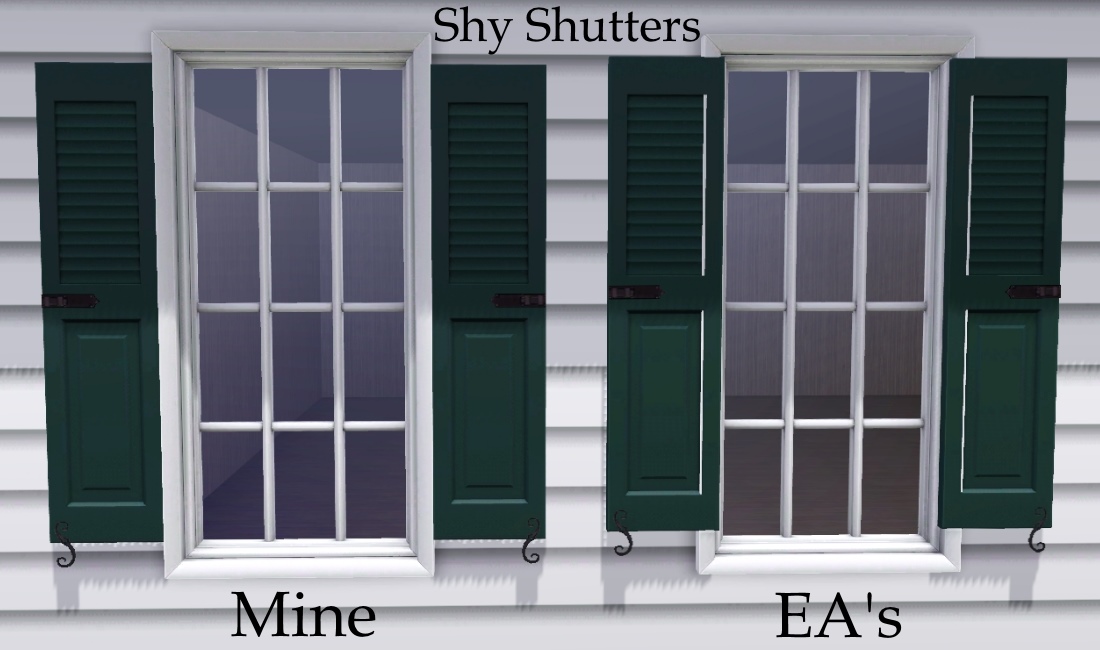
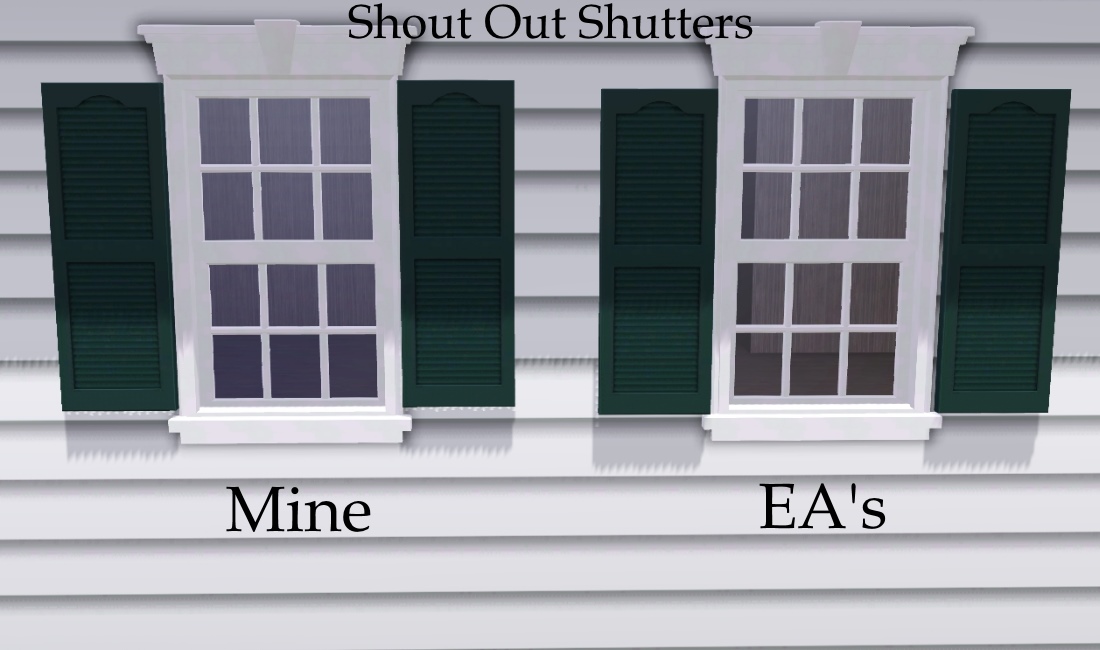
chasmchronicle already has a great set of modular EA curtains, shutters and blinds on MTS here, but I wanted ones that were flagged as a wall object and therefore hide when the walls are down so they don't block your view.
Object Info:
*These are brand new objects, they are not default replacements.*
Same presets and channels as the originals. Found under Curtains and Blinds in the catalogue.
| Name | Price | Polygons (High~Low) |
|---|---|---|
| Shy Shutters Left | $80 | 131~27 |
| Shy Shutters Right | $80 | 131~27 |
| Shout Out Shutters Left | $65 | 136~50 |
| Shout Out Shutters Right | $65 | 136~50 |
Tips:
- Holding down 'alt' as you shift them up and down allows for more precision.
- Place the first one and shift it to the desired height then clone it with the eyedropper tool to get more at the exact same height.
- Sometimes getting them on the right side of the wall can be tricky (especially if intersecting a roofline), so you might have to manually rotate them using '<' and '>' a few times but you'll eventually get them in the right spot.
Patch 1.67
Polygon Counts:
*refer to table above*
Additional Credits:
TSR Workshop and Milkshape 3D
This is a new mesh, and means that it's a brand new self contained object that usually does not require a specific Pack (although this is possible depending on the type). It may have Recolours hosted on MTS - check below for more information.
|
Alverdine_ShoutOutShutters_Separated.rar
Download
Uploaded: 8th Jul 2014, 36.4 KB.
12,479 downloads.
|
||||||||
|
Alverdine_ShyShutters_Separated.rar
Download
Uploaded: 8th Jul 2014, 29.2 KB.
12,654 downloads.
|
||||||||
| For a detailed look at individual files, see the Information tab. | ||||||||
Install Instructions
1. Click the file listed on the Files tab to download the file to your computer.
2. Extract the zip, rar, or 7z file. Now you will have either a .package or a .sims3pack file.
For Package files:
1. Cut and paste the file into your Documents\Electronic Arts\The Sims 3\Mods\Packages folder. If you do not already have this folder, you should read the full guide to Package files first: Sims 3:Installing Package Fileswiki, so you can make sure your game is fully patched and you have the correct Resource.cfg file.
2. Run the game, and find your content where the creator said it would be (build mode, buy mode, Create-a-Sim, etc.).
For Sims3Pack files:
1. Cut and paste it into your Documents\Electronic Arts\The Sims 3\Downloads folder. If you do not have this folder yet, it is recommended that you open the game and then close it again so that this folder will be automatically created. Then you can place the .sims3pack into your Downloads folder.
2. Load the game's Launcher, and click on the Downloads tab. Find the item in the list and tick the box beside it. Then press the Install button below the list.
3. Wait for the installer to load, and it will install the content to the game. You will get a message letting you know when it's done.
4. Run the game, and find your content where the creator said it would be (build mode, buy mode, Create-a-Sim, etc.).
Extracting from RAR, ZIP, or 7z: You will need a special program for this. For Windows, we recommend 7-Zip and for Mac OSX, we recommend Keka. Both are free and safe to use.
Need more help?
If you need more info, see:
- For package files: Sims 3:Installing Package Fileswiki
- For Sims3pack files: Game Help:Installing TS3 Packswiki
Loading comments, please wait...
Uploaded: 8th Jul 2014 at 3:03 PM
Updated: 8th Jul 2014 at 6:03 PM - Fixed a major typoo. *hehe*
-
by granthes 2nd Dec 2010 at 5:39pm
 58
124.6k
380
-
Curtain height adjustment for Generations
by armiel 24th Jun 2011 at 5:52am
 +1 packs
11 29.6k 82
 Generations
-
New Meshes: Shiftable Kitchen Tiers Curtains w/ valance: PETS compatible
by lhawk07 updated 6th Dec 2011 at 3:21pm
 25
24.2k
68
-
by TheJim07 2nd May 2016 at 7:27pm
 12
25.3k
99
-
by TheJim07 30th Jul 2016 at 8:03pm
 10
18k
84
-
AM SHT Jeans Separated - Bottoms
by enable_llamas 10th Dec 2019 at 4:12pm
 12
26.3k
82
Male » Everyday » Young Adult
-
by CircusWolf 24th Mar 2021 at 12:25pm
 9
6.6k
30
-
by alverdine 3rd Apr 2015 at 8:51am
This gracious shingle home offers 2 bedrooms and 2.5 bathrooms. more...
 +14 packs
14 13.3k 54
 World Adventures
 Ambitions
 Late Night
 Outdoor Living Stuff
 Generations
 Town Life Stuff
 Master Suite Stuff
 Pets
Pets
 Showtime
 Supernatural
 Seasons
 University Life
 Island Paradise
 Into the Future
-
Hydrangea Haven (Shells) - No CC/Store
by alverdine 10th Dec 2015 at 5:44pm
3br, 2.5ba shingle home with a garage loft. Landscaped shell only. No CC/Store items, Custard checked. more...
 +10 packs
4 13.9k 57
 World Adventures
 Ambitions
 Fast Lane Stuff
 Generations
 Pets
Pets
 Showtime
 Supernatural
 University Life
 Island Paradise
 Into the Future
-
Marram Farmhouse 4br 3ba - No CC
by alverdine 24th Jul 2016 at 7:40am
A large, open plan rustic farmhouse in the middle of a renovation. more...
 +11 packs
8 25.3k 59
 World Adventures
 Ambitions
 Fast Lane Stuff
 Late Night
 Outdoor Living Stuff
 Generations
 Pets
Pets
 Supernatural
 University Life
 Island Paradise
 Into the Future
-
Contemporary Craftsman, 3br 3ba - CC Free
by alverdine 7th Nov 2013 at 6:39am
3br, 3ba, 2c att gar with bonus rm above, laun, open plan living, dining and study, pool, edible garden patch and a spacious yard perfect for entertaining. more...
 +13 packs
17 26.6k 115
 World Adventures
 Ambitions
 Fast Lane Stuff
 Late Night
 Outdoor Living Stuff
 Generations
 Town Life Stuff
 Master Suite Stuff
 Pets
Pets
 Showtime
 Diesel Stuff
 Supernatural
 Seasons
-
The Blue Rooster – 3br 2ba No CC/Store
by alverdine 25th Sep 2015 at 4:45pm
A cross between a New England gambrel house and a Scandinavian barn. more...
 +18 packs
3 21.2k 79
 World Adventures
 High-End Loft Stuff
 Ambitions
 Fast Lane Stuff
 Late Night
 Outdoor Living Stuff
 Generations
 Town Life Stuff
 Master Suite Stuff
 Pets
Pets
 Showtime
 Diesel Stuff
 Supernatural
 70s, 80s and 90s Stuff
 Seasons
 University Life
 Island Paradise
 Into the Future

 Sign in to Mod The Sims
 Separated Shutters (Shiftable Left & Right Pieces)
