 Camera/Camcorder Tripod

Untitled-1.jpg - width=990 height=550

Untitled-2.jpg - width=990 height=550

Untitled-3.jpg - width=990 height=550

Untitled-4.jpg - width=990 height=550

Untitled-5.jpg - width=256 height=256

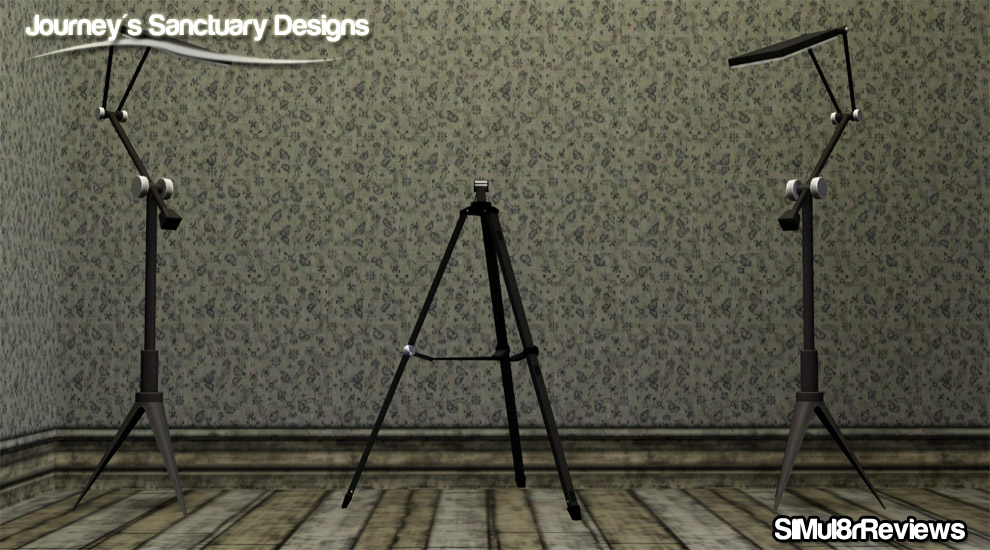
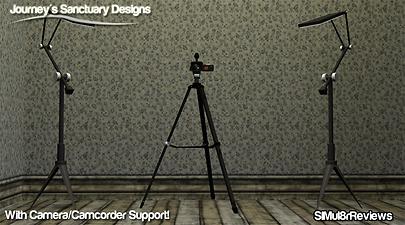
The tripod itself is base game compatible.. but there is no use for it unless you have one of EA's cameras/camcorders or a creators camera (I don't know if there are any). But you can get the camcorders from Generations, and the cameras from World Adventures.
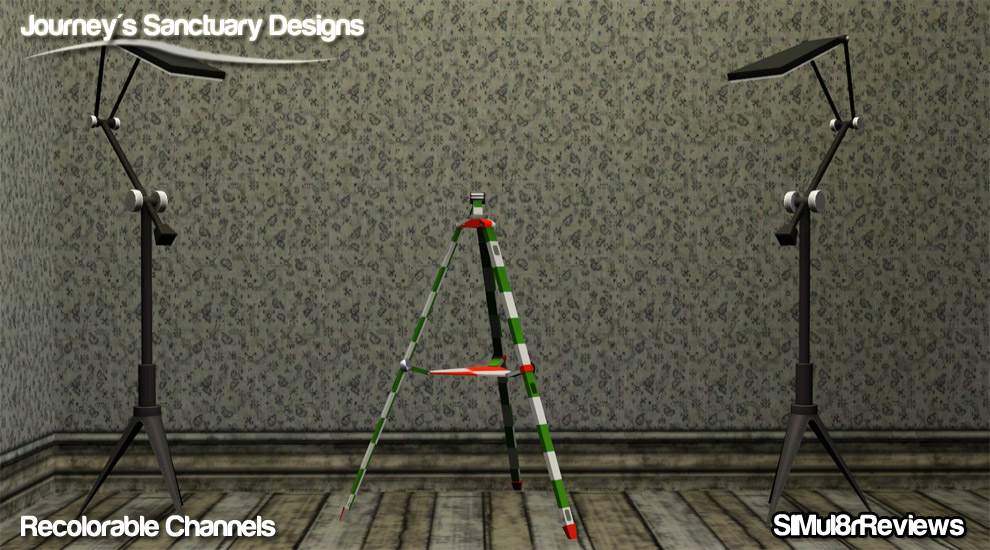
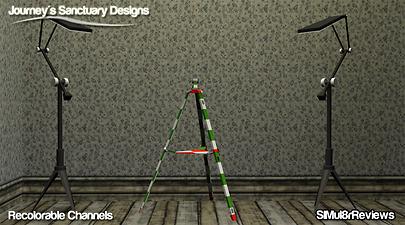
The tripod has two recolorable channels
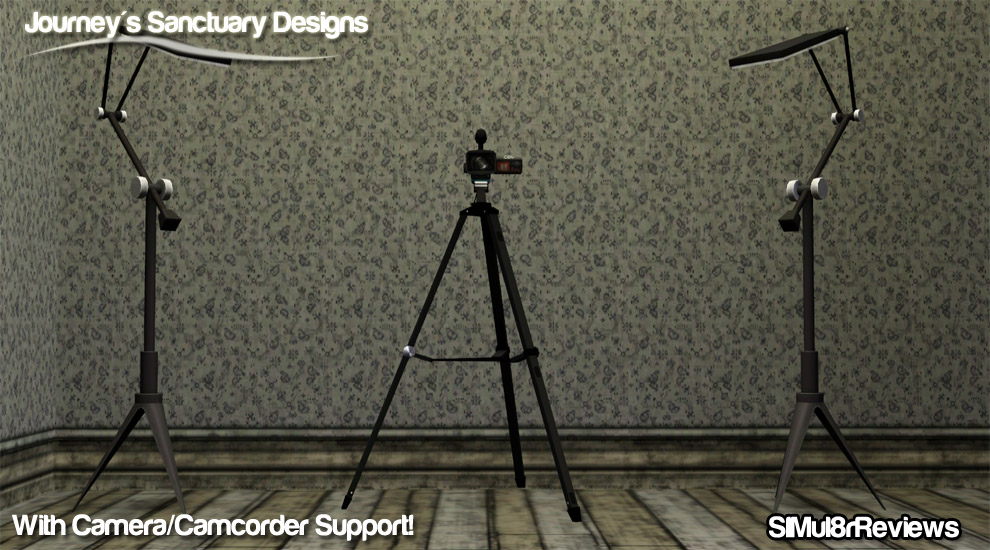
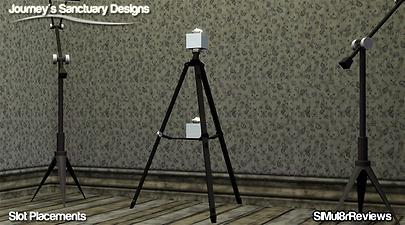
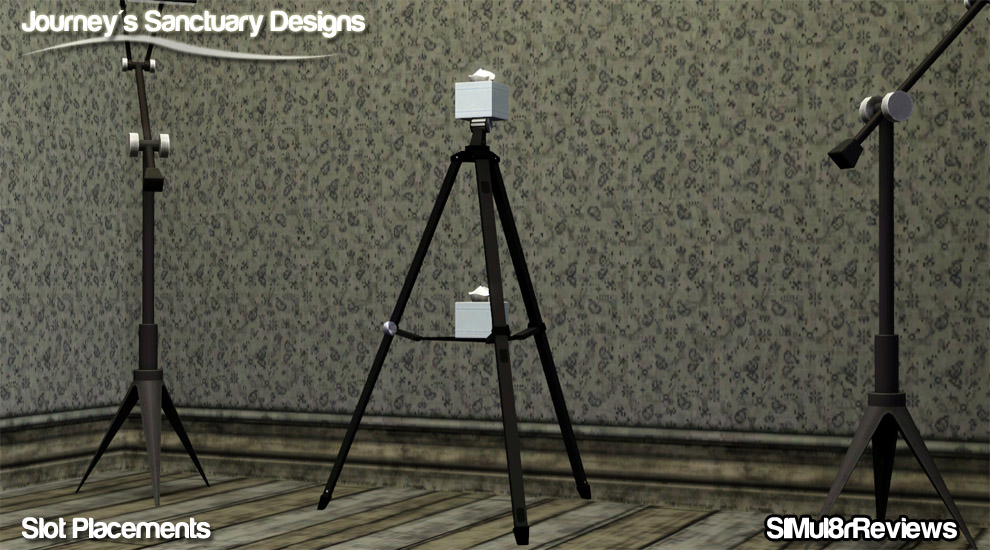
It has two slots located on it. One slot is on the wheel and axle and the other one is on the tray. (as seen in the pictures above and below)
Price: $200.00
Found Under: Entertainment, Skills and Hobbies.
Polygon Counts:
512 Vertices
316 Faces
Additional Credits:
TSR for TSR Workshop
Milkshape 1.8.5
Adobe for Photoshop
This is a new mesh, and means that it's a brand new self contained object that usually does not require a specific Pack (although this is possible depending on the type). It may have Recolours hosted on MTS - check below for more information.
|
SIMul8rReviews_Camera-CamcorderTripod.rar
| Version 2. Updated 2/9/12
Download
Uploaded: 9th Feb 2012, 29.1 KB.
28,112 downloads.
|
||||||||
| For a detailed look at individual files, see the Information tab. | ||||||||
Install Instructions
1. Click the file listed on the Files tab to download the file to your computer.
2. Extract the zip, rar, or 7z file. Now you will have either a .package or a .sims3pack file.
For Package files:
1. Cut and paste the file into your Documents\Electronic Arts\The Sims 3\Mods\Packages folder. If you do not already have this folder, you should read the full guide to Package files first: Sims 3:Installing Package Fileswiki, so you can make sure your game is fully patched and you have the correct Resource.cfg file.
2. Run the game, and find your content where the creator said it would be (build mode, buy mode, Create-a-Sim, etc.).
For Sims3Pack files:
1. Cut and paste it into your Documents\Electronic Arts\The Sims 3\Downloads folder. If you do not have this folder yet, it is recommended that you open the game and then close it again so that this folder will be automatically created. Then you can place the .sims3pack into your Downloads folder.
2. Load the game's Launcher, and click on the Downloads tab. Find the item in the list and tick the box beside it. Then press the Install button below the list.
3. Wait for the installer to load, and it will install the content to the game. You will get a message letting you know when it's done.
4. Run the game, and find your content where the creator said it would be (build mode, buy mode, Create-a-Sim, etc.).
Extracting from RAR, ZIP, or 7z: You will need a special program for this. For Windows, we recommend 7-Zip and for Mac OSX, we recommend Keka. Both are free and safe to use.
Need more help?
If you need more info, see:
- For package files: Sims 3:Installing Package Fileswiki
- For Sims3pack files: Game Help:Installing TS3 Packswiki
Loading comments, please wait...
Uploaded: 21st Nov 2011 at 5:33 PM
Updated: 23rd Jun 2012 at 5:58 PM by SIMul8rReviews - Updated Slot Issue
-
Shadow Guitar-*UPDATED and Fixed*[30/10/2011]
by xdarkshadowx updated 31st Oct 2011 at 2:24am
 53
115.1k
61
-
Minstrel Me – Playable Harp and Lute (Medieval Challenge)
by Lois99 18th Apr 2010 at 2:06pm
 +1 packs
59 132k 294
 World Adventures
-
by alianpe 2nd Jun 2010 at 9:16pm
 56
65.1k
129
-
Bösenklavier Concert Grand Piano - Updated 10-26
by Alexander.Chubaty 31st Aug 2010 at 6:14pm
 59
154.2k
238
-
[24/10] Easel made Portable "Default Replacement" (Compatible with Patch 1.63-1.67)
by anak_ponti updated 19th Nov 2011 at 10:21am
 53
64.5k
210
-
by AdonisPluto updated 6th Nov 2011 at 1:16am
 +2 packs
23 62.7k 120
 Late Night
 Pets
Pets
-
by chasmchronicle 20th Jul 2011 at 11:37am
Choose from 8 new, unique poses for the bathtub..and your sims of course. more...
 31
152.2k
213
-
by chasmchronicle 27th Dec 2013 at 11:42pm
With ashen and black as the central theme, this craftsman home is perfect for a new family! more...
 +8 packs
5 8.1k 21
 World Adventures
 Ambitions
 Late Night
 Generations
 Pets
Pets
 Seasons
 University Life
 Island Paradise
-
More Slots!: Base Game Bookshelves
by chasmchronicle 20th Jun 2012 at 2:57pm
7 Base Game Bookshelves Emptied.. With Slots! *Updated 6/27/12* more...
 33
59.1k
273
-
by chasmchronicle updated 14th Nov 2012 at 4:51am
A more.. fitting apparel. *Updated 11/13/12* more...
 20
67.8k
213
Male » Everyday » Young Adult
-
Dirty -- 11 exotic dancing poses
by Puss 'N Heels 22nd Jul 2014 at 12:24pm
Shake it, shake it, shake it like a Polaroid picture! more...
 13
79.5k
146
-
by chasmchronicle updated 30th May 2012 at 9:29pm
Add some "citrus" to your environment! *Updated 5/30/12* more...
 12
14.6k
24
-
by chasmchronicle 18th Aug 2013 at 10:32am
A socially awkward man hiding behind the curtains. more...
-
Call of Duty: Zombies - Fluffy
by chasmchronicle 11th Aug 2012 at 2:36pm
Fetch me their souls! more...

 Sign in to Mod The Sims
 Camera/Camcorder Tripod
